Preparing the Installation
Pre-Deployment In-Box Configuration
The camera comes equipped with an RJ45 configuration cable pre-installed for users that want to configure
camera settings before installing the camera. The RJ45 connector on the configuration cable is accessible
through the small flap on the side of the camera box for easy configuration before unpacking the camera.
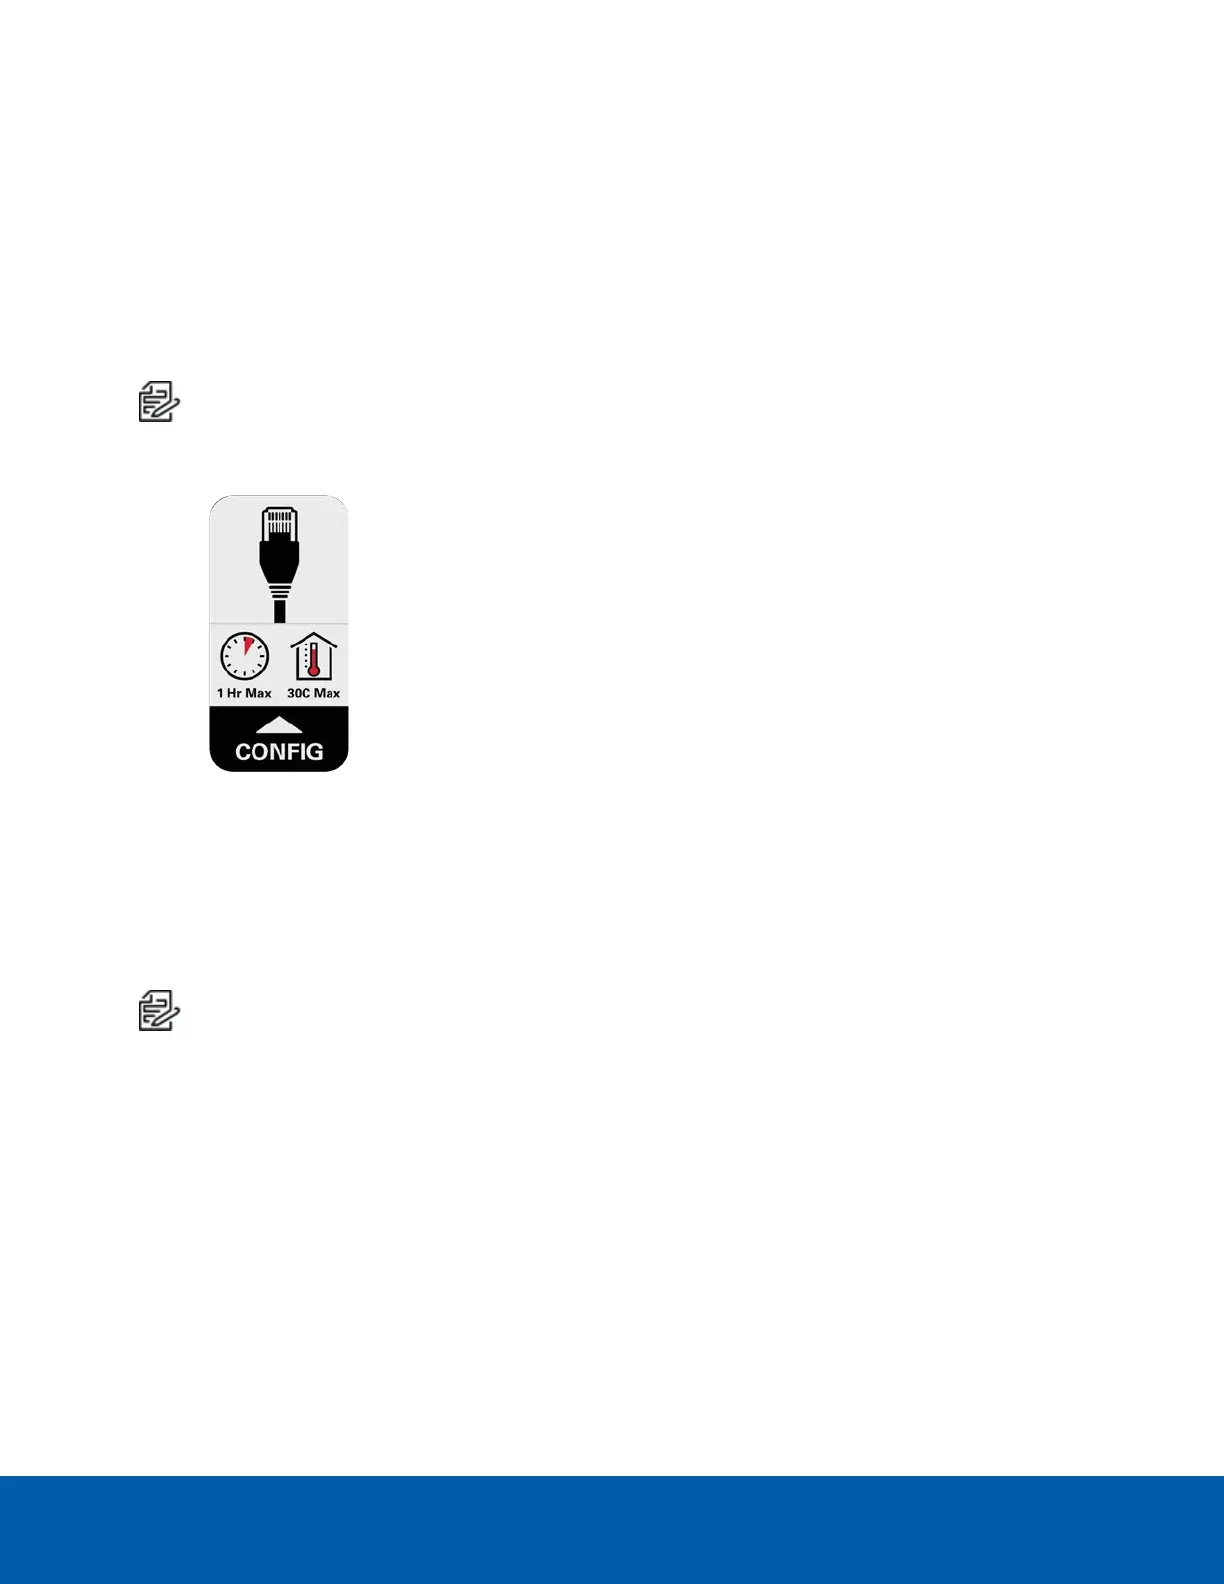
Note:The maximum recommended duration of in-box configuration is 1 hour. The maximum
recommended ambient temperature is 30°C (86°F).
1. Locate and open the flap on the side of the camera packaging. Look for the Config label.
2. Connect a network cable to the RJ45 plug on the configuration cable. The network cable must provide
PoE. IEEE 802.3af Class 3, to power the camera during configuration.
3. Connect to the camera using an ACC Client, the Camera Configuration Tool, or the camera's web
browser interface to configure the camera's settings. For more information about connecting to the
camera, see Assigning an IP Address.
4. Once you have finished making configuration changes, unplug the network cable.
Note:Be careful when handling the camera after configuring it inside the packaging. The camera may
be hot when handling it or removing from the packaging immediately after in-box configuration.
Preparing the Installation 15
 Loading...