AXIS Panorama PTZ User’s Manual Assembling the AXIS Panorama PTZ
9
Assembling the AXIS Panorama PTZ
The information provided in this section will help you unpack and assemble the product
correctly. Please contact your dealer if anything is missing or damaged.
Hardware Inventory
The following items are supplied with the AXIS Panorama PTZ:
Note: The power supply for your AXIS Panorama PTZ is country-specific. Please check that the type
you are using is correct.
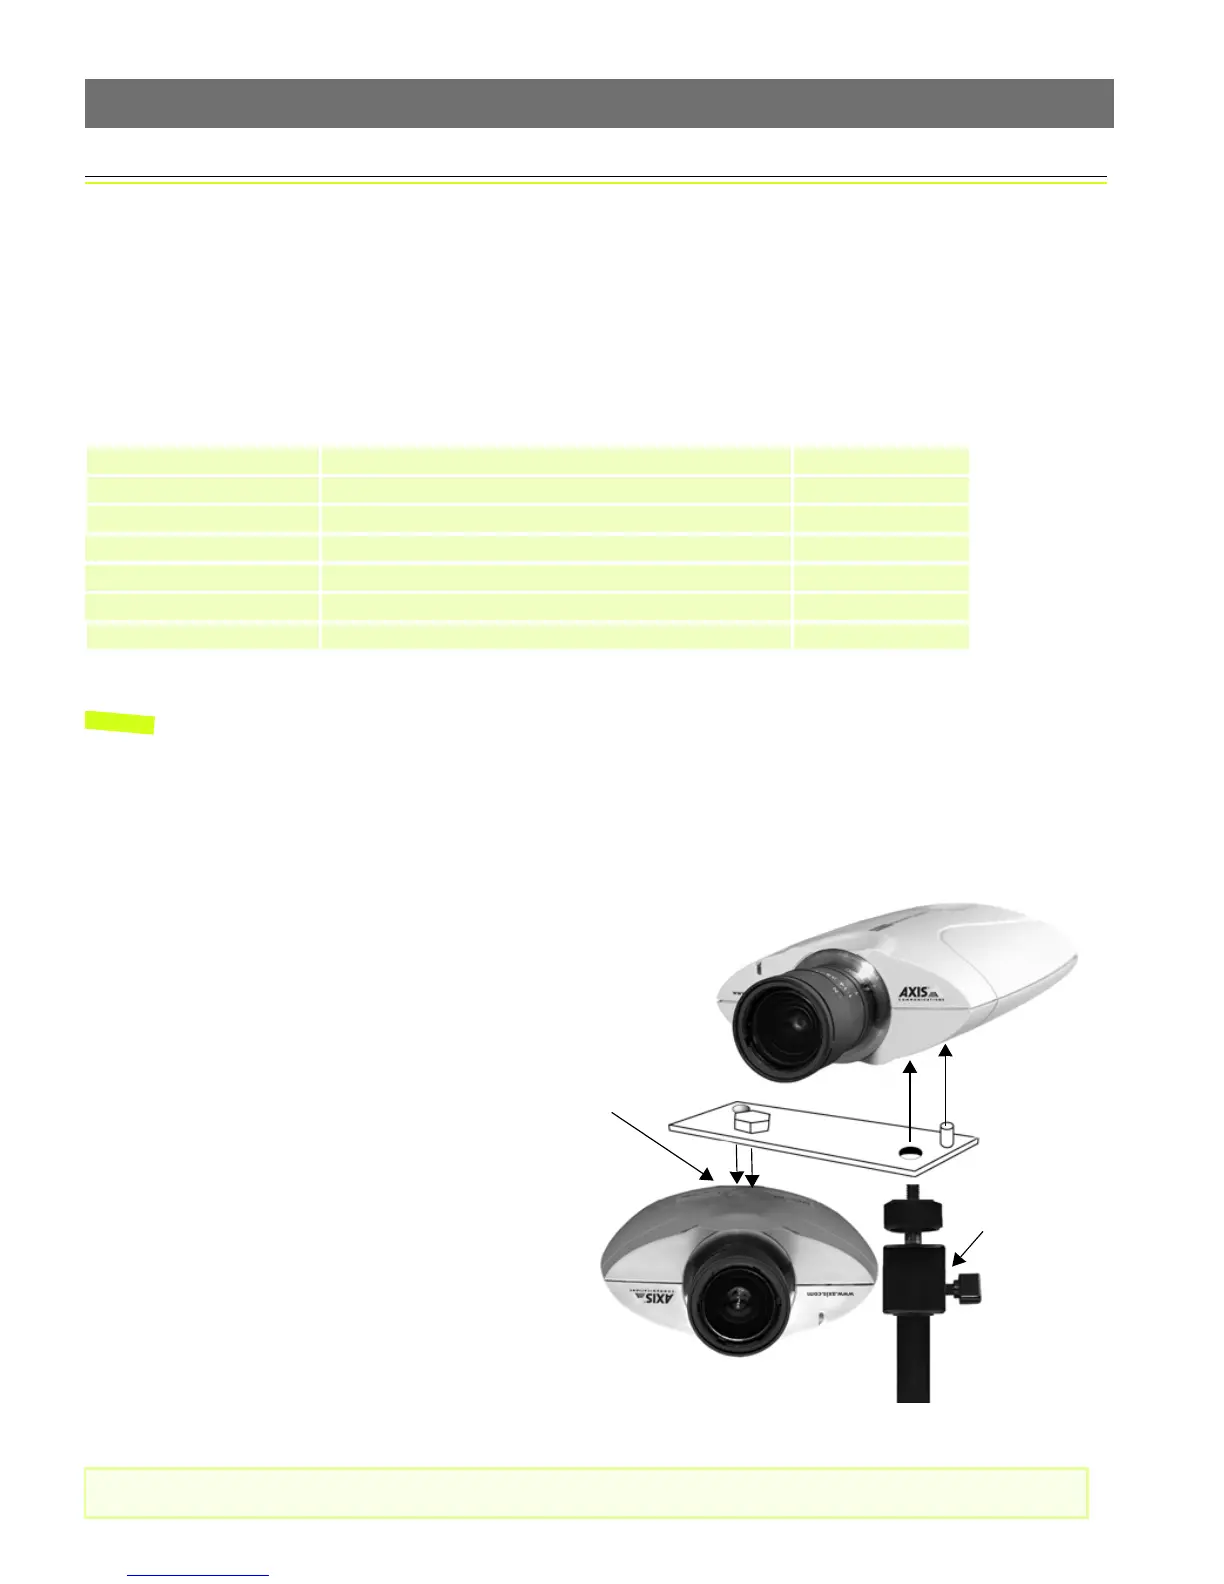
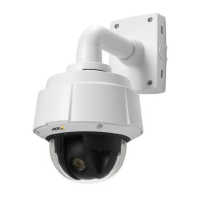
The Mounting Assembly
The mounting assembly consists of a single bracket, used to join the 2 cameras together,
and a single stand, on which the bracket and the 2 cameras are mounted. See below.
Important!
Item Description/type Quantity
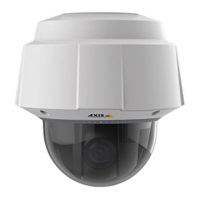
Network Camera AXIS Panorama PTZ Network Camera 2
Power adapter PS-D 2
Power extension cable 3.3 meters 2
Camera Stand - 1
Mounting bracket - 1
Printed Materials AXIS Panorama PTZ Installation Guide 1
AXIS Warranty 1
Please read the important information about outdoor use, on page 19.
The cameras are mounted as shown here,
one the right way up and the other
upside-down. The underside of each
camera has one screw hole and one
guide hole, so that the bracket can only
be fitted in the correct position.
Although the screw holes in the base of
the stand allow the unit to be fastened to
a wall or ceiling, the cameras must still
be horizontal. This can be achieved by
adjusting the ball and socket joint on the
stand by up to 90
o
.
Ball and socket
joint.
Screw hole and
guide hole.