Initial Assembly
14
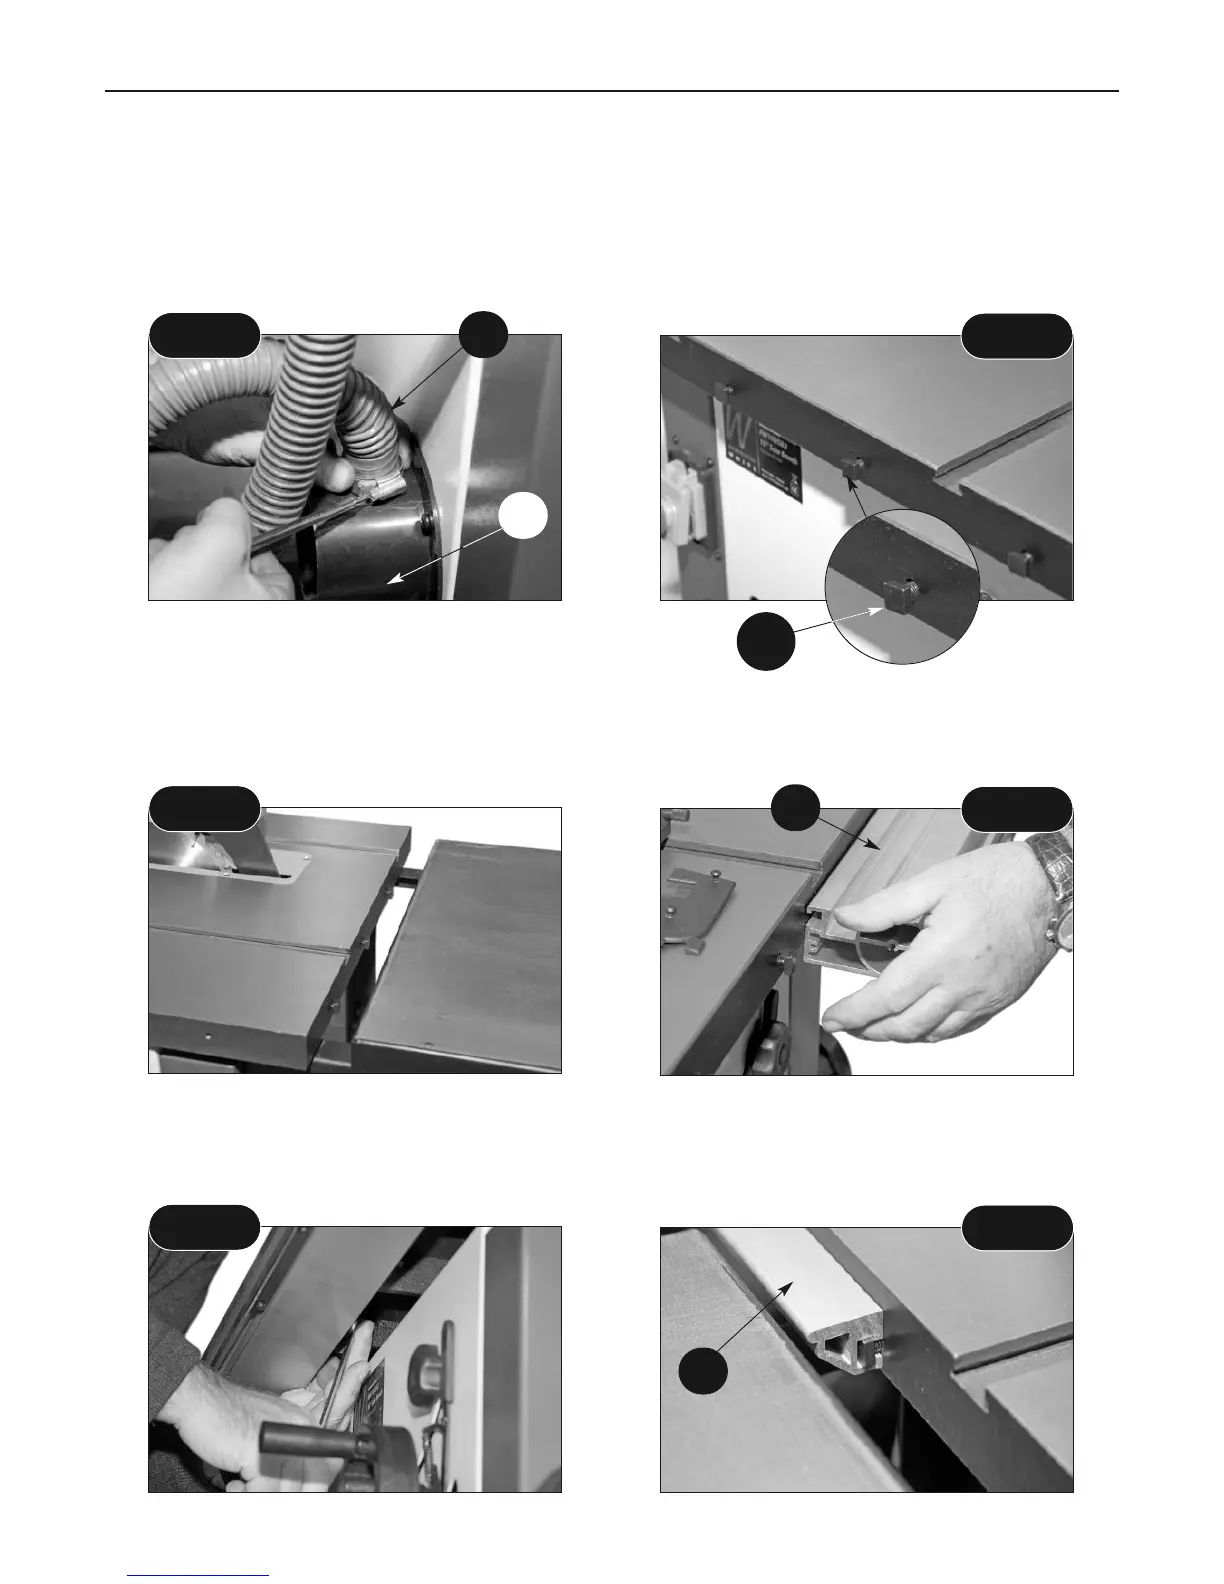
Fig 29
Fig 30
4
There is no requirement to remove the guard. The profile of the riving knife precludes the use of
the saw for slotting or grooving, and the maximum depth of cut can be achieved with the guard in
place.
NOTE: The positioning of the extraction hose could be a nuisance if you are cutting big boards, in
such a case it is better to remove the hosing from the guard, then there is less risk getting the
workpiece snagged and perhaps 'slewing' on the saw.
17
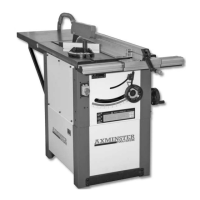
951537 10" and 951540 12" Saw Bench (Box 2 of 2)
Fig 31
Fig 32
Locate the M8 x 25mm SQUARE head bolts washers and nuts (24B). The best way to fit the rails is
to introduce the bolts through the holes in the front and rear edges of the tables, hold in position
by adding the washer and fitting the nut a couple of turns onto the bolt. (See figs 30-31)
Rip Fence Assembly
Fig 33
Fig 34
Select the front short rip fence guide rail (22), introduce the square head of the furthest right
hand bolt into the channel in the extrusion; slide the rail along the front of the machine picking
up all the bolt heads as you go along. (See fig 32) Reach under the table edge and lightly tighten
all the nuts. (See fig 33) Repeat the process for the back rail (23). (See fig 34)
23
22
24B
 Loading...