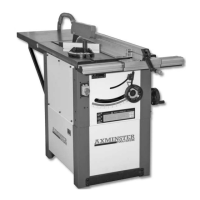
Initial Assembly
17
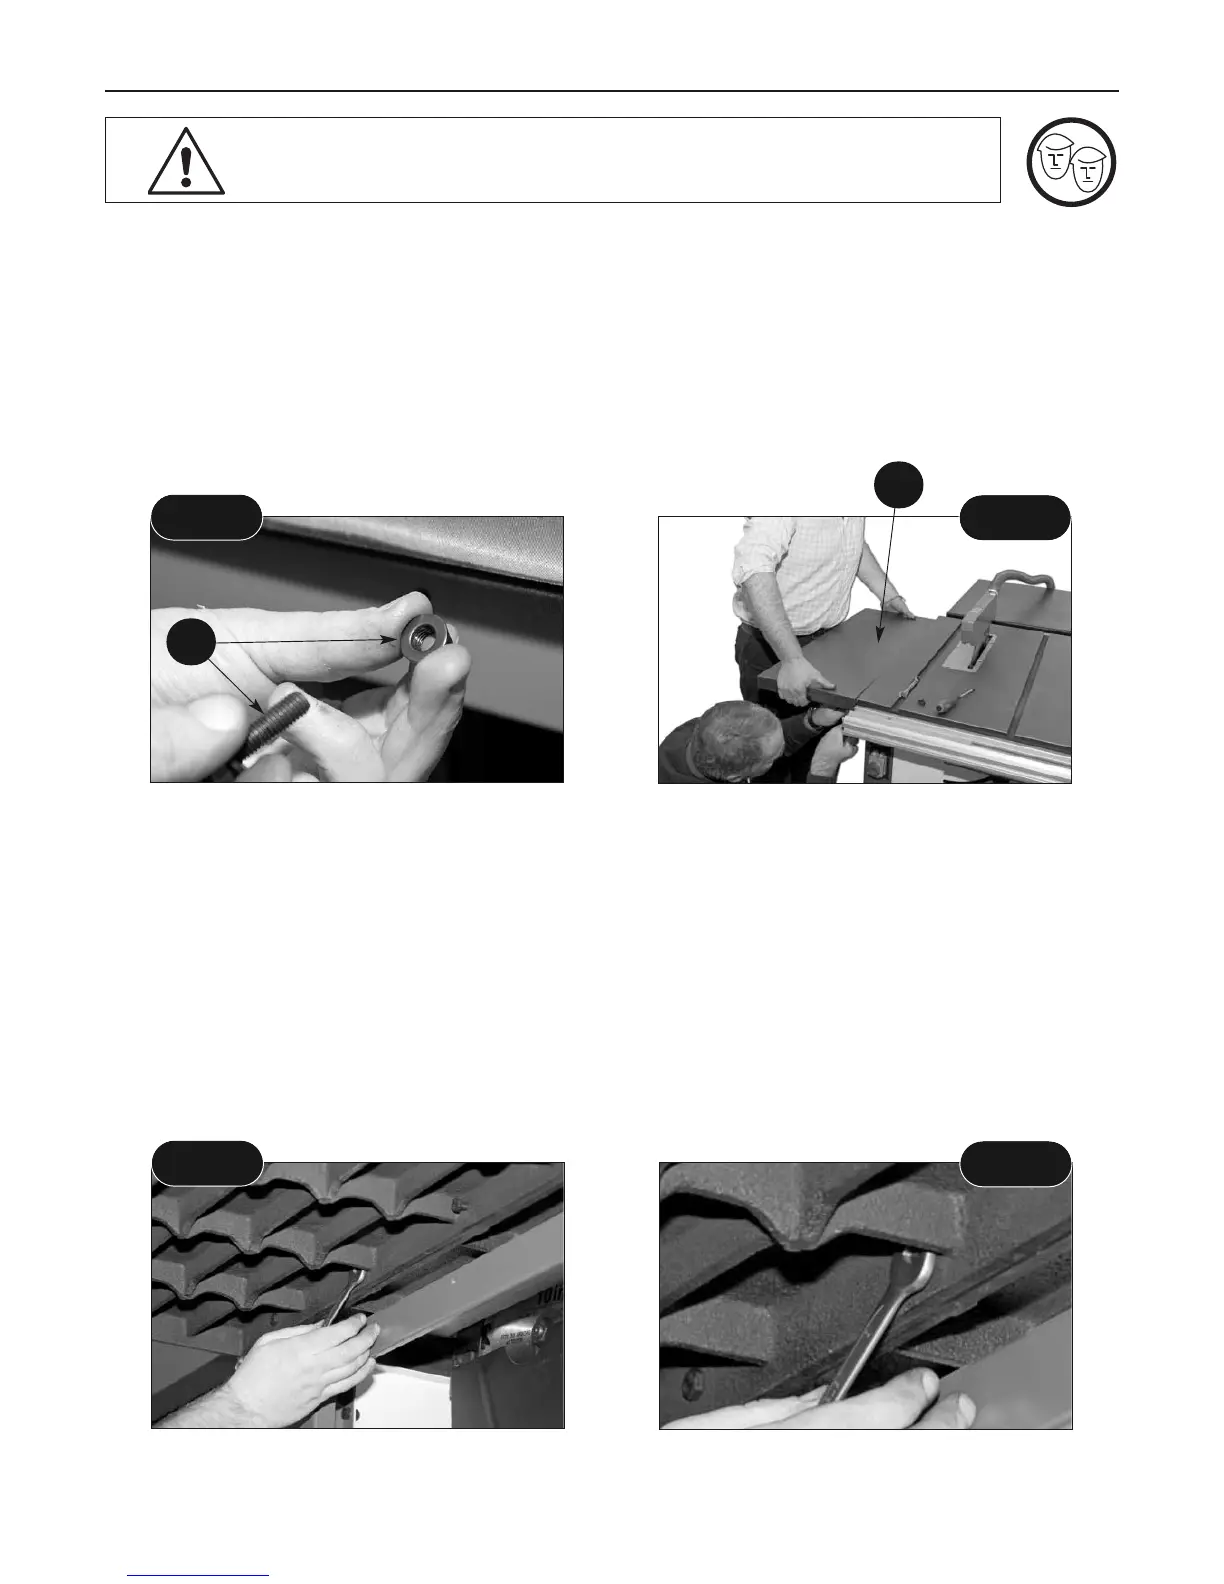
THE EXTENSION TABLES ARE VERY HEAVY YOU WILL
REQUIRE A SECOND PERSON TO HELP
951538 10" and 951541 12" Table Extension Kits (Box 1 of 2)
Select one of the extension tables (26), locate four M8 x 30mm hexhead bolts and washers (30).
Ensure the table is correctly orientated (the front edge of the table is bevelled). Stand the back
end of the table on the floor, close to the front and edge of the main saw table (1), with the
underside of the table facing the front of the saw. Lift the table up and introduce a washered bolt
through the first hole in the table and screw it into the first threaded hole along the main table
edge.
Fig 48
Fig 49
Fig 50
Fig 51
Screw the bolt in until it is almost home. You can now relax the lifting effort. The extension will
hang pivoted on the bolt. Carefully lift the bottom end of the extension up until the edges are
level and introduce a washered bolt through the rear hole and the last threaded hole in the table
edge, screw it almost home. The extension should be hanging approximately in its correct
position held by the two bolts. Introduce and almost screw home the other two washered bolts.
Using a level, align the top and front edges at the front of the saw, nip the front bolt to hold the
extension in place; carefully manoeuvre the rear of the extension to align the two top edges and
'nip' the rear bolt. Check this movement has not disturbed the alignment at the front of the table,
if it has, repeat the procedure until the front and top edges are aligned. Tightened all the bolts
securely. (See figs 48-49-50 and 51) Repeat using the other extension table (26) for the opposite
side of the saw bench (1).
Setup 1
30
26
Continues Over....
 Loading...