Bandit
56
Copyright 12/17
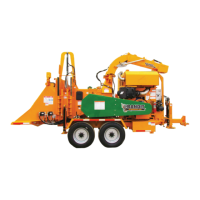
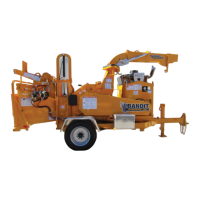
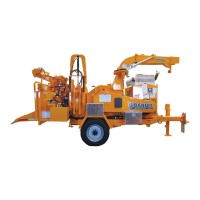
MODEL 20XP
REMOVABLE KNIFE HOLDERS
MAINTENANCE
1. Follow all pre-maintenance shut down procedures.
2. Clean the surface of the knife sub holder, knife holder, all threaded holes, and all bolt threads of all
debris. See Figure 1.
3. If the removable knife holders are removed or replaced, be sure to clean all the threaded holes in the
drum head before reinstalling the knife holders. See Figure 1.
4. Inspect the knife holder and drum head pocket to make sure there is no debris on either.
5. Place the knife holder in the drum head pocket. The knife holder may look dierent than the knife holder
shown in Figure 2, depending on knife options.
6. Apply Loctite 243 (blue) or equivalent to the knife holder bolts.
7. After the bolts have been started, push the knife holder back in to the drum head pocket to make sure
the knife holder is tight against the back of the drum head pocket.
8. Using the pattern shown in Figure 2, tighten and torque the knife holder bolts to 250 ft.-lbs. (339 Nm).
if the knife holder bolts have been tightened or removed ve times, the bolts need to be replaced to
ensure proper tightness.
9. Repeat steps 2 through 8 for every drum head pocket.
10. After all the removable knife holders are installed, the knives can be installed. See Figure 3.
11. Make sure the knife is of at least minimum width, refer to the manual.
12. Remove any debris from the knife, knife bolt, and bolt holes and then place the knife on the knife holder.
13. Thread the knife bolts through the knife and hand tighten as far as possible. Do Not Use an impact
wrench to start the knife bolts, the knife holder bolt holes can strip.
14. Make sure the knife is pushed back into the pocket as far as possible.
15. Using the pattern shown in Figure 3, tighten and torque the bolts to 180 ft.-lbs (245 Nm) for double sided
knives. After the bolts have been tightened to the correct torque, check the torque on the knife bolt one
more time by checking the bolts in a row. If the knife bolts have been tightened or removed ve times,
the bolts need to be replaced to ensure proper tightness.
16. Repeat steps 10 through 15 for every drum head pocket.
17. After all the knives are installed, the anvil needs to be checked for proper clearance. See the Anvil
Adjustment section.
18. Slowly turn the drum head with a pry bar or wood bar to make sure everything clears.
The knives must be securely fastened and torqued in position. If one comes loose or breaks during operation,
someone may get injured or something may get damaged.
Never turn the chipper drum by hand, always carefully use a pry bar or wood bar. This will help prevent
the person turning the drum from being injured should the drum break loose.
A sight hole in the chipper beltshield has been provided. If chipper belts are moving do not open chipper
hood. Do not stick ngers in sight hole.
DANGER
!
DANGER
!
DANGER
!
Before attempting any type of maintenance, disengage clutch, wait for the disc/drum to come to a complete
stop, turn o engine, remove the ignition key, make sure the ignition key is in your possession, install the
disc/drum lock pin, and disconnect the battery.
Chipper knives are sharp and can be dangerous. It is always necessary for your protection to be extra
careful and wear proper hand protection when handling knives. Before changing knives make sure all shut
down procedures are followed.
DANGER
!