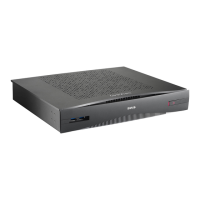
R5900049 /07 ClickShare CSE-80040
Note: Make sure the head of the screw is larger than the hole in the bracket. Otherwise, insert a
washer between the screw and the bracket.
4.4 Ceiling mounting
About ceiling mounting
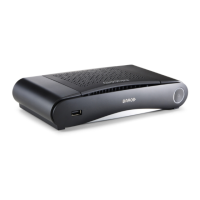
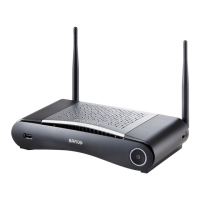
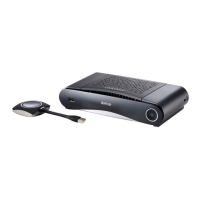
Use the mounting brackets, inserted in the CSE-800 box, to mount the Base unit to the ceiling.
Required tools
• a drill (type of drill depends on the type of wall)
• Torx T10 screwdriver
• Additional screwdriver that matches the mounting screws (mounting screws not delivered)
Required parts
• 2 mounting screws
• 2 plugs
• 2 Mounting brackets with fixation screws (included in the CSE-800 box)
How to install
1. Install in the same way as for wall mounting. See “Wall mounting”, page 38.
4.5 Rack mounting
About rack mounting
For meeting rooms with a dedicated AV rack, use the included brackets to mount the CSE-800 Base Unit. This
integrates the CSE-800 seamlessly into the room’s existing high-end AV installation.
Necessary free space in the rack is 2U.
Required tools
• Torx T10 screwdriver
• Additional screwdriver that matches the mounting screws
Required parts
• 2 mounting brackets with fixation screws (included in the CSE-800 box)
• 2 mounting brackets covers (included in the CSE-800 box)
• 2 rack mounting screws (not included)
How to install
1. Clips the plastic cover (1) on each bracket (2).
CSE-800 Installation

 Loading...
