Fig. 31
19. Connect rear drain if required.
A. Using materials from provided drain kit
(double rack ovens only), route the drain to
either side of oven.
B. Ensure drain slopes downward 1/4"per ft.
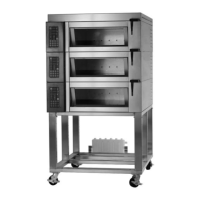
20. For OV500G2-EE & OV500E2 ovens only: Install
insulation into ceiling channel.
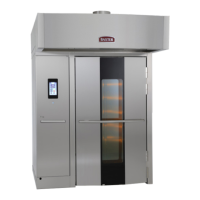
Fig. 32
21. For OV500G2-EE & OV500E2 ovens only: Install
ceiling channel cover with #10 Tek screws over
the ceiling channel.
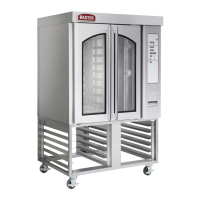
Fig. 33
22. Remove junction box cover to access connection
plugs for rack rotation and rack lift. Connect plugs
together and install raceway to top of oven.
NOTE: Gas ovens will not have junction box, but
conduit directly to component. Electric double rack
ovens will have an additional cover (1, Fig. 36) to be
installed over exposed wiring (2, Fig. 36).
GAS OVENS
SINGLE ELECTRIC OVENS
INSTALLATION INSTRUCTIONS OV500-EE SERIES GAS RACK OVENS AND OV500 SERIES ELECTRIC RACK
OVENS - INSTALLING OVEN
Page 23 of 49 F45469 Rev. D (1019)
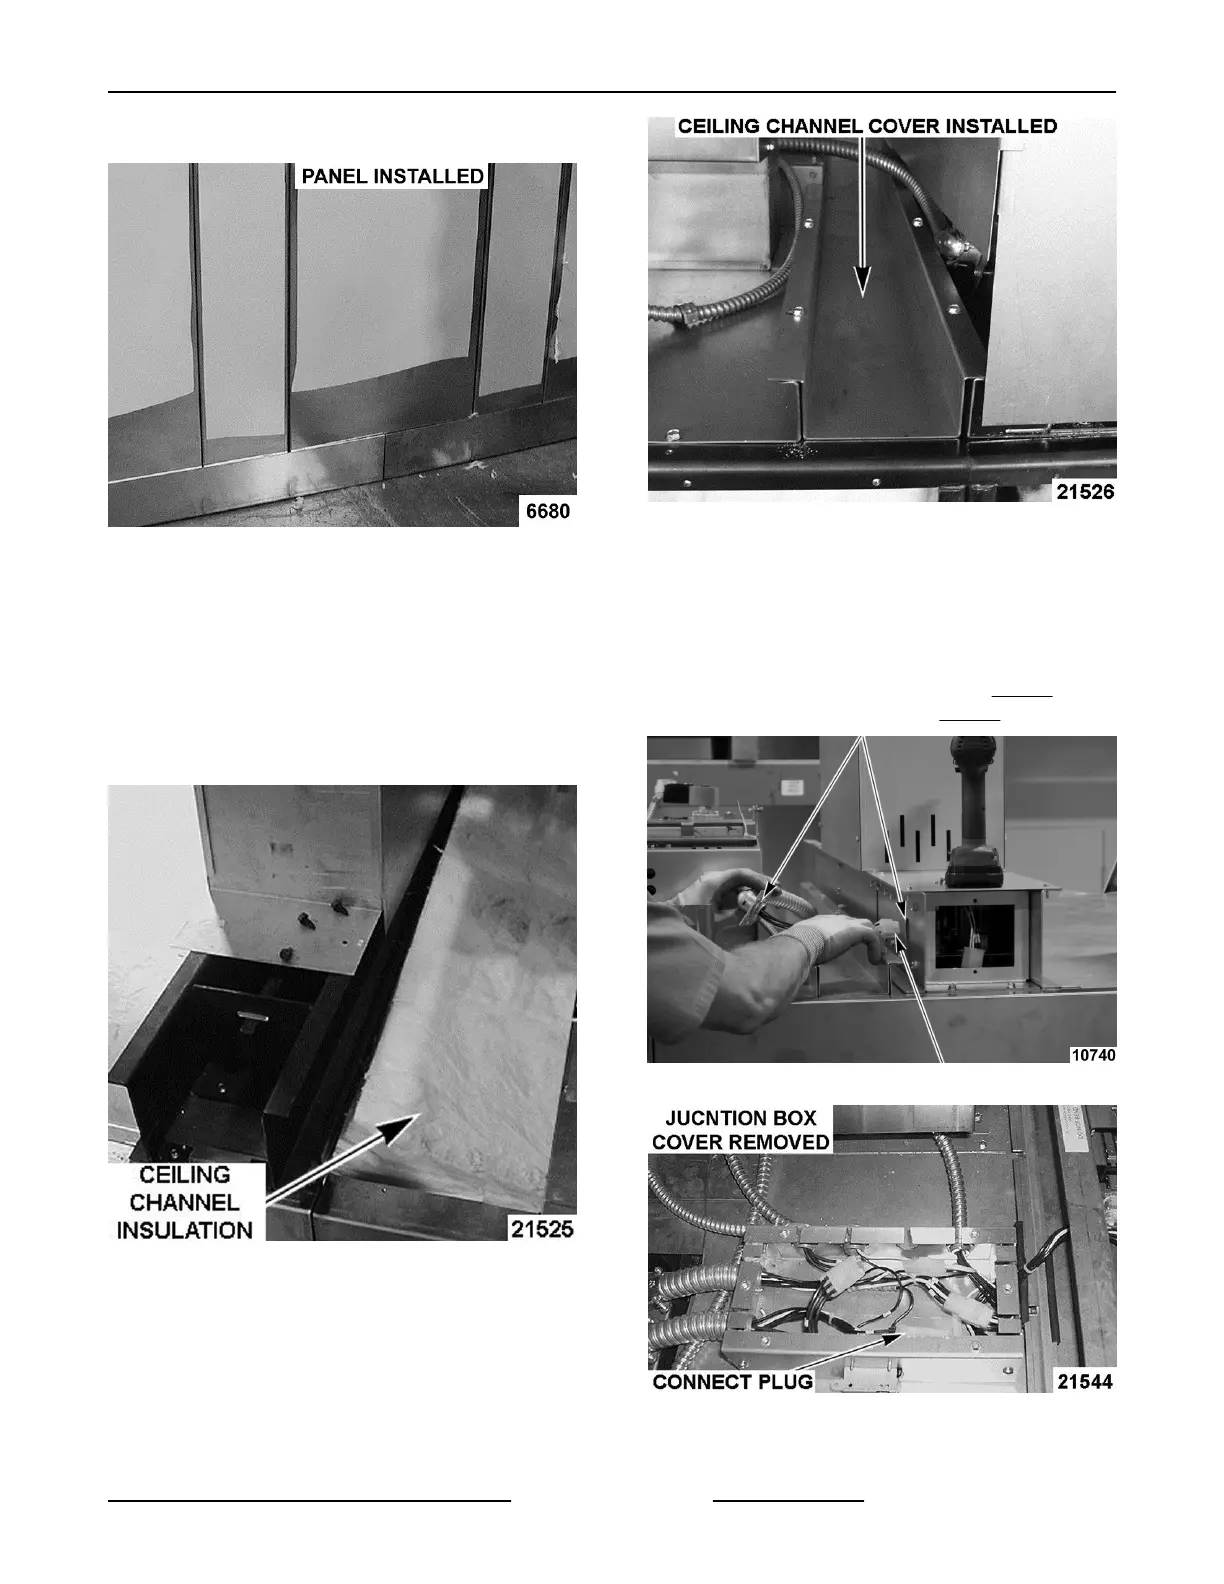
D. Push the panel down against the stop.