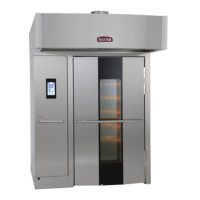
Fig. 36
23. If
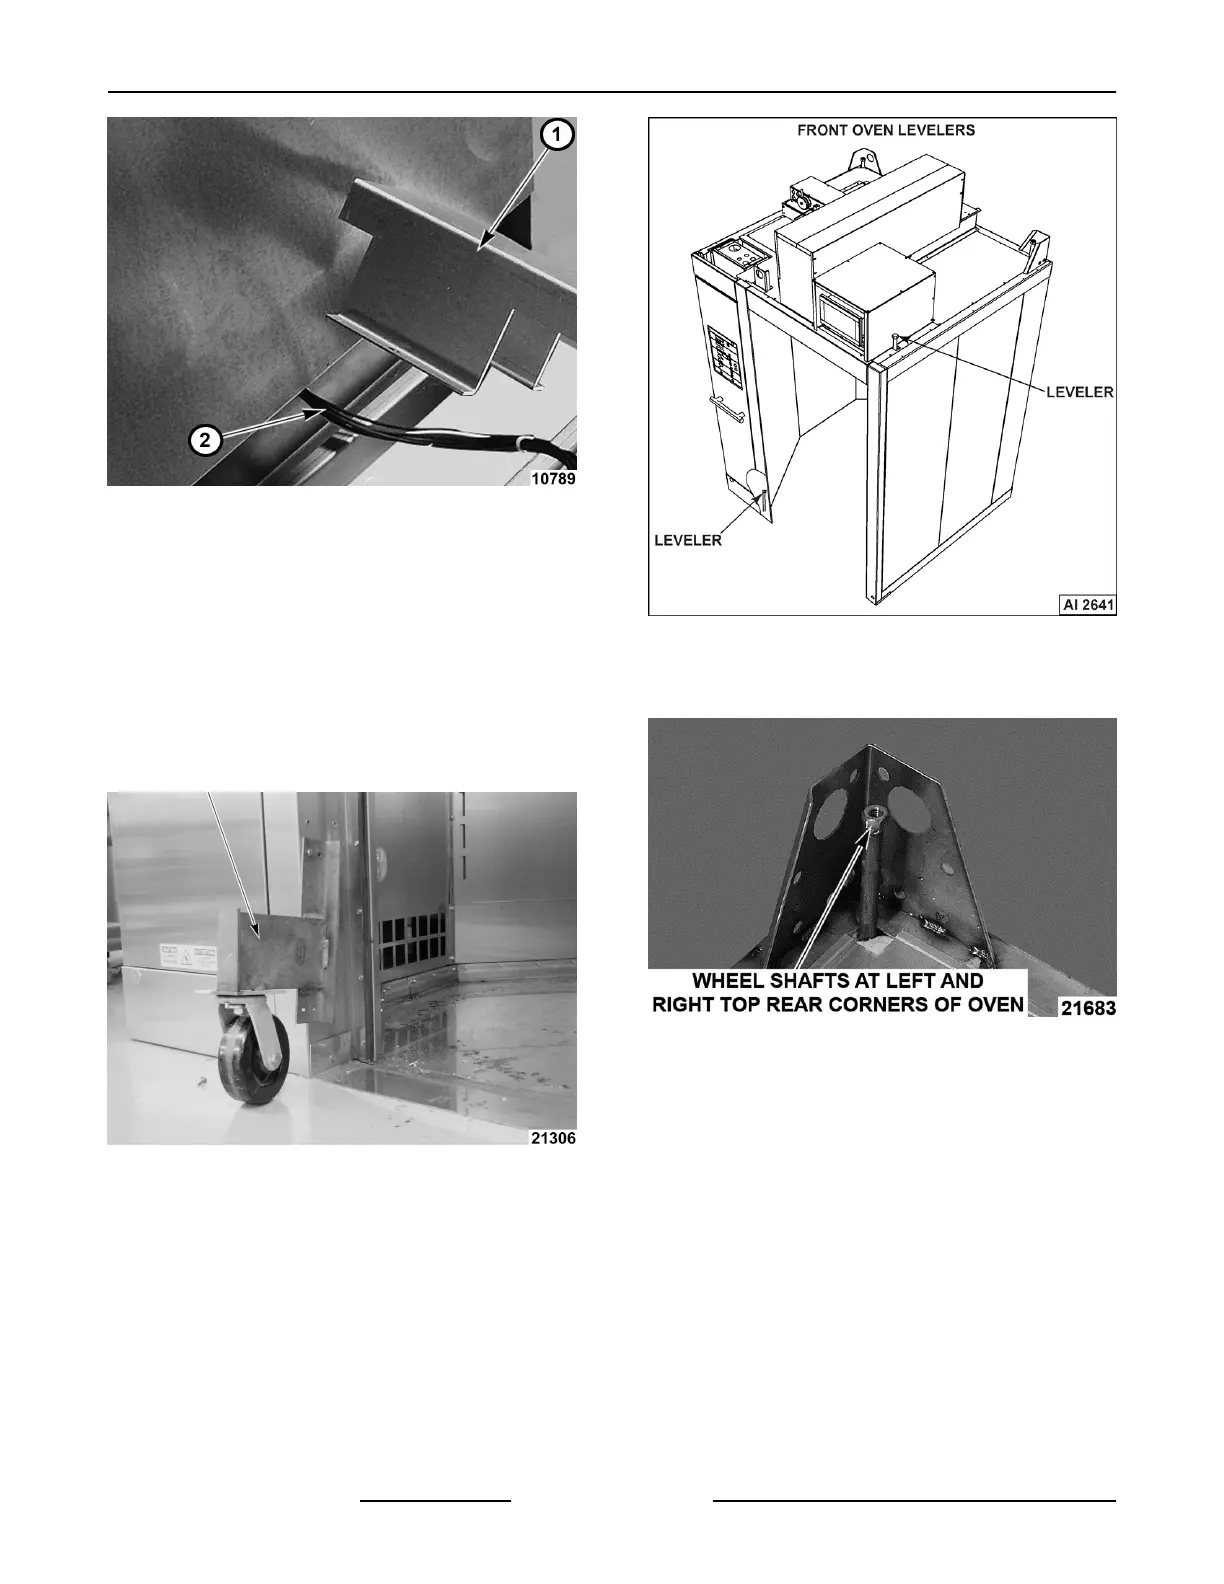
rear drain of oven is used install before oven is
placed in final location.
24. Remove protective plastic from rear and sides of
the oven that won't be accessible once the oven
is in place.
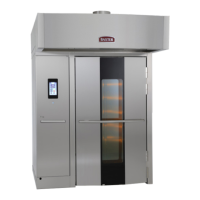
NOTE: Do not damage building floor while installing
dolly wheel or using front levelers. Use shims under
floor levelers to prevent damage to building floor.
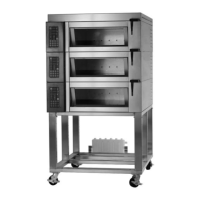
25. Install the dolly wheel.
Fig. 37
NOTE:
You may have to use the front levelers to raise
the front of the oven to install the dolly wheel. Use care
not to damage building floor.
A. Raise the front oven levelers so the weight
of the oven is on the dolly wheel.
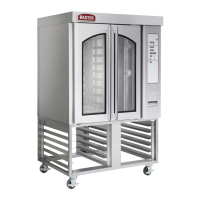
Fig. 38
B. Lower the rear wheels to raise the back of
the oven from touching the floor.
Fig. 39
NOTE: Raising the rear of the oven too much can
cause the front of the oven to contact the floor.
26.
Move the oven into the final position before
lowering.
27. Place shim(s) per the height determined by the
laser level technique to level oven.
NOTE: Review HOST course for laser level
technique.
NOTE: After oven is leveled and shimmed, raise the
levelers to take the oven weight off all the levelers.
INSTALLATION INSTRUCTIONS OV500-EE SERIES GAS RACK OVENS AND OV500 SERIES ELECTRIC RACK
OVENS - INSTALLING OVEN
F45469 Rev. D (1019) Page 24 of 49