Chapter 4: Tubing Assembly Replacement 25
4 Remove the sample probe tubing by rotating the tubing clamp on the arm
to allow enough clearance for the tubing to be removed. If a connector is
difficult to remove due to saline deposits, clean it with DI water. If it still
does not unscrew, then carefully use the 5/16 wrench and gently loosen the
clamp. Do not force.
5 Connect the sample probe tubing.
NOTE Valves contain sealing washers in each port. If you over-tighten the
fitting, the sealing washers can be compressed, resulting in a blocked port.
Tighten the fitting until it contacts the sealing washer, and then turn the
fitting an additional 1/6 to 1/4 turn. If leaking is observed, tighten the
fitting no more than an additional 1/8 turn.
6 Install the sample probe tubing in the clamp on the arm and rotate the
clamp back into position.
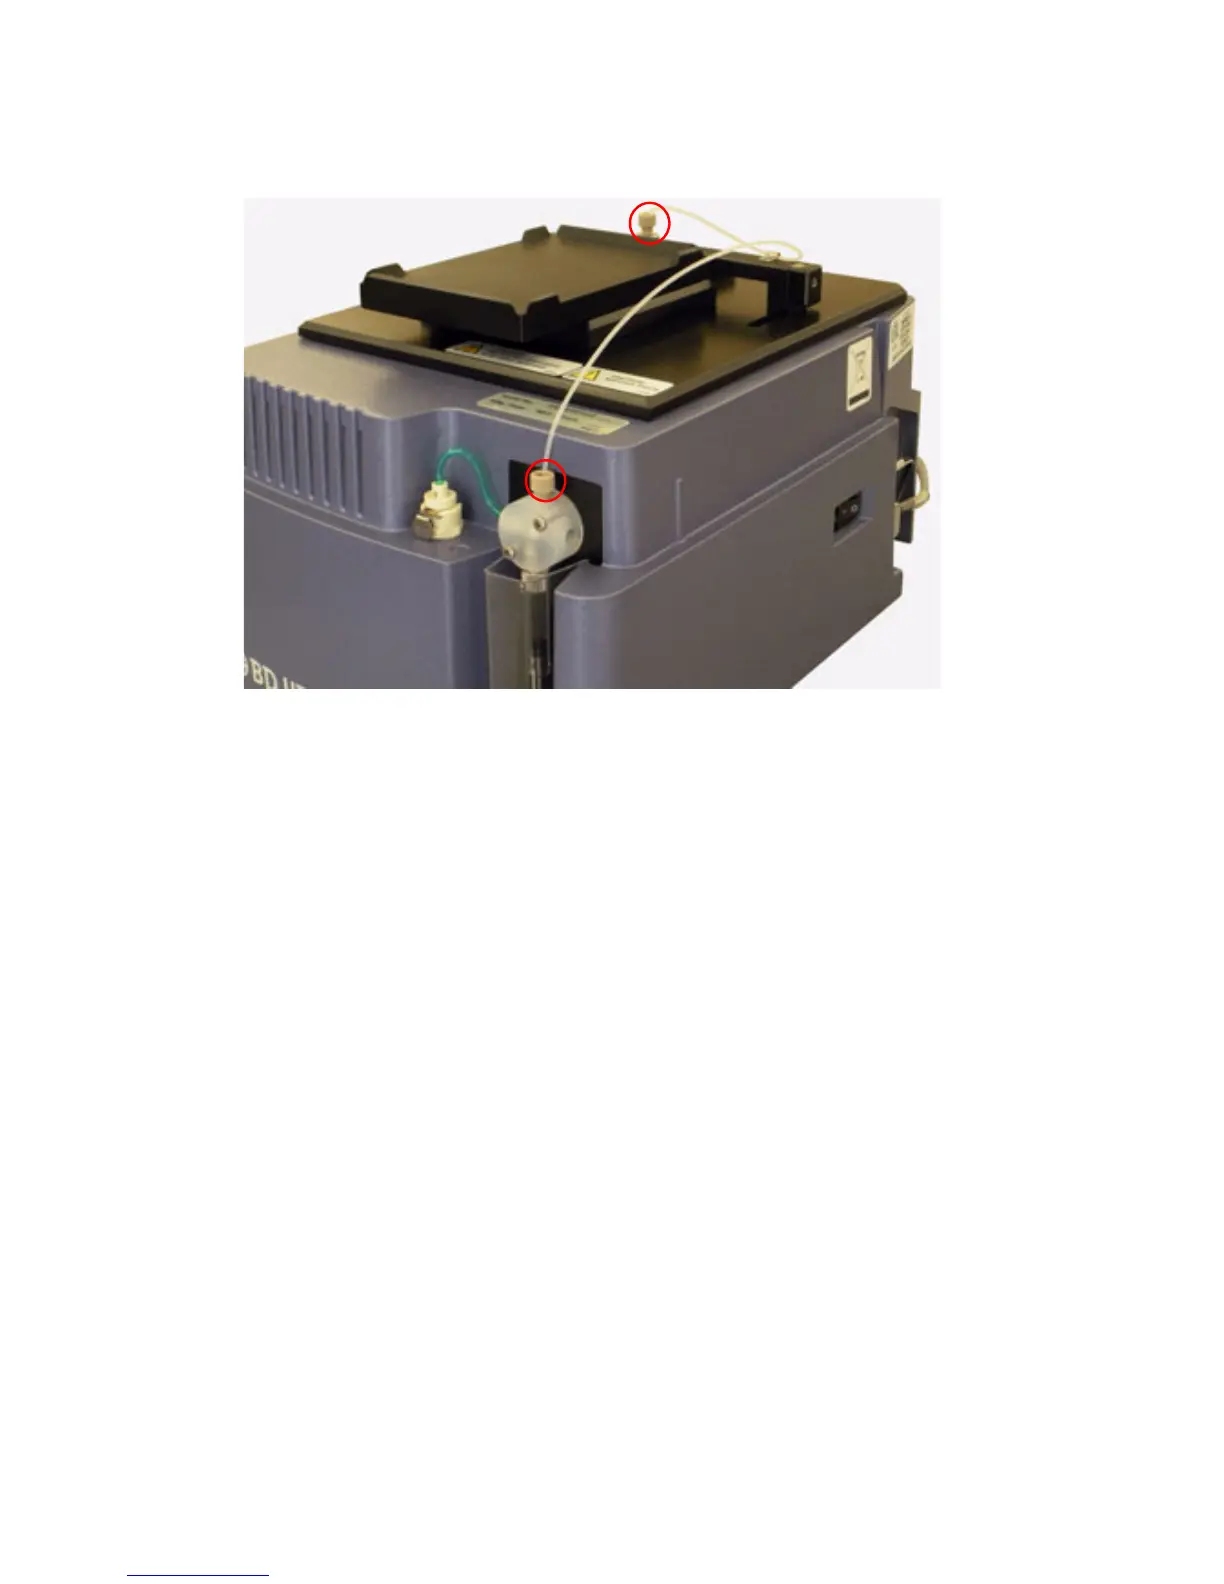
7 Install and tighten the sample injection tubing to the sample probe and to
the top of the primary pump.
8 Turn on the cytometer and perform a Prime.