Assembly and connecting
68 Embedded PC
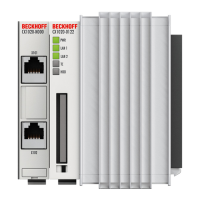
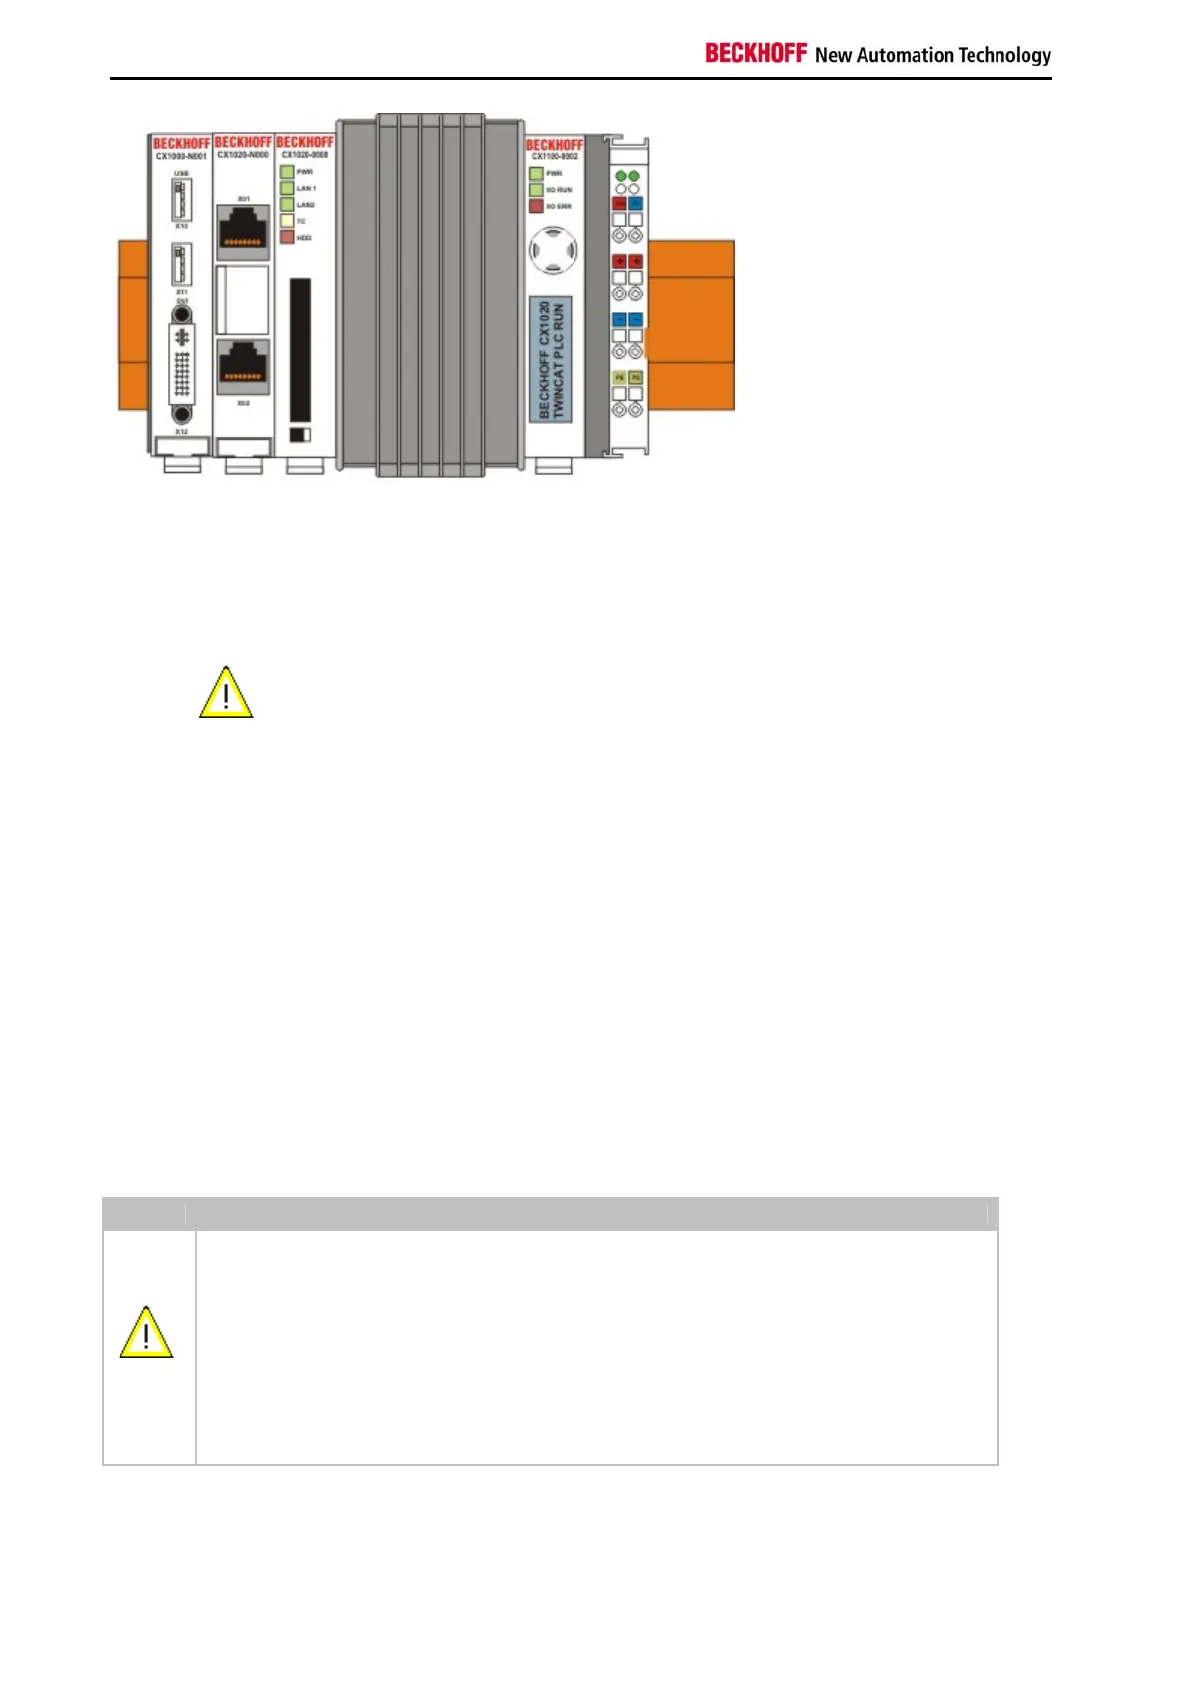
Then fix the CX1020 block on the top hat-rail using the latching straps. You should hear a soft click.
Do not force the module or apply
excessive pressure!
Only apply pressure at insensitive points of the housing (edges). Never apply pressure on the display, the buttons or
movable parts of the CX10x0 system.
After successful latching on the top-hat rail the straps should be pushed back to their original position.
Note:
A locking mechanism prevents the individual housings from being pulled off again. Detailed information relating to
disassembly of the CX1020 configuration from the top-hat rail can be found on page "Removal and disposal".
Installation position:
Warning
The maximum ambient temperature for CPU modules mounted on a top-hat rail is 55°C. The
orientation in which the device is fitted must be selected in such a way that cooling air can flow
vertically through the ventilation holes. The images show the correct (Fig. 8) and two incorrect
installation positions (Figs. 9 & 10).
Observe minimum clearance!
Mounting must provide a clearance of 30 mm both above and below a CX1000 device
combination to ensure adequate ventilation of the base CPU module and the power supply unit.
 Loading...