© BEKA 201 All rights reserved!6
...a product of BEKA
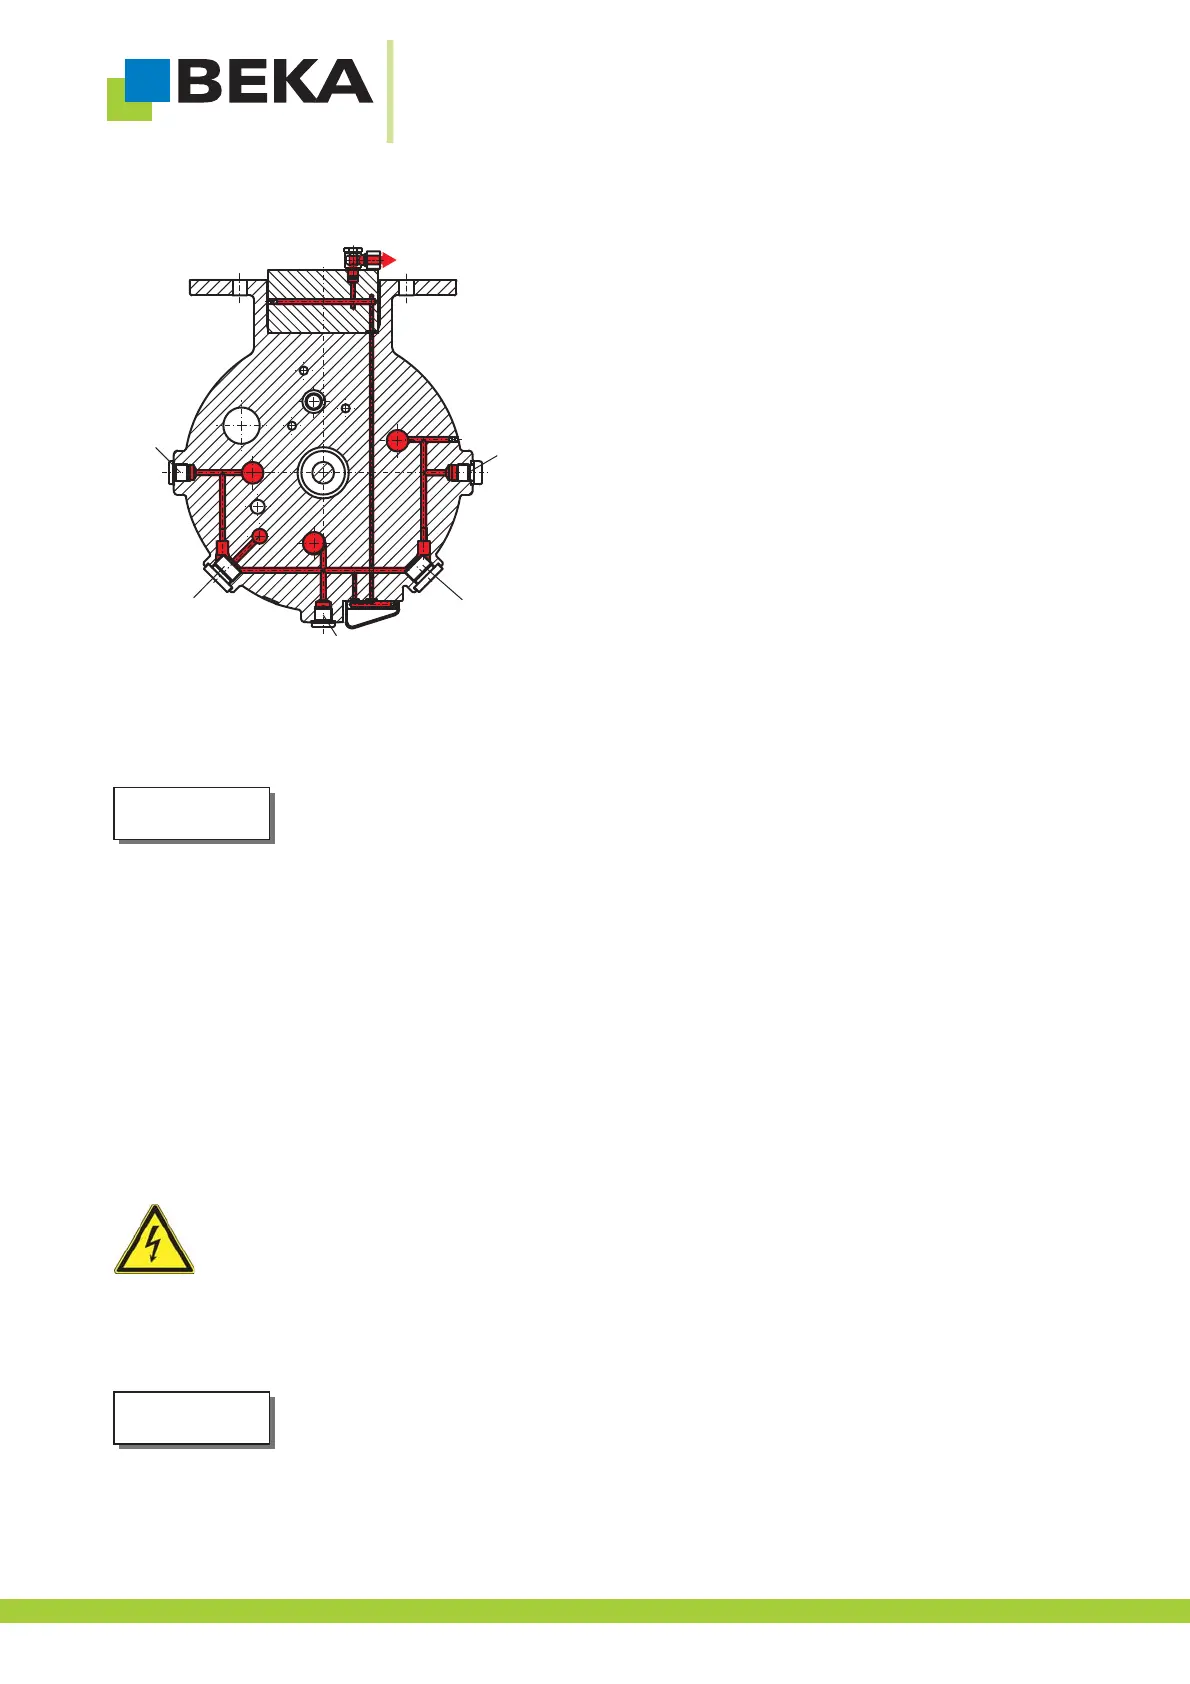
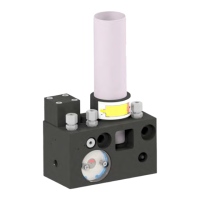
Fig. 39:
Connecting outlets:
Remove the screwed sealing plug (2, Fig. 38 or 1, Fig. 39).
Remove the cylinder screws and sealing rings.
Replace the screwed sealing plug (1, Fig. 39). Ensure that the sealing ring is not damaged.
If the sealing ring and the screwed sealing plug are not properly screwed back in, water or dirt may
get into the central lubrication pump and be carried into the lubrication system, where damage may
occur.The system is no longer leak-tight and cannot build up pressure.
8.4 Line assembly
· Professional design!
· When using pipes, observe that they are clean, seamless and precision steel pipes!
· Assemble the pipes professional and free from distortion.
· Observe pressure tightness or fittings!
· All components must be authorized for the max. operation pressure (see technical data).
8.5 Electric connection
· Current supply must be done by a professional electrican!
· Connection and wiring of the electrical components should be done expert.
· Compare voltage details with the existing manis voltage.
· For industrial applications, equipotential bonding must be carried out properly by the user via an
appropriate earthing connection!
· Wire the device according to the circuit diagram.
The central lubrication pump is delivered with bayonet plug and 10 m cable or with cubic plug acc.
to DIN 43650 without cable. The cable for connection of level monitoring and angular momentum
must be ordered seperately (see 15 spare part list and 16 spare part drawing).
11
2
2
2
Attention!
Note!
32