41 ©
BEKA 2019 All rights reserved!
BAL2576_BEKA_HAMAX_System2_0919DE_EN_FR
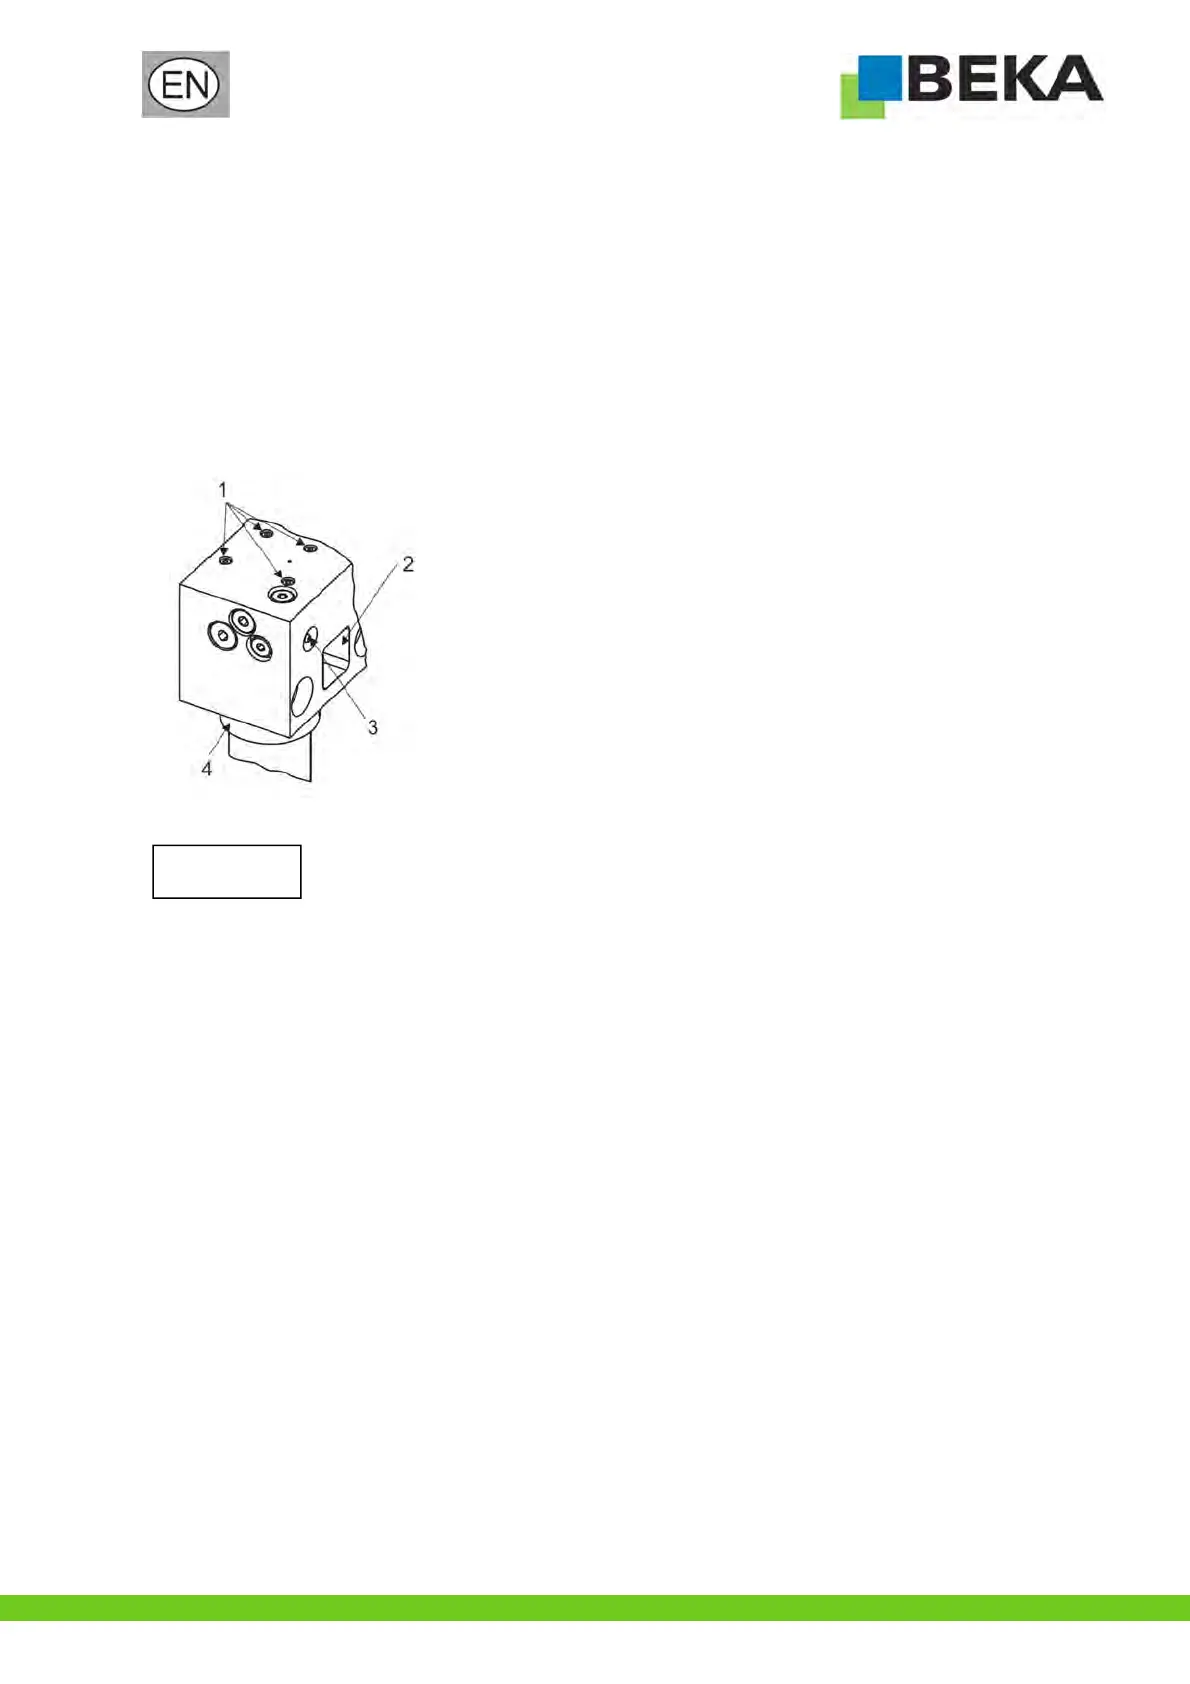
9.2 Change of the cartridge adapter
Proceed as follows to change the adapter:
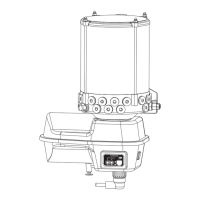
Loosen and remove the four fastening screws (fig. 5, pos. 1) opposite the cartridge holder with an Allen key AF 4.
Pull the cartridge adapter (fig. 5, pos. 4) out of the pump housing and exchange it.
Check whether the seals in the pump housing are alright. Exchange damaged seals.
Clean the cartridge adapter.
Put the new cartridge adapter into the pump housing. The inspection window in the cartridge adapter and in the pump housing
(fig. 5, pos. 2) must match.
Retighten the four fastening screws with an Allen key AF 4 (6 Nm).
Fig. 5:
9.3 Ventilation of the device
The device must be ventila
ted
when it is initially operated or when it has sucked in air for a longer period
of time and no longer delivers lubricant.
Fill the device with lubricant via the zerk (fig. 5, pos. 3) until bubble-free lubricant escapes from the lubricant outlet. A standard
hand lever grease gun can be used for this.
Remove redundant lubricant and dispose of it professionally.
Connect the lubricant line professionally.
9.4 Ventilation of the sy
stem
Disassemble the lubricant line at the lube point.
Fill the lubricant line with grease via the zerk or by operating the hydro motor until bubble-free lubricant escapes at the end of the
lubricant line.
Reconnect the lubricant line professionally.
Caution!