13
TO LOWER LIFT:
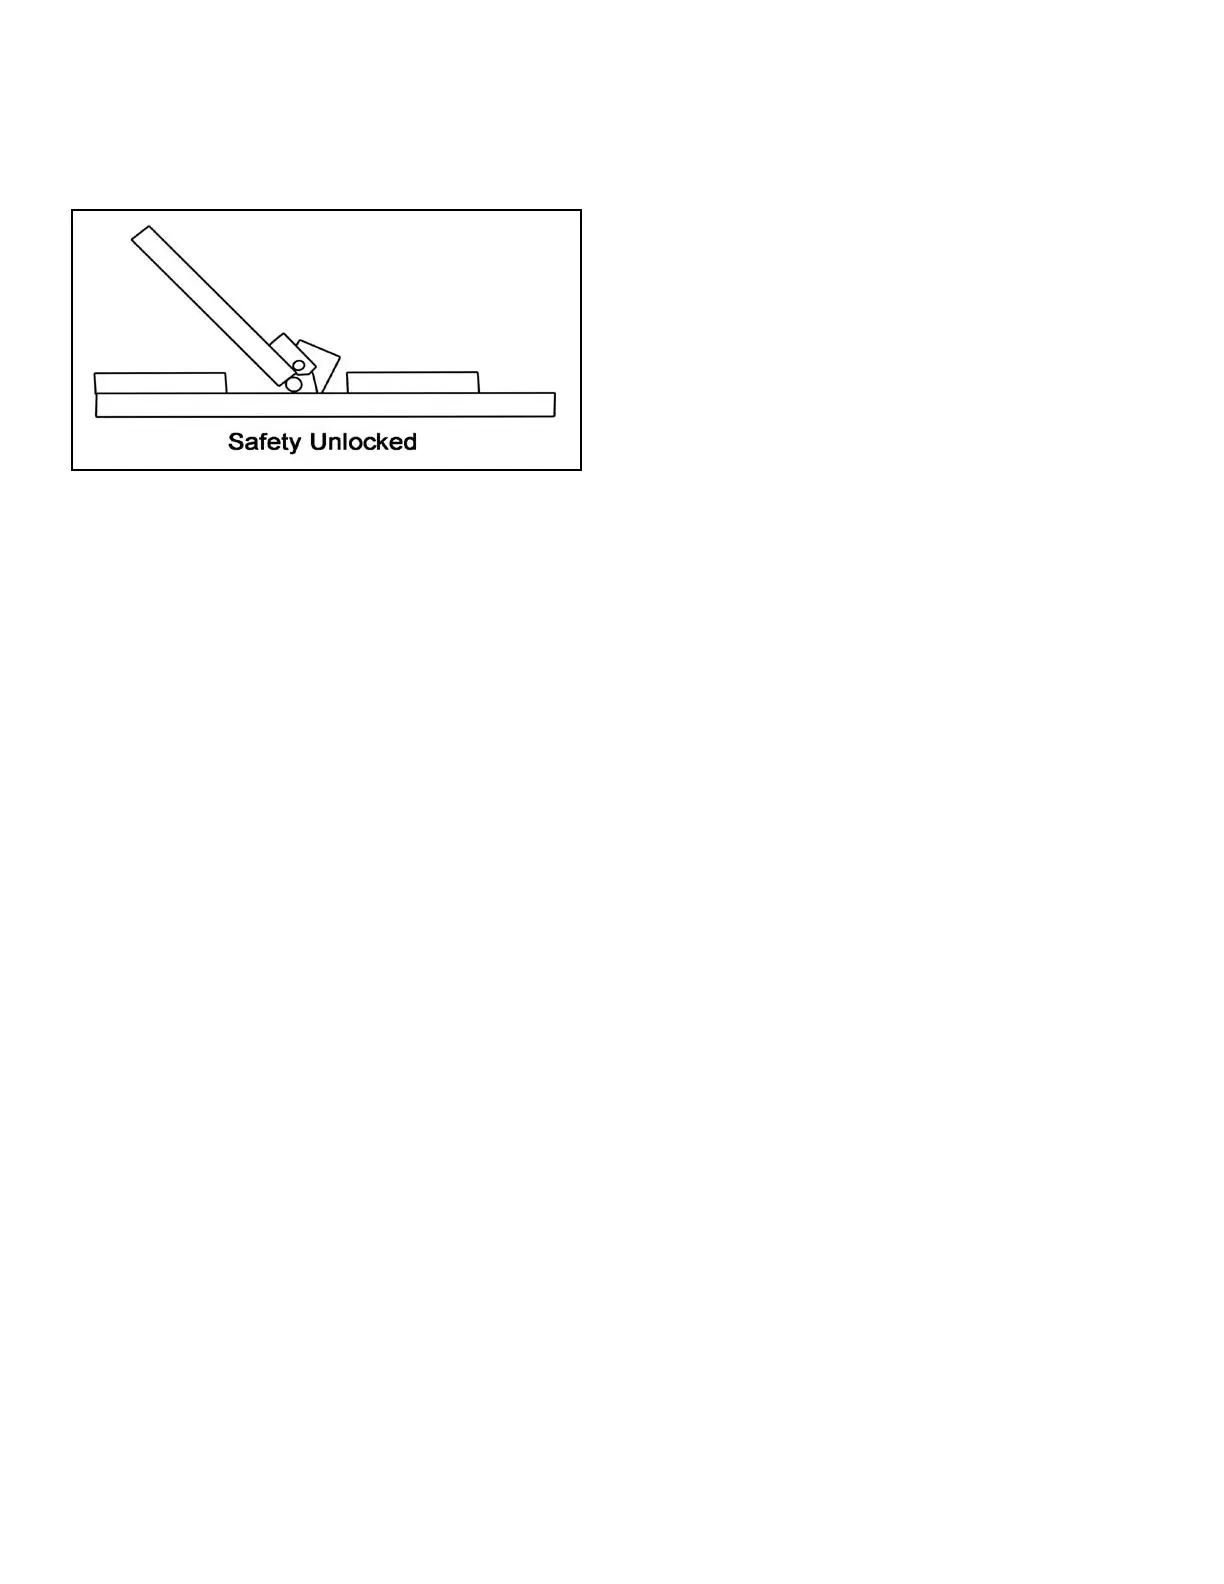
1. Raise the lift off the Safety locks by pressing
the push button on the Power Unit. Make sure you raise
the lift by at least two inches to allow adequate clearance
for the Safety lock to clear. (See Fig. 9.2)
2. Lower lift by depressing lowering valve on Power
Unit.
3. Run the lift up and down a few times to insure that the
locks are engaging properly. Re-adjust or contact your
installer or Bendpak if necessary
STEP 10
(Bleeding)
1. Lift must be fully lowered before changing or adding
fluid.
2. Raise and lower lift six times. The Cylinder is self-
bleeding. After bleeding system, fluid level in power unit
reservoir may be down. Add more fluid if necessary to
raise lift to full height. It is only necessary to add fluid to
raise lift to full height.
3. To pressure test, run lift to full rise and run motor
for approximately 3-seconds after lift stops. This will place
pressure on the hydraulic system. Stop and check all
fittings and hose connections. Tighten or reseal if
required.
POST-INSTALLATION CHECK-OFF
t Lift Assembly, Level And Stable
t Electric Power Supply Confirmed
t Safety Locks Functioning Properly
t Check For Hydraulic Leaks
t Oil Level
t Lubrication of Critical Components
t Check For Overhead Obstructions
t Runways Level
t All Screws, Bolts, and Pins Secured
t Surrounding Area Clean
t Operation, Maintenance and Safety Manuals on Site
Fig. 9.2