Recovering your system 49
c. Follow the on-screen instructions to complete the task.
The backup creates a "BenQ user" folder on the D: drive, which
can be burnt to disk and archived independently of QDataTrove.
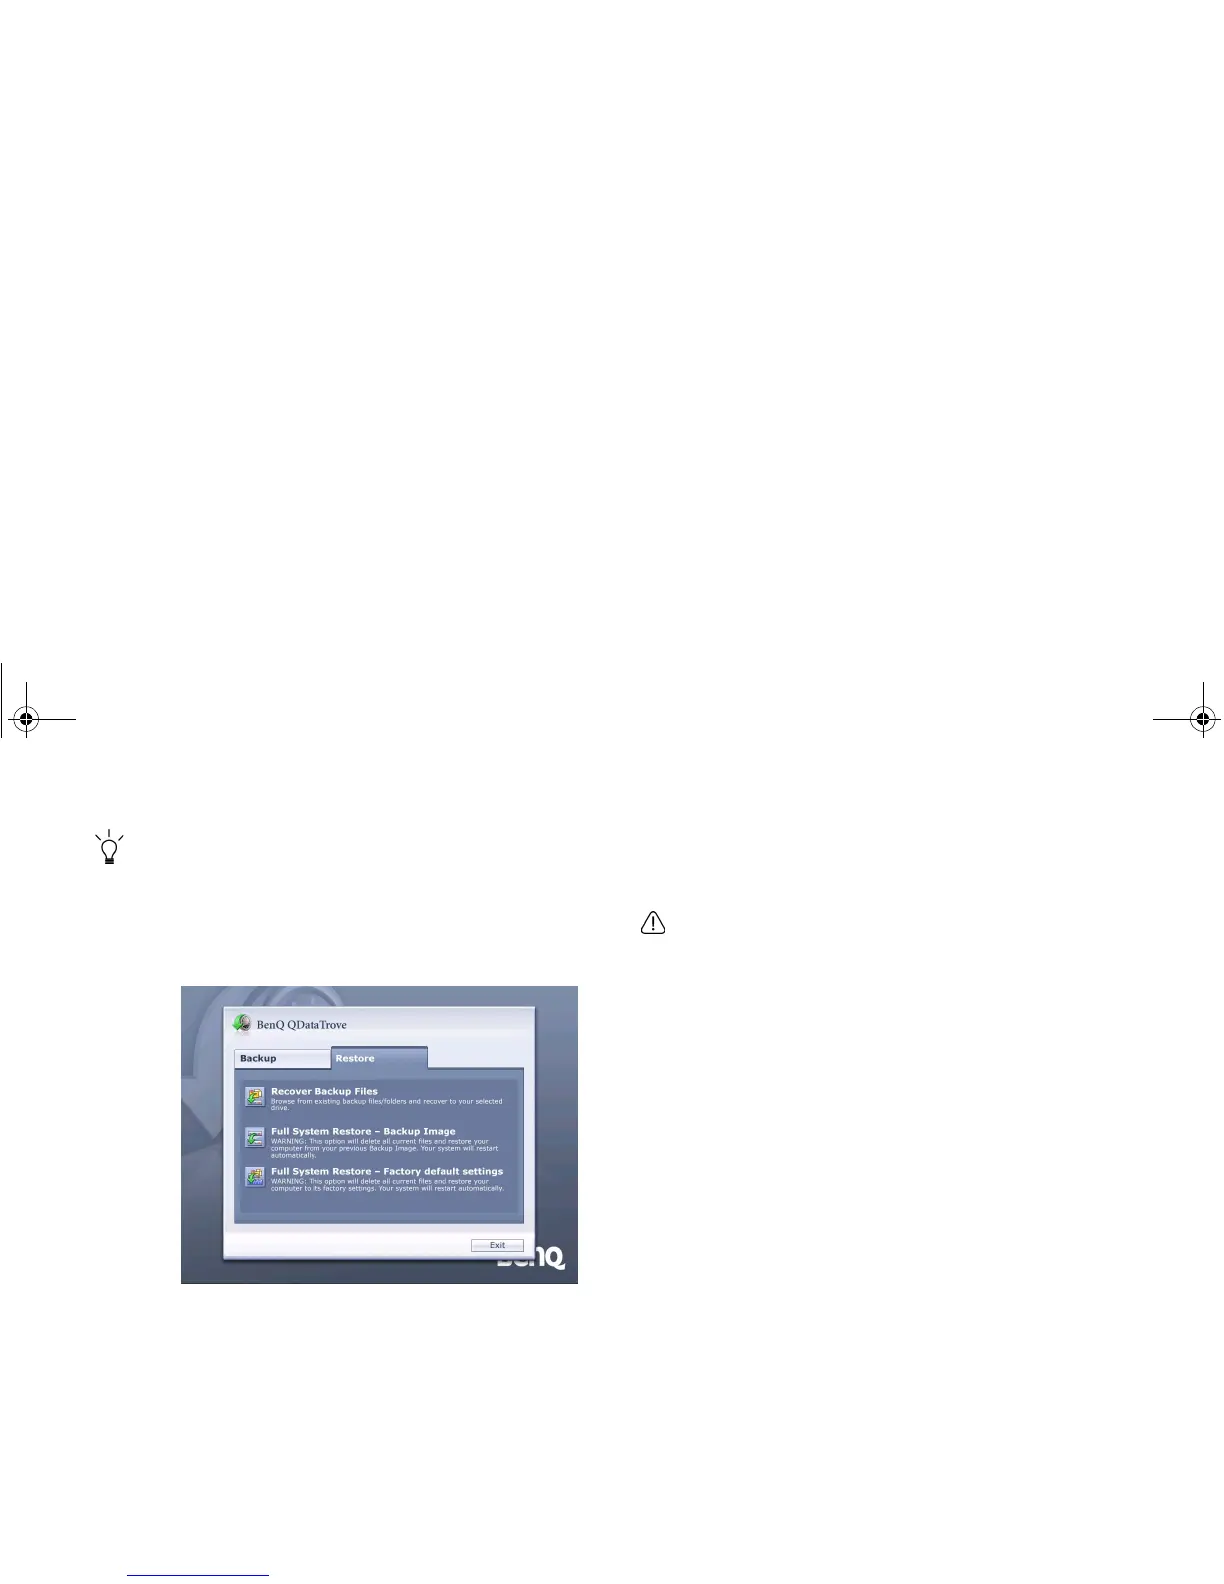
Recovering your backup files:
a. To browse your existing backup files or folders, and
recover them to the drive you selected, click Recover
Backup Files under the Restore tab to proceed.
b. Follow the on-screen instructions to complete the task.
Restoring your backup image:
a. To restore your Joybook from your previous backup
image, click Full System Restore - Backup Image under
the Restore tab.
b. Follow the on-screen instructions to complete the task.
Restoring your Joybook to factory default
settings:
This process will ERASE ALL data on your system drive C: and
restore the system to the default factory configuration.
If this option is selected, all programs you installed or data you
saved on the C: drive will be erased. However, data on the D:
drive will not be affected.
a. To restore your Joybook to its factory settings, click
Full System Restore - Factory default settings under
the Restore tab.
b. Follow the on-screen instructions to complete the task.
JB_R56_en.book Page 49 Tuesday, July 3, 2007 10:01 AM