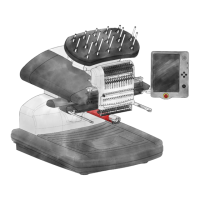
4. Place a business card of medium to heavy stock (or equivalent) between the needle plate and the
driver ring. This will act as a spacer. The ring should just rest on the card.
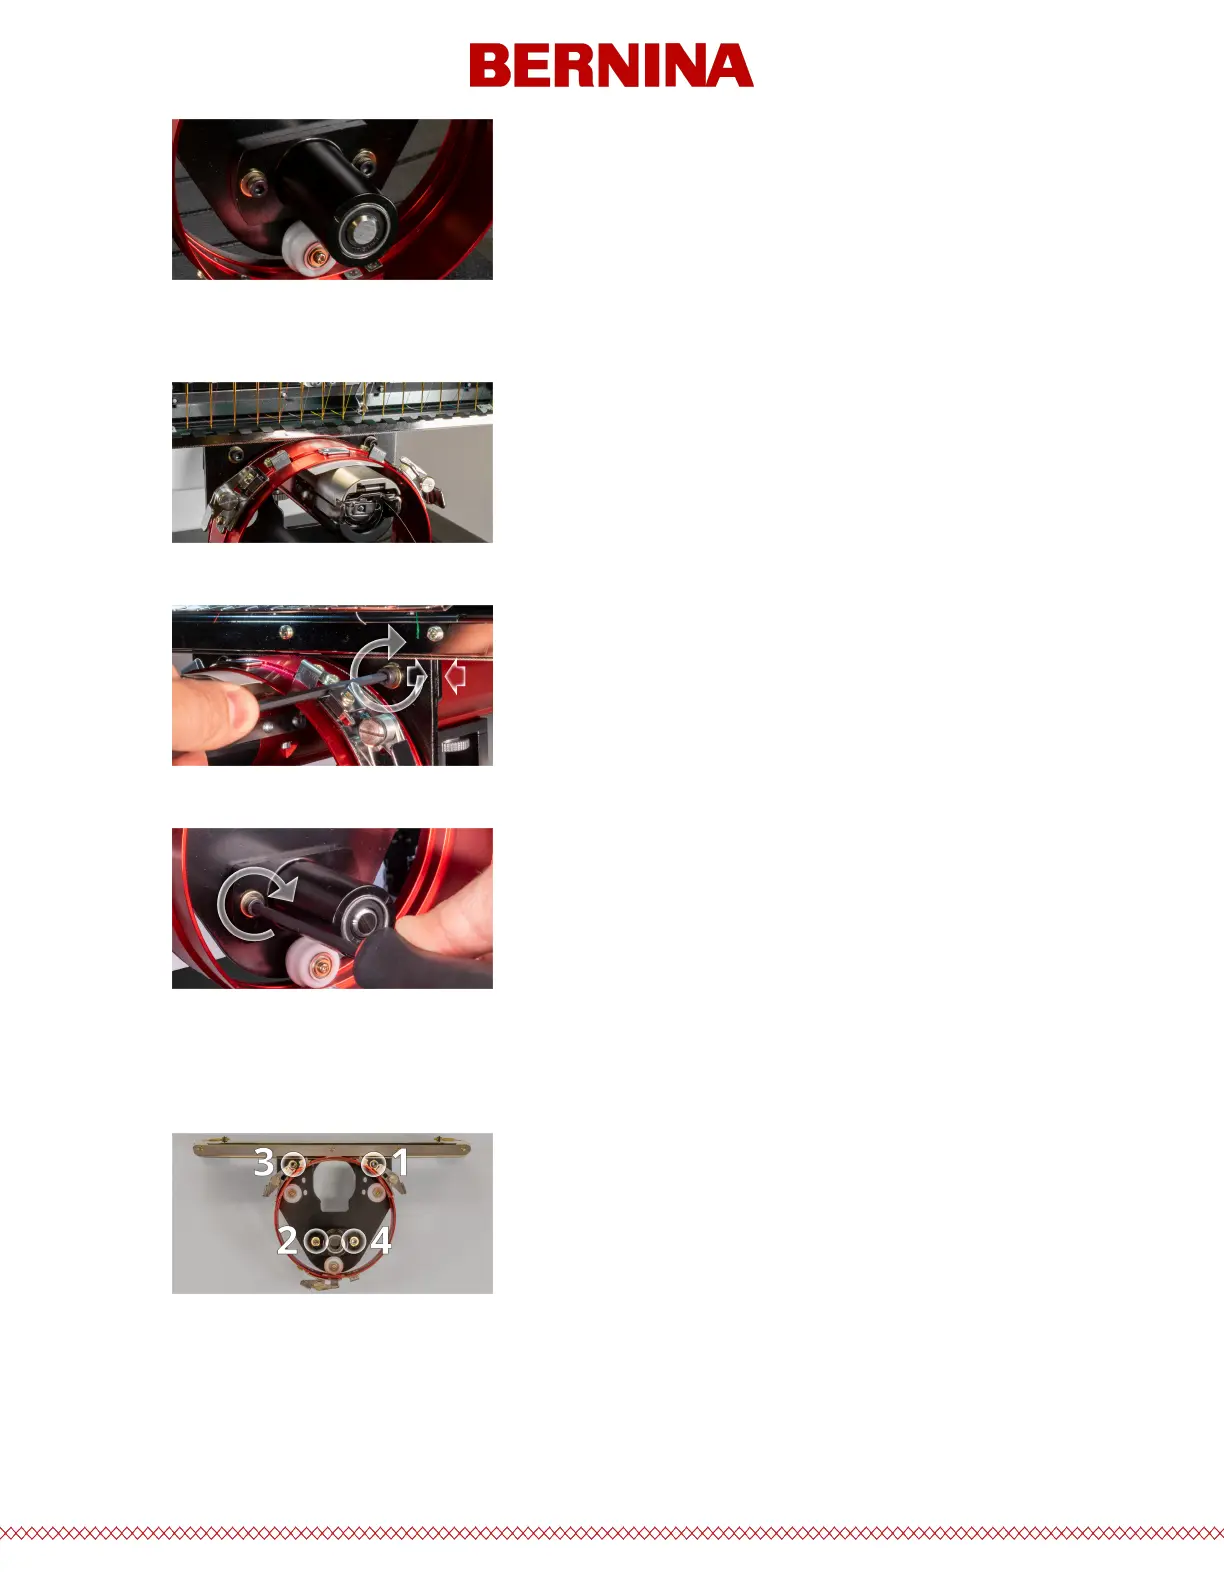
5. While making sure the edges of the two black brackets are aligned, tighten one of the upper screws.
6. Tighten the opposite screw securing the bearing mounting block.
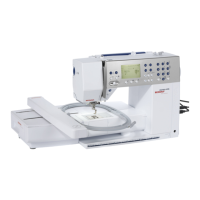
7. Tighten the second upper screw securing the bracket and then the second lower screw securing the
bearing mounting bracket. Tightening these four screws in a star-like pattern achieves the best
results. Then remove the business card.
8. Move the y-beam and x-carriage by hand to ensure there is no binding. This can only be accomplished
with the machine o or the e-stop engaged.