42
13. If you want to use the beer pump after cleaning, you can use the parts straight away.
However, after connecting a new beer keg, allow beer to run into a glass for a few
seconds to clear out any possible water and detergent residues. Your beer pump is
then ready for use again.
Rinsing the Beer Line
• Rinse through the beer line if you have not used the beer pump for some time (e.g.
overnight or longer).
You require the cleaning balloon supplied and a vessel containing hot water. We recom-
mend that you place the beer pump on the edge of a sink without the drip tray, in such a
way that the waste water can run out of the tap into the sink below. If this is not possible,
attach the drip tray to the device and make sure that it does not overfl ow. It has a capac-
ity of 450 ml.
1. Switch the beer pump off (switch position 0) and pull the mains plug out of the plug
socket.
2. Remove the beer keg from the beer pump (see the "Drawing Beer" chapter, "Remov-
ing / Changing Beer Keg from the Beer Pump" section).
PLEASE NOTE: When you remove the beer keg from the beer pump before it has
been fully emptied, leave the tapping sword including the valve unit or carbonated
keg adapter on the keg.
3. Remove the nozzle spout of the tap and clean it using warm water and mild detergent.
4. Open the tap.
5. Fill the cleaning balloon with warm water. To do this, press it together, immerse it in
water and let go of it again.
6. Place the tip of the cleaning balloon on the end of the beer
line and press the cleaning balloon together with force re-
peatedly. The line will be rinsed with the water. The waste
water fl ows out of the tap.
7. Repeat the rinsing process with at least 3 full balloons.
Cooling Container
• Empty and rinse through the cooling container after each use, i.e. when you switch off
the beer pump, or at least once a week when the beer pump is switched on.
We recommend that you place the beer pump on the edge of a sink without the drip tray,
in such a way that the waste water can run out of the water outlet valve into the sink
below. If this is not possible, attach the drip tray to the device and make sure that it does
not overfl ow. It has a capacity of 450 ml.
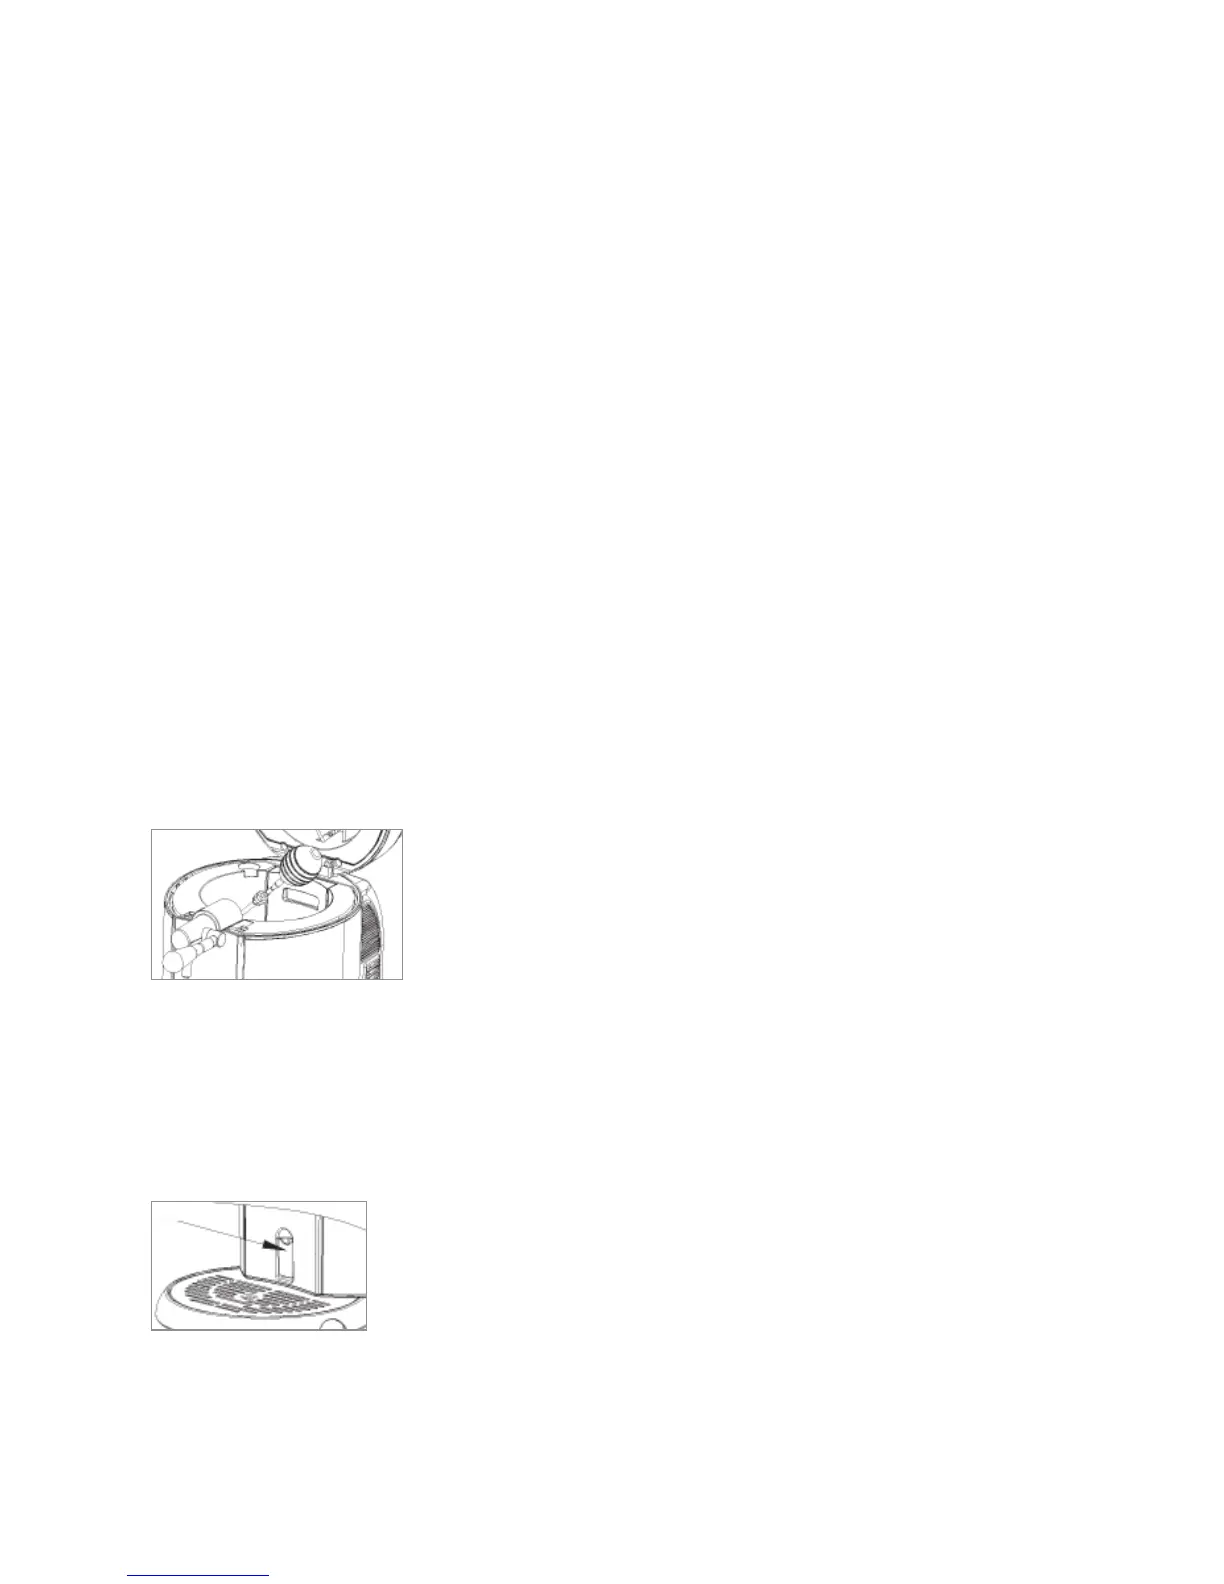
1. Flip open the water outlet and allow the water to run fully
out of the cooling container.
2. Close the water outlet valve.
3. Pour clean water into the cooling container.
4. Open the water outlet valve and allow the water to com-
pletely fl ow out again.
5. Repeat the process again if necessary.
6. Then wipe down the cooling container with a clean cloth.