Product Warranty ······························································································ 123
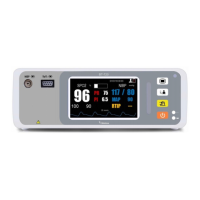
Figure 1-1: Front view ············································································································ 21
Figure 1-2: Side view ············································································································· 21
Figure 1-3: Rear view ············································································································· 22
Figure 1-4: Front view ············································································································ 23
Figure 1-5: Side view ············································································································· 24
Figure 1-6: Rear view ············································································································· 25
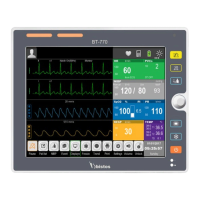
Figure 1-7: Standard display ·································································································· 27
Figure 3-1: “Settings” menu ·································································································· 35
Figure 4-1: “Patient” menu ··································································································· 42
Figure 4-2: “Quick Admit” menu ··························································································· 42
Figure 4-3: “Patient Info” menu ···························································································· 43
Figure 5-1: Standard display ··································································································· 47
Figure 5-2: Big ECG format ····································································································· 48
Figure 5-3: Big font format ···································································································· 48
Figure 5-4: ECG 7-Lead full screen format ············································································· 49
Figure 7-1: 3-Lead placement method ·················································································· 63
Figure 7-2: 5-Lead placement method ·················································································· 64
Figure 7-3: ECG wave in standard display format ·································································· 66
Figure 7-4: ECG parameter in standard display format ························································· 66
Figure 7-5: “ECG Setup” menu ······························································································ 67
Figure 8-1: 5-lead respiration electrode placement ······························································ 70
Figure 8-2: Respiration wave ································································································· 71
Figure 8-3: Respiration parameter display ············································································ 71
Figure 8-4: “RESP setup” menu ····························································································· 72
Figure 9-1: PR parameter display ·························································································· 74
Figure 10-1: SpO
2
parameter display ····················································································· 78
Figure 10-2: SpO
2
wave ········································································································· 78
Figure 10-3: “SpO
2
Setup” menu ···························································································· 79
Figure 11-1: NIBP parameter display ····················································································· 87
Figure 12-1: TEMP parameter display ··················································································· 90
Figure 13-1: Trend chart ········································································································ 92
Figure 13-2: “Trend” table ····································································································· 93
Figure 13-3: NIBP measurement review ················································································ 94