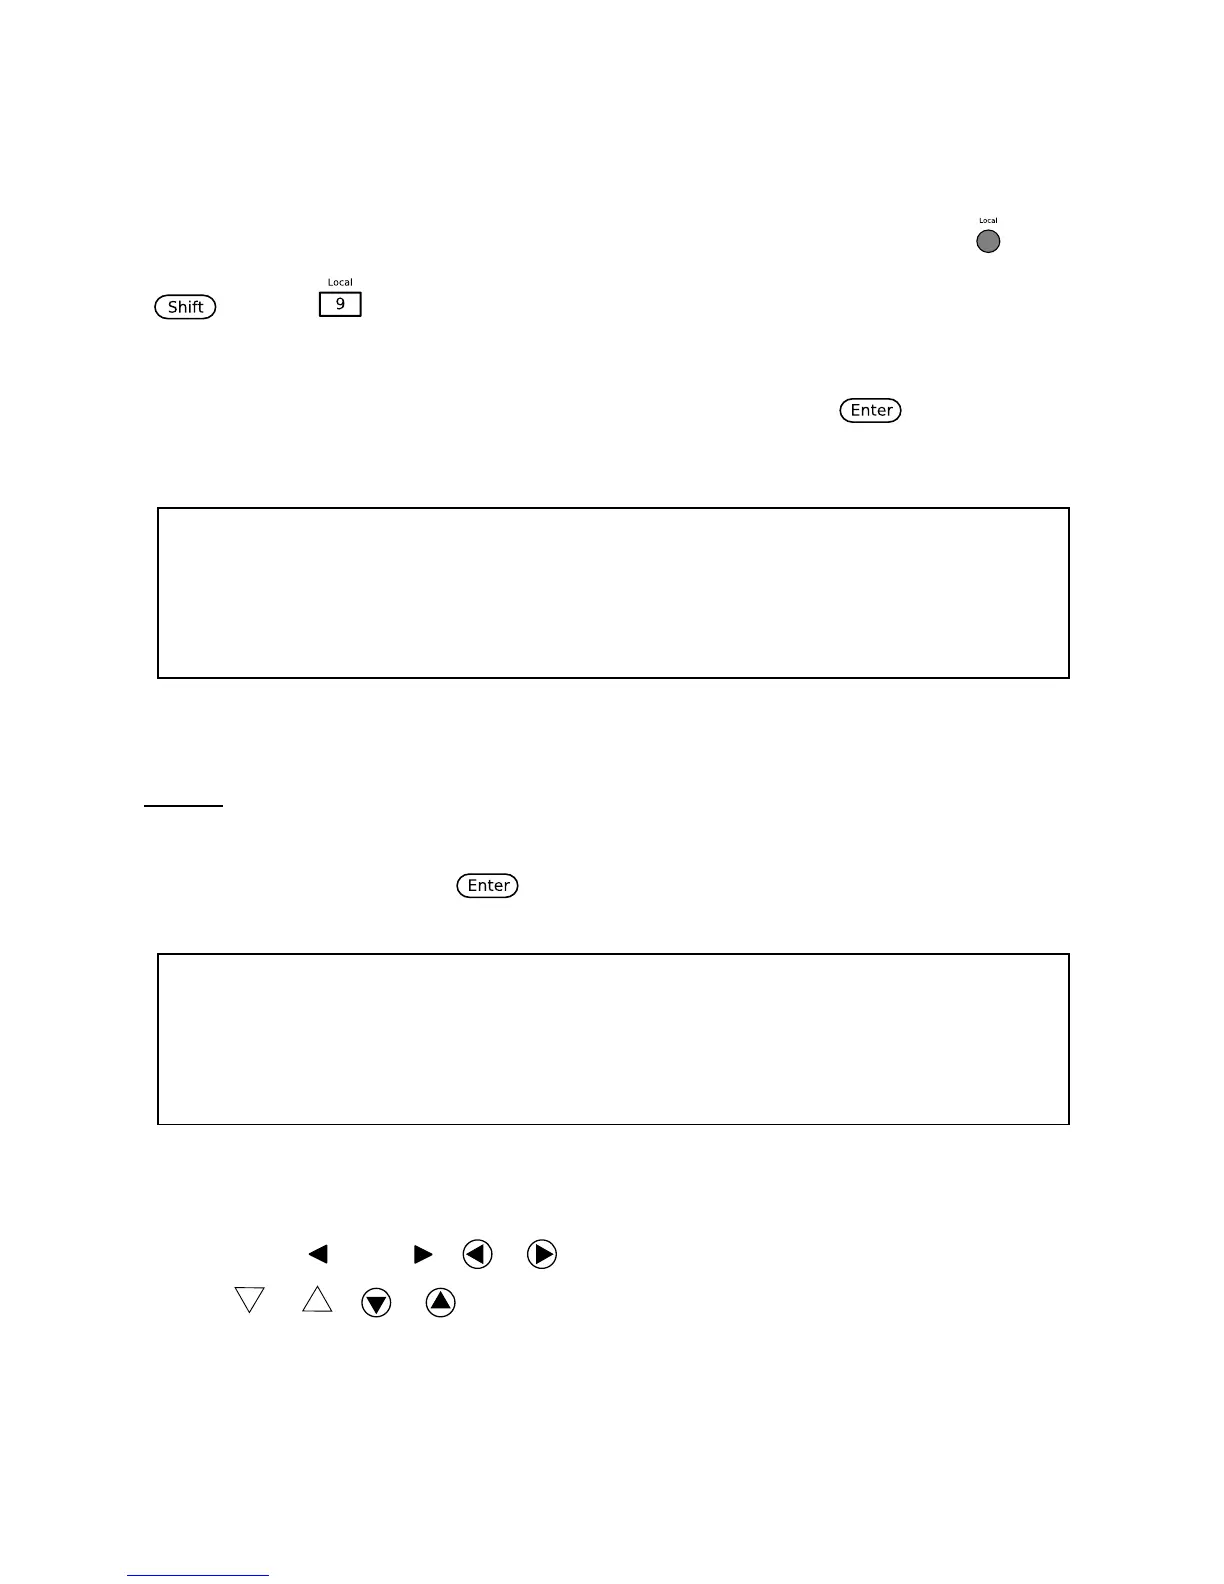
35
Note: The RMT indicator will appear on display when the instrument is successfully connected
to a PC remotely through any remote interface. Keys on the front panel will be locked until the
instrument is in LOCAL mode. To return to LOCAL mode from the front panel, press
( and then ) . The RMT indicator will disappear when the instrument is in LOCAL
mode.
From the SYSTEM menu, browse and select Communication and press . The following
screen will appear.
RS-232
Follow the steps below to configure the instrument for RS-232 operation:
1. Select RS-232 and press to set to RS-232 for remote communication. The
following display will be shown:
2. 4800 is the baud rate; 8 is the data bits; N is the parity; 1 is the stop bit; Addr… is for
address.
3. Use the and ( or ) keys to select between each serial settings, and use
( or ) keys to change the settings.
4. The following setting options that can be used:
Baudrate: 4800, 9600, 19200, 38400, 57600, 115200*
Data bits: 8