31
6. To select the tolerance range, press the button once more. For each button press,
the meter will cycle through the tolerance range percentage in this order: 1%, 5%, 10%,
20% which will also be indicated on the LCD. The component to be tested will be
verified with the tolerance within the selected % of the “standard” value or test
reference value (as configured from step 5).
7. Within a few seconds, an audible tone will be heard.
One single “beep” or tone means the component is within tolerance.
Three “beeps” or tone means the component is out of tolerance.
Disable Tolerance Mode
To disable or exit out of tolerance mode, simply press and hold down the button for two
seconds. The “TOL” and/or the percentage indicators “1%”, “5%”, “10%”, or “20%” will
disappear from the LCD display.
Note: Changing the primary function, secondary function, or test frequency will automatically
disable tolerance mode.
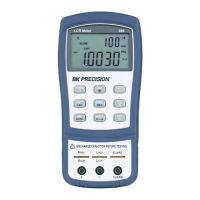
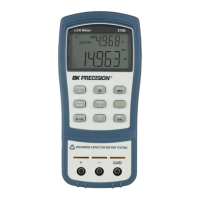
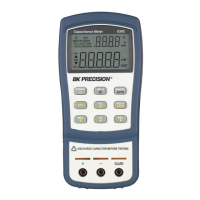
Utility Menu (UTIL)
The LCR meter has a built-in utility menu that allows you to configure some user preferences
and settings. The buttons used to set and control the menu are colored in yellow: They are
, and .
Entering Utility Menu
Press and hold down the button for two seconds or until the primary display shows
“dCdLy”. This indicates the meter is currently in the utility menu.
Configuration and Settings
There are four different menu options and configurable settings under each option. Below is a
table that lists these options and settings.