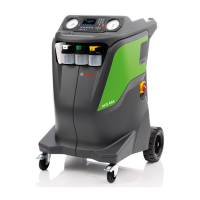
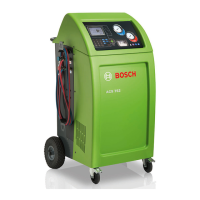
ACS 653, ACS 663 Service Manual
SP00D00624 2021-04-08Robert Bosch GmbH
17
Introduction
Vacuum pump oil must be changed with
every lter change, every 100 hours pump runs
or more often as necessary.
1. Call up the Main Menu.
2. Select icon.
3. Select icon.
4. Select from the
Maintenance Menu or when prompted.
The display shows how long the vacuum
pump has operated since the last oil change.
REMAINING OIL LIFE XXX:XX (hhh:mm)
CHANGE OIL NOW?
5. Select icon to change vacuum pump oil.
6. If the the machine displays:
WARMING OIL FOR DRAIN
• allow the vacuum pump to run for two
minutes to warm up the oil.
7. If the oil is already warm, the display shows:
DRAIN USED OIL FROM PUMP AND REPLACE
WITH 550 ML OF NEW OIL REMOVE CAP TO
SPEED DRAINING OF OIL
8. Switch o the machine.
9. Open the service rear door.
10. Slowly open the oil ll port cover (2) to verify
there is no pressure in the machine. Then
carefully remove the cover. See Figure 1-7.
11. Remove the oil drain fitting cap (3) and
drain the oil into a suitable container for
disposal. Reinstall the oil drain cap (3) and
close tightly.
A refrigerant identifier samples refrigerant
going into the ISV to verify it is R1234yf and
not contaminated. Replace the sample hose
assembly during every lter change and also if
prompted by an error message saying the hose
is clogged. See Figure 1-6.
1. Switch o the machine.
2. Open the service rear door.
3. Remove the rear cover (above the service
door) by pushing it up and extract it by
pulling it out.
4. Disconnect the existing sample hose
assembly (2) between the rear side of the
manifold and the refrigerant identier, and
install a new sample hose assembly. If the
lter is any color but white, the lter must
be replaced.
5. Pull the lter barbs from the rubber hoses.
Snap the lter (1) out of the clip.
6. Install a new lter (lter arrow in the same
direction as shown on the refrigerant
identier). Do not kink the rubber hoses.
Push the rubber hoses back into the
refrigerant identier housing until they are
straight.
7. Insert the rear cover so that the 4 holes on
the sides the cover t into the 4 clips on the
machine. Push down to hook the rear cover.
8. Close the service rear door.
1
2
Flashing Red Warm up phase
Solid Blue Warm up phase completed
Flashing Blue Calibration in progress
Alternating Blue and Green Calibration OK, ready for
measurement
Alternating Blue and Red Calibration failed
Flashing Yellow Measurement in progress
Alternating Yellow and
Green
Measurement completed,
passed
(displayed for max. 10 sec)
Alternating Yellow and Red Measurement nished,
not passed
(displayed for max. 10 sec)
 Loading...