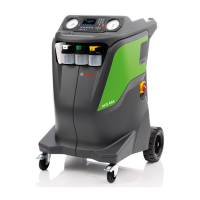
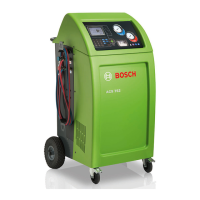
ACS 653, ACS 663 Service Manual
SP00D00624 2021-04-08Robert Bosch GmbH
77
Electrical
Follow these steps to replace the fan assembly.
Refer to Figure 3-8.
1. Clear service hoses and remove them.
2. Disconnect unit from the power source.
3. Remove the front plastic cover and open
service rear door.
4. Remove 2 screws outside the frame to free
the fan.
5. Note the orientation of the fan blades.
6. Disconnect the FAN connectors and fan
ground connector from the fan assembly.
7. Remove the fan assembly and then the fan
grid.
8. Install the fan grid on the replacement fan.
9. Fasten the fan ground connector to the
ground screw on the replacement fan body.
10. With the fan blades properly oriented as
noted in step 5, install the replacement fan
assembly by securing it to the lateral panel
assembly with two sheet metal screws.
11. Connect the FAN connectors to the fan
assembly. Use tie-wraps to secure the fan
wires.
There is no polarity requirement for
these connections.
12. Close the service rear door.
13. Connect the unit to a power source and
place the power switch on. The fan should
run. If the fan does not run, refer to the
Diagnostics and Testing section.
14. Reinstall the plastic frontal cover.
15. Attach the outside high- (red) and low-side
(blue) service hoses. Tighten at 7.9 Nm
torque.
ss01994
Lower mounting hole
Upper mounting hole
 Loading...