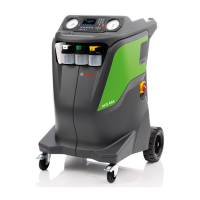
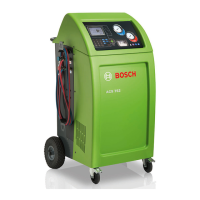
ACS 653, ACS 663 Service Manual
SP00D00624 2021-04-08Robert Bosch GmbH
21
Introduction
For the printer installation follow instructions
hereby:
1. Switch o the machine.
2. Remove the printer protective cover.
3. Remove the cap (6) and the visible screw
from the hole.
1
3
3
4
5
2
6
For the refrigerant identier kit installation follow
instructions hereby:
1. Clear service hoses and remove them.
2. Switch o the machine.
3. Remove the 3 screws (1) either from left
and right side of the machine and the
2 screws (2) underneath the frontal panel
(see Figure 1-12).
4. Remove the front plastic cover.
5. Open the service rear door.
6. Remove the rear cover (above the service
door) by pushing it up and extract it by
pulling it out.
4. Remove the control panel (2) of the unit to
have access inside.
5. Connect the RS232 cable (4) and the power
supply cable (5) to the suitable connectors
on the printer.
6. Fit the printer (1) and x it by means of the
proper xing tabs (3).
7. Connect the RS232 cable (4) to the
connector of the control board.
8. Connect the power supply cable (5) to the
connector of the control board.
9. Re-x the control panel (2).
10. Screw back the screw and place the cap (6).
11. Connect again the machine to the power
supply system and switch it on.
12. The printer is ready to be used.
 Loading...