Aspirating Smoke Detector Commissioning | en 103
Bosch Sicherheitssysteme GmbH Operation Guide 2018.04 | 2.0 | F.01U.130.926
7 Commissioning
7.1 Preparation
Checking the settings
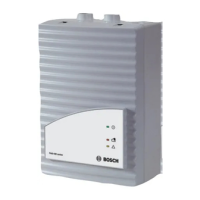
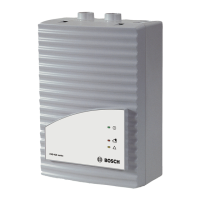
Check the settings of the FCS-320 prior to commissioning.
Then connect the unit to the power supply. The detector module of the FCS-320 is ready for
operation after approximately 1minute.
To commission the FCS-320, completely install the pipe system and connect it.
Connection test
Check whether…
– The correct aspiration reducing film sheets are glued to the air sampling openings.
– The pipe system is securely connected to the FCS-320 pipe connection.
– All pipe fittings are glued together and the pipe system is sealed.
To do this, first close all air sampling openings (e.g. with duct tape). Then measure the
negative pressure at the opening for the return airflow using a digital precision pressure
gauge (see Conduction the Functional Test).
– Either at the opening for the return airflow
– Or using a test adapter installed directly upstream of the unit in the aspiration pipe.
After a short run-up time, the negative pressure must lie within the following range:
– Fan voltage 6.9V: 250Pa to 310Pa
– Fan voltage 9V: 460Pa to 530Pa.
FAS‑ASD‑DIAG Diagnostic Software
Then check the system using the FAS‑ASD‑DIAG Diagnostic Software.
Follow the procedure below:
– Install the diagnostic software on a laptop or PC.
– The FCS-320 is connected to the PC via the "DIAG" port on the motherboard using the
supplied diagnostics cable.
– The diagnostic software is started.
The current FCS-320 data is displayed on the PC screen.
FPA‑5000 diagnostics data
Notes on diagnostics data for the fire panel are contained in the user guide for the FPA‑5000.
Notice!
For a later evaluation of the airflow value, record the calibration type (see Calibrating the
Airflow Sensor, page 104), start-up temperature, air pressure and height above sea level in the
test log.
Once the airflow sensor has been calibrated, no further changes may be made to the pipe
system.
If changes are necessary at a later time, the airflow sensor must be re-calibrated (see
Calibrating the Airflow Sensor, page 104).
See also
– Conducting the Functional Test, page 108
– Calibrating the Airflow Sensor, page 104