36 en | (Optional) Installing the Illuminator MIC IP ultra 7100i │ MIC IP starlight 7100i
2019-12 | 1.2 | Installation Manual Bosch Security Systems
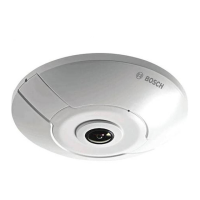
2. Remove and discard the three (3) plastic screws surrounding the appropriate access port
where the illuminator will be installed.
3. Remove the appropriate access plug from the camera head with the supplied spanner
wrench. For upright cameras, remove the plug near the visor. For inverted cameras, remove
the plug farther away from the visor.
Bosch suggests storing the access plug inside the DCA mount (or wall mount accessory) in
case it becomes necessary to remove the illuminator.
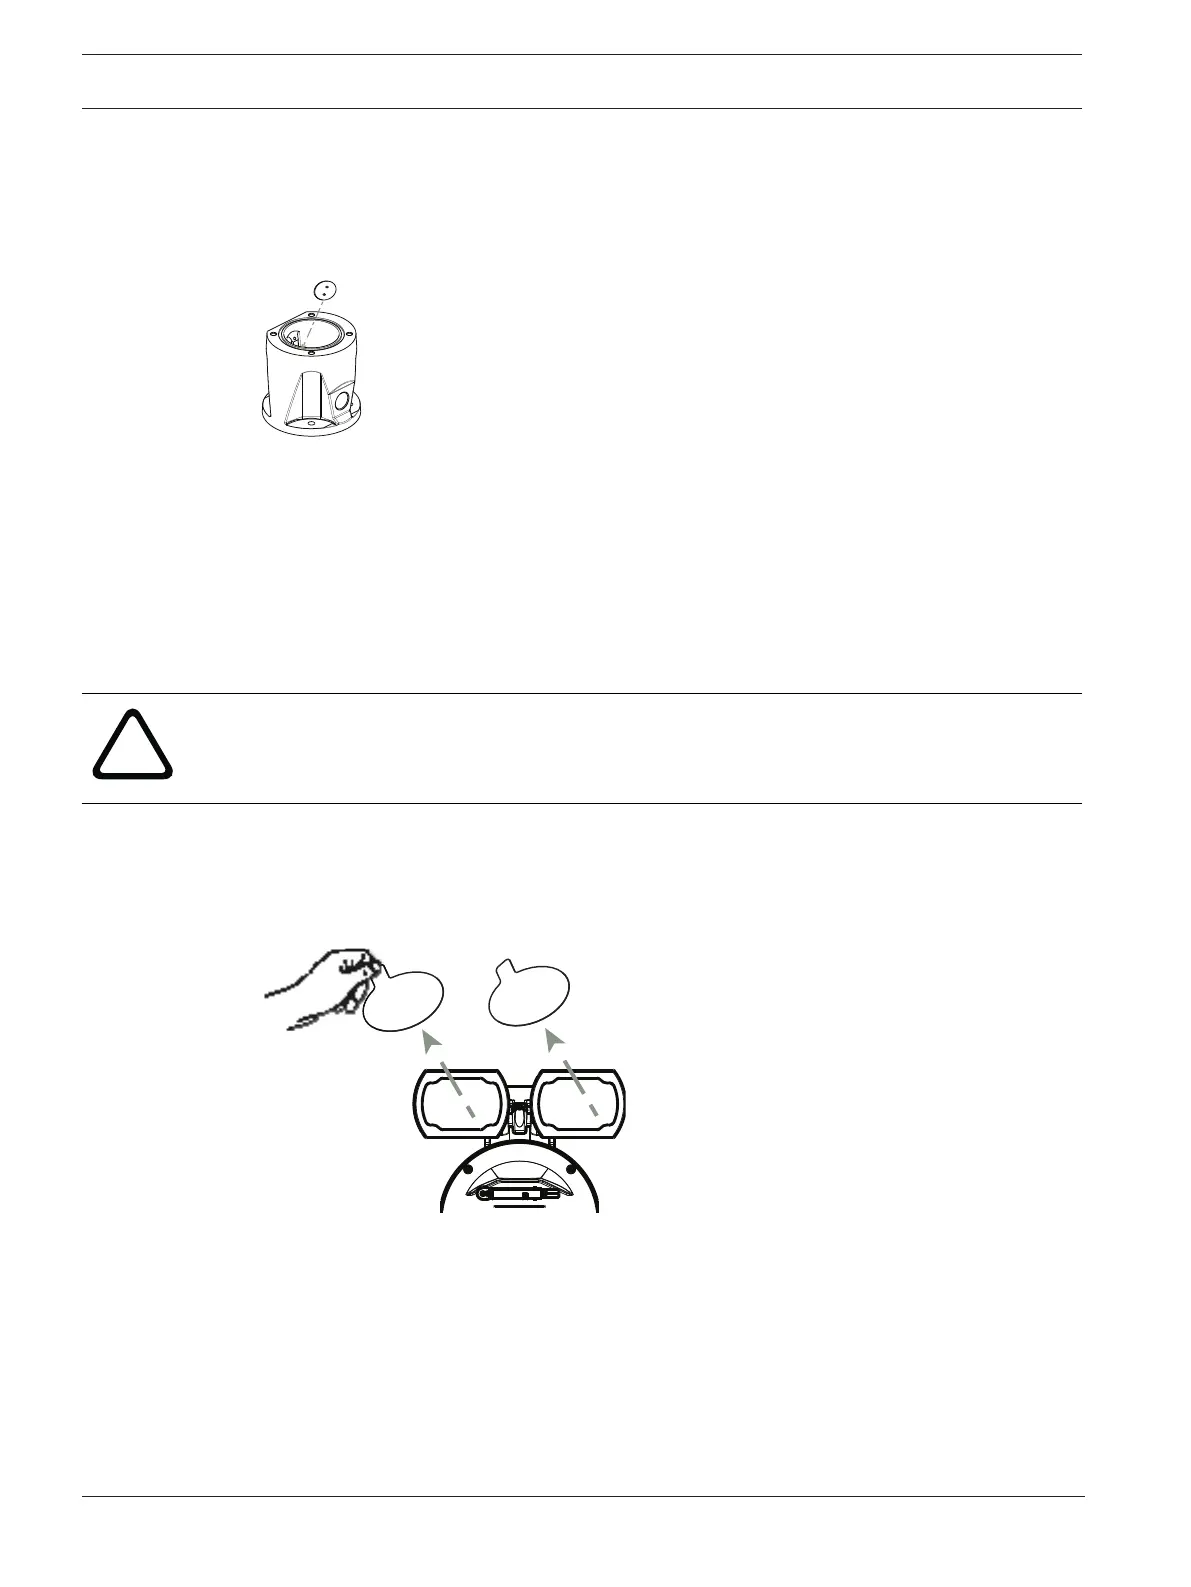
4. Remove the plastic cap from the illuminator accessory. Discard.
5. Align the illuminator over the access port and carefully push into position on the camera
head.
6. Partially engage the threads of all three (3) screws. Do not tighten any one screw
completely at this point.
– Using the T20 Torx driver, tighten the screws to the proper torque using the sequence
described in the previous figure.
Warning!
Total engagement is not complete until you tighten all three (3) screws.
7. Remove the translucent film.