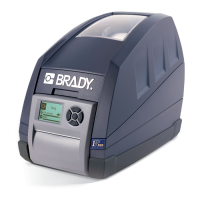
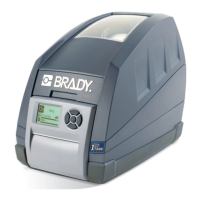
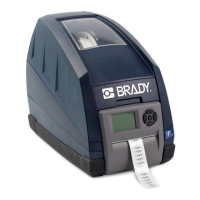
Brady IP Series Printer
Settings and Adjustments
Edition 12/07 Service Manual 27
3.4 Adjusting label sensor
You can adjust the label sensor with the Adj. gap sensor function. This is necessary if the sensor or
CPU PCB has been changed.
1. Insert service key into a USB master interface.
2. Press the menu button.
3. Select Service > Adj. gap sensor menu.
4. Press the button.
The display shows Remove labels .
5. Remove labels and transfer ribbon from the printer.
6. Press the button.
In the display the Insert liner message appears.
7. Load liner (without labels). Ensure that no labels are found on the liner near the sensor. Otherwise,
the result will be faulty adjustment and device malfunction.
8. Press the button.
The message Ribbon, no liner is shown.
9. Remove liner, load transfer ribbon.
10. Press the button.
In the display the Insert liner message appears again.
11. Leave transfer ribbon in the printer, load liner additionally .
12. Press the button.
OK appears in the display after a successful adjustment.
13. Confirm completion of the adjustment with the button.
Error during adjustment:
If an error occurs while adjusting the label sensor, Error appears in the display. If an error occurs again
when repeating the adjustment, one of the following assemblies may be defective:
• Label sensor
• Connection cable of the label sensor
• CPU PCB
Access only when service key is inserted!
Carry out adjustment of the sensor with the cover closed and housing mounted to keep out external light
sources.