Page 11 - Programming Manual 24805480/14-11-2012 319F92C ver. 1.2 -The data and information in this manual may be changed at any time with no obligation on BRAHMS’s part to notify anyone of this.
ENGLISH
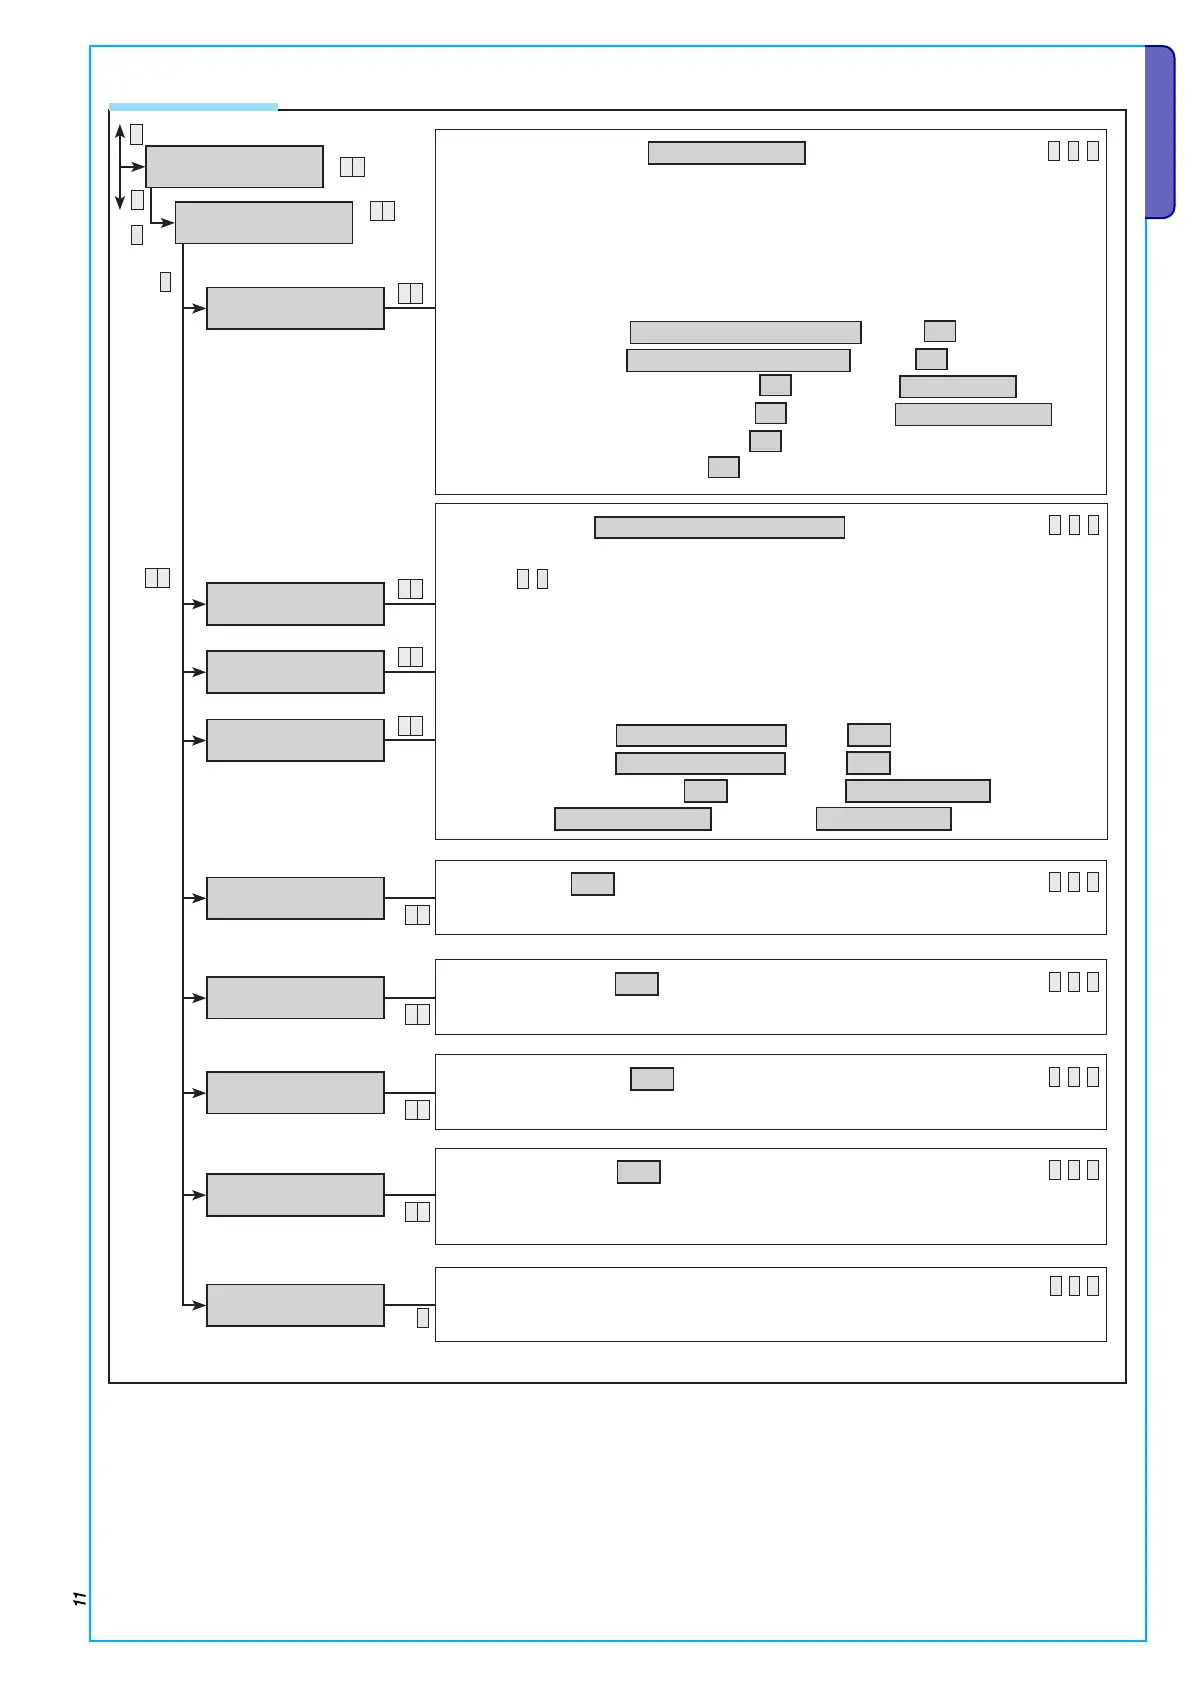
2.6 Inserters
INSERTERS 06
*
CHANG.INSERT. 01
KEY READER 01
AREAS.ASSOC. 01
####
Associated areas: (Default:
####
)
S
A
The associated areas are those manageable by the inserter. These also represent an
AND-type filter on the areas managed by the code or by the scenario.
Example: An apartment with a ground floor shop. The business owner wants to manage both home
and shop with the same key.
Area 1 = HOME
Area 2 = SHOP
Scenario 1 = CLOSE HOME (
SWITCH ON SELECT. AREAS
; areas=
#-
)
Scenario 2 = CLOSE SHOP (
SWITCH ON SELECT. AREAS
; areas=
-#
)
Inserter 1 = Home location: (associated areas =
#-
; scenario L1 =
LOCK HOME
)
Inserter 2 = Shop location: (associated areas =
-#
; scenario L1 =
CLOSE SHOP
)
Cod 1 = Business Owner (associated areas =
##
)
Cod 2 = Employee (associated areas =
-#
)
*
SCENARIO 2 L 01
GOING TO BED
Scenarios: (Default:
L1=sc.1; L2=sc.2, L3=sc.3
)
S
A
Associate the scenarios to the three inserter LEDs.
Use keys
+
–
to edit the scenario associated to the inserter led.
Example: a home with three area management (day, night, perimetric) through two activations:
total, only perimetric.
Area 1 = DAY TIME
Area 2 = NIGHT TIME
Area 3 = PERIMETER
Scenario 1 = GOING OUT (
TURN ON+OFF.EXACT
; areas=
###
)
Scenario 2 = STAYING IN (
TURN ON+OFF.EXACT
; areas=
--#
)
Inserter 1 = (associated areas =
###
; scenario L1 =
GOING OUT
; scenario L2 =
STAYING INDOORS
; scenario L3 =
NO SCENARIO
)
SCENARIO 1 L 01
GOING OUT
SCENARIO 3 L 01
STAYING IN
Input buzzer : (Default:
YES
)
S
A
For activating / deactivating the buzzer during the entrance time.
Tamper: (Default:
NO
)
S
A
Allows to enable/disable failed inserter communication warning.
ENTRY BUZZER 01
YES
TAMPER 01
NO
Output buzzer : (Default:
YES
)
S
A
For activating / deactivating the buzzer during the exit time.
EXIT BUZZER 01
YES
Alarm buzzer: (Default:
YES
)
S
A
For activating / deactivating the buzzer during the control unit’s alarm time.
ALARM BUZZER 01
YES
Inserter description:
S
A
For editing the inserter description.
DESCRIPTION 01
KEY READER 01
*