100-214-239 Rev. A 6-5
Front Panel Controls
Digital Sonifier
shows the Amplitude setting and some parameters, and the appropriate LEDs are illuminated. The sys-
tem must be in the Ready state for you to start a new experiment or make changes to any parameters.
• Run: After setting parameters for your application, pressing the Start/Stop button or sending a !ON com-
mand will Start your setup. Ultrasonic power is delivered to the horn (whether continuous or pulsed), and
the front panel display will show the runtime information, including the percentage of power used on its
bottom line as a bargraph display, and the LED next to the Start/Stop button remains lit while the appli-
cation is running. If you set Limits, your application will Stop automatically upon reaching those limits.
• Test: From the Ready state, the system enters the Test state when you press the Test key or issue a !TS
command to enter the Test state, causing ultrasonics to be sent to the horn. After two seconds, the sys-
tem returns to the Ready state.
• Print: If you have a printer connected, and after running a cycle or testing the setup you may print a
report of your experiment. Printing is started by pressing the Print/Send key or sending a !P command.
After printing, the system returns to the Ready state.
• Report: If you are using the Remote Terminal option, and after running a cycle or testing the setup, you
may send a report of your experiment from the system to your terminal. After the report is sent, the sys-
tem returns to the Ready state.
• Hold/Pause: When you press the Hold/Pause key or issue an !H command during an experiment or test,
the system stops operating, stops all timer functions, and enters the Hold/Pause state. To resume oper-
ation, press the Hold/Pause key again, or issue another !H command.
• Stop/Abort: When you press the Start/Stop button or issue an !OFF command, the system enters the
Stop/Abort state. The experiment or test is stopped.
6.2 Front Panel Controls
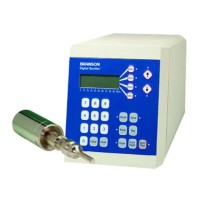
The membrane keypad on the front panel of the Digital Sonifier allows you to enter parameters for both
System
Setup
and
Operation
of the unit during a test or experiment. You can also use a remote computer or terminal to
enter operation parameters. If a remote computer or terminal is enabled, you can lock out the keypad on the
front panel of the unit if you want to operate the unit only from the remote computer or terminal. When the
keypad is disabled through the remote computer or terminal, all keys except the Start/Stop key and the Pause
key are disabled.
There are two additional controls (Amplitude Control and Power Switch) which work with the front panel con-
trols, but are not actually part of the front panel. The remote computer or terminal may be used to control the
system as well.
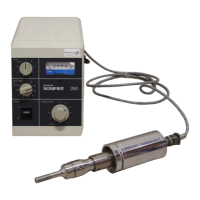
6.2.1 Power Switch
The Power switch for the system is located on the front of the unit, underneath the front panel controls. It is a
simple rocker switch, on/off operation. When turned on, the front panel LEDs will light (during the power-up
sequence), and the unit’s fan will run.