Rear Panel Connections
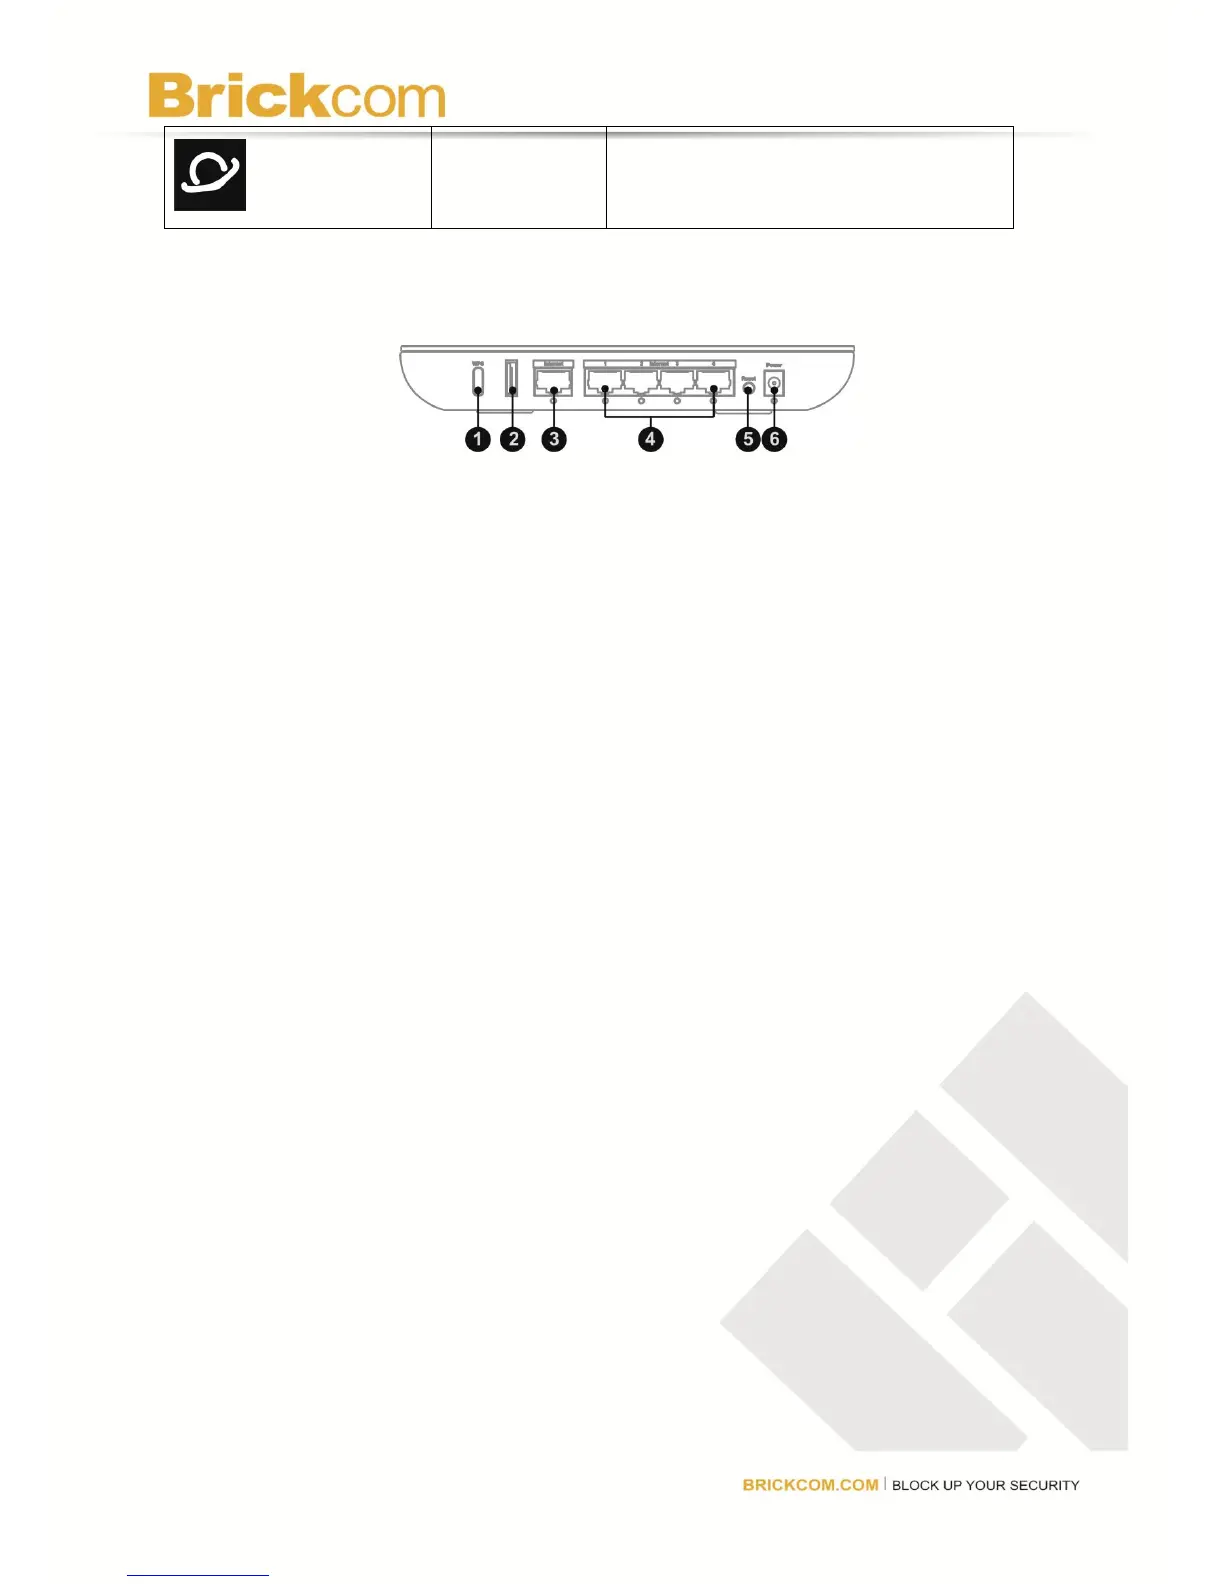
1. WPS (Wi-Fi Protected Setup) Button— WPS allows users to automatically configure wireless
security for their wireless network if they are connecting devices that support WI-FI Protected
Setup.
2. Internet— Connect a high-speed cable or DSL Internet service to this port.
3. Ethernet 1, 2, 3, 4— Use these ports to connect Ethernet devices to the router or use an
Ethernet cable to connect the router to computers on the wired network. The LED under the
port will light up when the router is connected to an Ethernet device. The LED will flash when
there is network activity over that port.
4. Reset— Press and hold for approximately ten seconds to reset the router to factory default
settings. If any custom settings have been applied to the router, including a login name and
password, they will be erased and replaced with the factory default settings.
5. Power— Connect the power adapter to this port. The LED under the port will light up when the
router is on. The LED will flash when the router goes through a self-diagnostic test during
boot-up. ]
System Requirements
Broadband Internet connection, such as a cable or DSL modem with an Ethernet
(RJ45) connection
At least one computer with a network adapter
TCP/IP networking protocol installed on each computer
Extra Ethernet (RJ-45) cable
Internet browser (such as Internet Explorer, Firefox, or Safari)