PAGE 75 OF 154 1022 IH -10159V ND
Home > Edit a Label > Create Tables
Create Tables
Create a table by setting the number of rows and columns you want. You can save the file as a template to reuse
in other labels.
There is a maximum number of rows, depending on the tape width.
Max Lines Tape Width
7 lines 0.94" (24 mm)
5 lines 0.70" (18 mm)
3 lines 0.47" (12 mm)
2 lines 0.35" (9 mm)
0.23" (6 mm)
1. Press .
2. Press d or c to display [Auto Format], and then press OK.
3. Press a or b to display [Table Format], and then press OK.
Use the a, b, d, and c keys to create your table.
4. Press a or b to select the tape width you want, and then press OK.
5. Press a or b to select [Rows].
6. Press d or c to set the number of rows you want.
7. Press a or b to select [Columns].
8. Press d or c to set the number of columns you want, and then press OK.
9. Enter the text you want, and then press OK.
10. Repeat these steps for each text field, and then press OK.
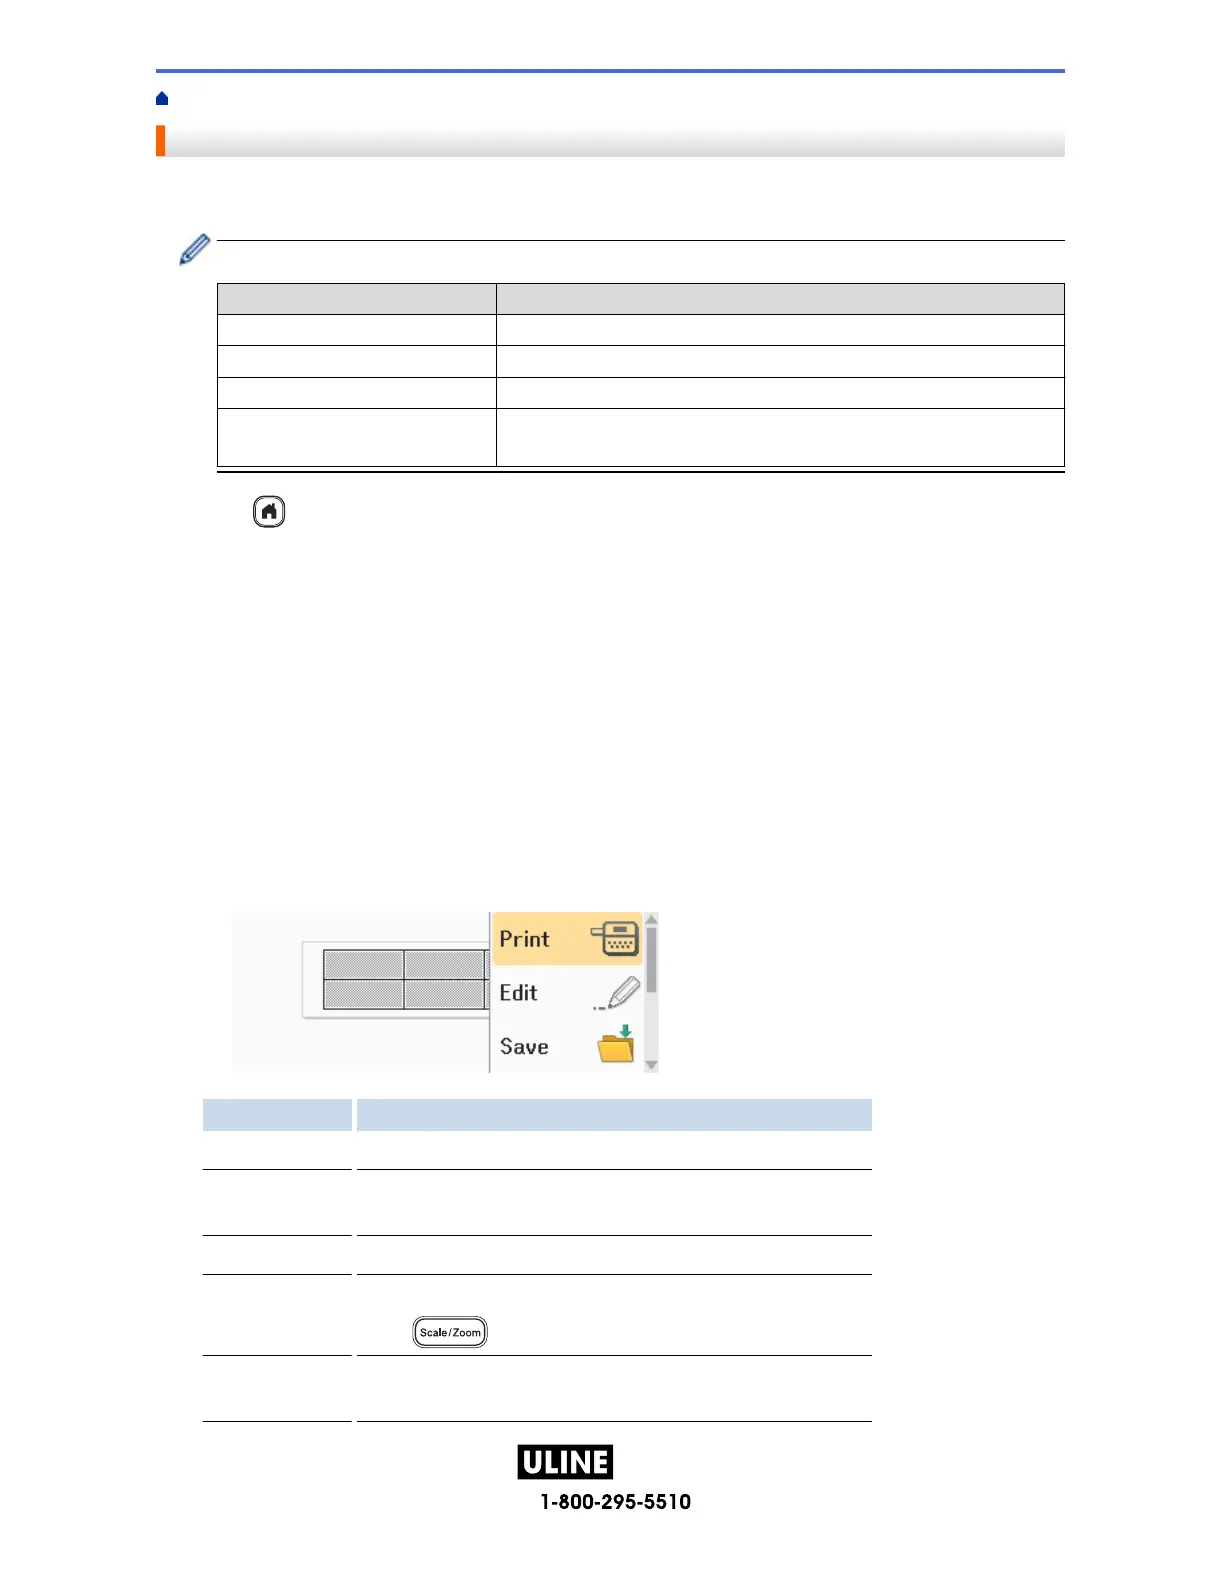
11. Do one of the following:
• Select [Print], and then press OK.
• Press a or b to select one of the following options:
Option Description
Edit Change the text.
Save Save the label.
For more information, see Related Topics: Use the File Memory.
Menu Change the Font or Style settings.
Preview Preview the label before printing.
Press
to change the LCD magnification.
Print Options Select print options.
For more information, see Related Topics: Print Labels.
71
H -1 0159
 Loading...