PAGE 86 OF 154 1022 IH -10159VND
Home > Edit a Label > Use the Time and Date Function > Set the Time Stamp and Add the Time and Date
to a Label
Set the Time Stamp and Add the Time and Date to a Label
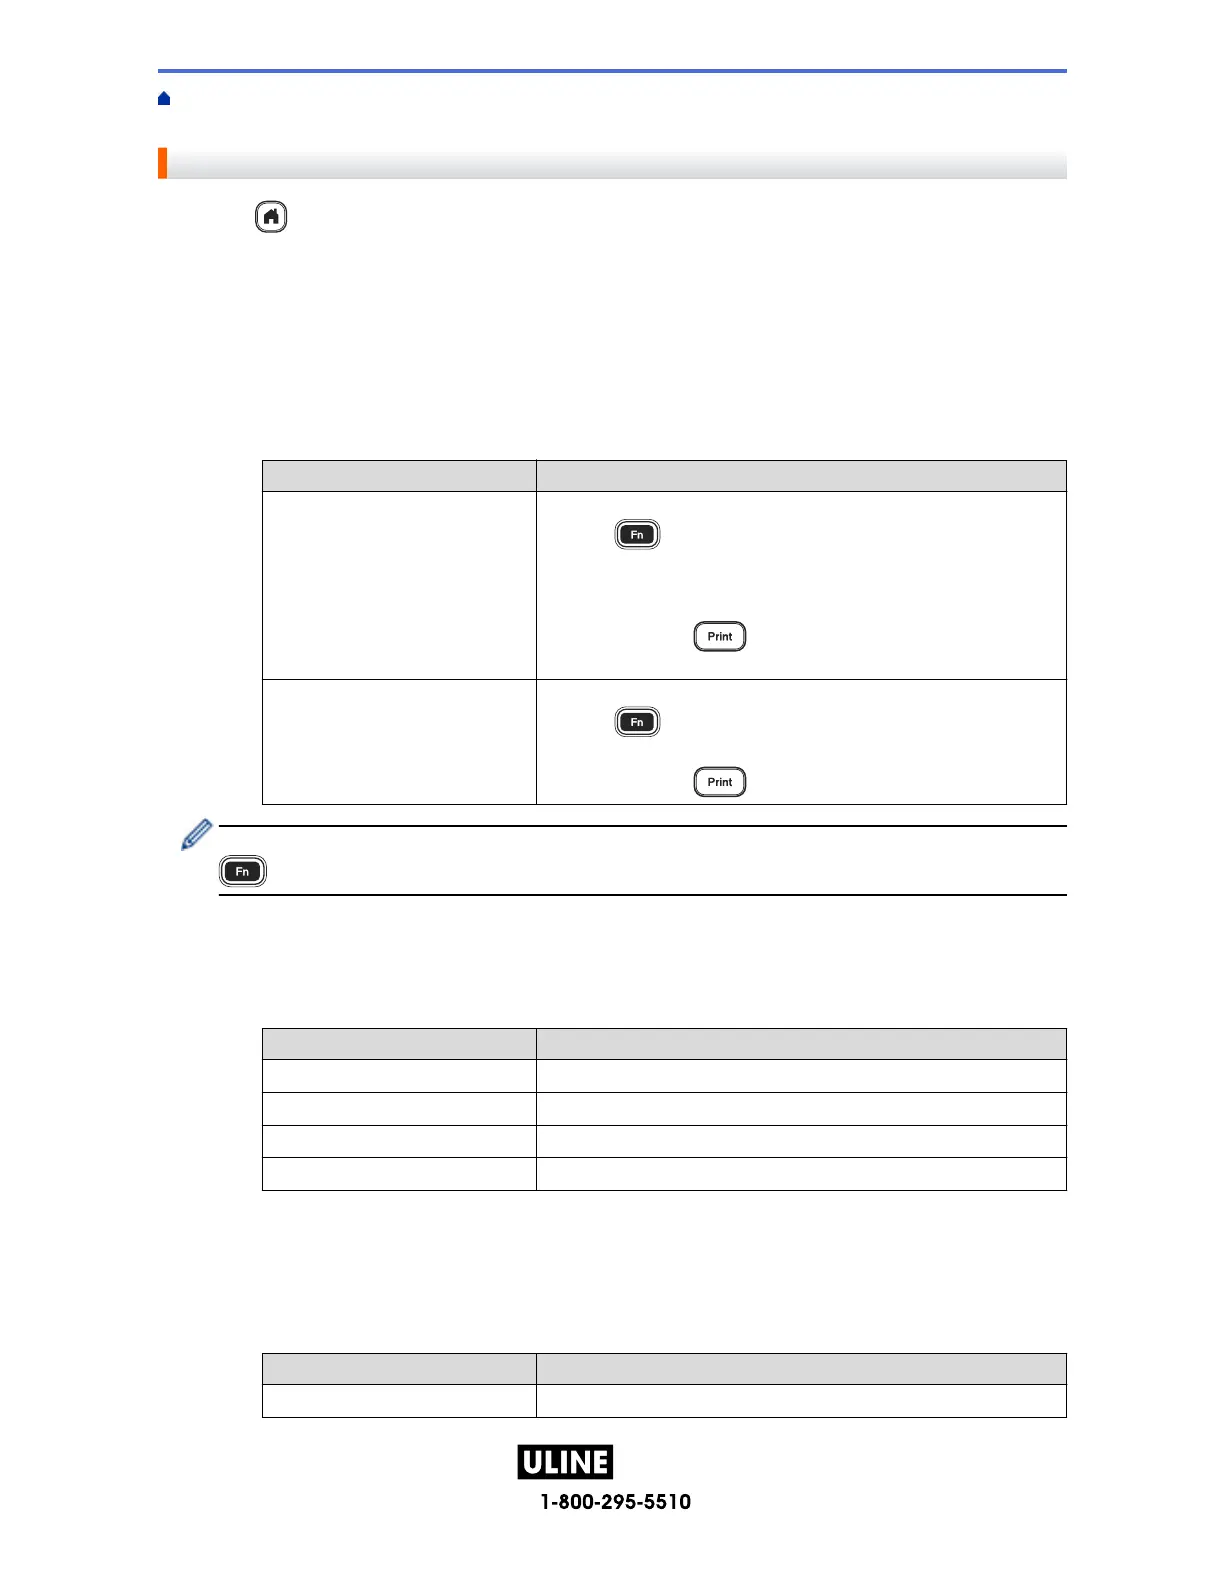
1. Press .
2. Press d or c to display [Settings], and then press OK.
3. Press a or b to display [Time Stamp Setting], and then press OK.
4. Press a or b to select one of the following options:
• [Timing]
Use the [Time Stamp] to add the date and the time to any label.
a. Press a or b to display [Timing].
b. Press d or c to display [Auto] or [Fixed], and then press OK.
Option Description
Auto
• Position the cursor where you want the time and date to appear.
Press
, press a or b to select Time Stamp, and then press
OK. The current date and time (or a future or past date and time,
if you previously set them using the Forward option) and a clock
icon appear on the LCD.
• When you press
only, the latest date and time will print on
the label. The clock icon does not print.
Fixed
• Position the cursor where you want the time and date to appear.
Press
, press a or b to select Time Stamp, and then press
OK. The current date and time appear on the LCD.
• When you press
, the date and time will print on your label.
Check and confirm the time and date settings by positioning the cursor to the left of the clock icon, pressing
, pressing a or b to select [Time Stamp], and then pressing OK.
• [Format]
Select what time and date format you want to use.
a. Press a or b to select [Format].
b. Press d or c to select the format option you want.
Option Description
Date Prints only the date on the label.
D&T Prints the date and time on the label.
Time Prints only the time on the label.
T&D Prints the time and date on the label.
c. Press OK.
• [Forward]
Set a future or past date and time.
a. Press a or b to select [Forward].
b. Press d or c to select [On] and specify the date and time values you want to use, and then press OK.
Option Description
On Allows you to increase or decrease the time and date values.
82
H -1 0159
 Loading...