Home
Buchi
Laboratory Equipment
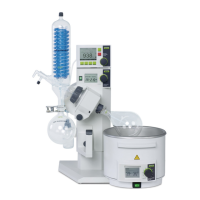
Rotavapor R-220 Pro Continuous
Page 84
Buchi Rotavapor R-220 Pro Continuous - Page 84
90 pages
Manual
To Next Page
To Next Page
To Previous Page
To Previous Page
Loading...
10
Spare parts
84
R-220 Pro C
ontinuous Operation Manual,
V
ersion A
041110
Metal reed (at gearbox ange)
041110
041112
Snap ange coupling, cpl
.
041112
041229
Set of 5× O-ring 64 x 5.0
041229
EasyClamp element, DN
70
041135
83
85
Table of Contents
Main Page
Default Chapter
3
Table of Contents
3
1 About this Manual
5
2 Safety
6
Safety
6
1 User Qualification
6
2 Proper Use
6
3 Improper Use
6
4 Safety Warnings and Safety Signals Used in this Manual
7
5 Product Safety
10
General Hazards
10
Warning Labels on Housing
11
Personal Safety Measures
12
Built-In Safety Elements and Measures
12
6 General Safety Rules
13
3 Technical Data
14
1 System Dimensions
14
2 Technical Data
15
4 Description of Function
17
Functional Principle of a Rotavapor Evaporation
17
2 Rotavapor ® R-220 Pro Continuous Front Side
19
2 1 Type Plate
20
2 2 Warning Signs on the Device
20
2 3 Glassware Configuration of the Rotavapor R-220 Pro Continuous
21
Function Keys of the Rotavapor R-220 Pro Continuous in the I-300 Pro Display
22
2 5 Schema of the "Automatic" Function
23
3 Tubing Scheme
24
4 User Interface Front-Side
26
5 Connection Field at the Rear-Side
27
5 Putting into Operation
30
1 Installation Site
30
2 Electrical Connections
31
3 Sensor Setup and Adjustments
33
4 Connection of the Rotavapor
34
The Vacuum Pump V-600
34
Cooling Water Flow Sensor
35
4 2 Vapor Temperature Sensor
36
Cooling Water Temperature Sensor
37
5 Battery Driven Lift Function at Power Failure
37
6 Glass Assembly
38
Glassware and Configurations
38
General Installation Instructions for Glassware
38
6 1 Glass Assembly Front View
39
6 2 Glass Assembly Side Views
40
7 Condenser Clamps
41
8 Easyclamps
42
9 Setting up the Glass Assembly
43
10 Tubing Scheme
44
11 Heating Bath Filling Level
45
12 Heating Bath Setup for 2×1800 W Heating Element
46
13 Heating Bath Setup for 4 2 Kw Heating Element
48
Level Sensors
50
14 1 Receiving Flask and Safety Sensor
50
14 2 Evaporating Flask Sensor
51
15 Water
52
Heating Transfer Media with High Boiling Point
53
Attaching and Removing Evaporating Flasks
54
18 Adjusting the Snap Flange
56
Removing the Interface for Remote Control
57
21 Final Installation Check
58
6 Operation
59
Evaporation in Three Steps
59
Optimal Distillation Conditions
60
Solvent Table
61
7 Maintenance and Repairs
62
Customer Service
62
Regular Service and Checks
63
System Tightness
63
Sealings and Hoses
63
Glassware and Clamps
63
Housing, Heating Bath, Cables and Accessories
63
Snap Flange Coupling, Flask Seal and Vapor Duct
64
4 Distribution Head Seal and Vacuum Seal
67
8 Troubleshooting
69
Resetting the Over-Temperature Protection
69
2 Error Messages and Their Remedy
70
2 1 Error Messages of the Interface I-300 Pro
70
2 2 Error Messages of the Rotavapor
70
3 Resettable Automatic System Fuses
75
9 Shutdown, Storage, Transport and Disposal
76
Storage and Transport
76
Disposal
77
Lead-Acid Battery
77
10 Spare Parts
79
Glass Parts
79
10 2 Spare Parts
80
10 3 Sensors
81
10 4 Valves
82
Miscellaneous Parts
83
Optional Equipment and Upgrade Parts
86
Related product manuals
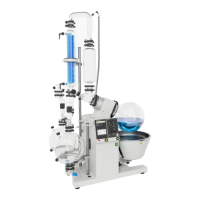
Buchi Rotavapor R-220
50 pages
Buchi Rotavapor R-220 SE
108 pages
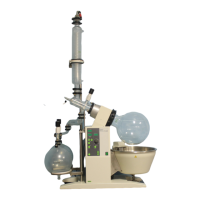
Buchi Rotavapor R-200
60 pages
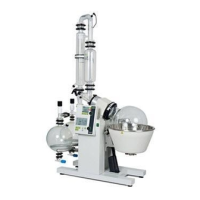
Buchi Rotavapor R-205
60 pages
Buchi Rotavapor R II
58 pages
Buchi Rotavapor R-300
116 pages
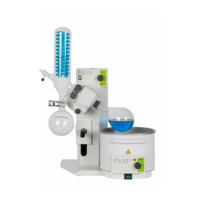
Buchi Rotavapor R-100
60 pages
Buchi Rotavapor R-3000
32 pages
Buchi R-210
80 pages
Buchi R-215
80 pages
Buchi K-437
34 pages
Buchi KjelFlex K-360
72 pages