2005 Buell Firebolt: Drive/Transmission 6-17
HOME
CLUTCH SHELL/HUB INSPECTION
1. Separate primary chain, engine sprocket and clutch
shell/hub assembly.
2. Inspect engine sprocket for damage or excessive wear.
Replace as required.
3. Attach tools to compress clutch diaphragm spring and
remove pressure plate assembly. See 6.4 CLUTCH.
CAUTION
The clutch hub and clutch shell are no longer pressed
together. There are no retaining rings securing the clutch
hub to the clutch shell. Once the pressure plate assem-
bly has been removed the clutch hub will slide out of the
clutch shell.
4. Remove clutch pack. Disassemble, clean and inspect
clutch pack. See CLUTCH PACK CLEANING and
INSPECTION under 6.4 CLUTCH.
5. Disassemble adjusting screw assembly and inspect
bearing, release plate, and adjusting screw. See
ADJUSTING SCREW DISASSEMBLY/ASSEMBLY
under 6.4 CLUTCH.
6. Remove clutch hub from clutch shell. Inspect primary
chain sprocket and the starter ring gear on the clutch
shell.
7. Inspect slots that mate with the clutch plates on both
clutch shell and hub.
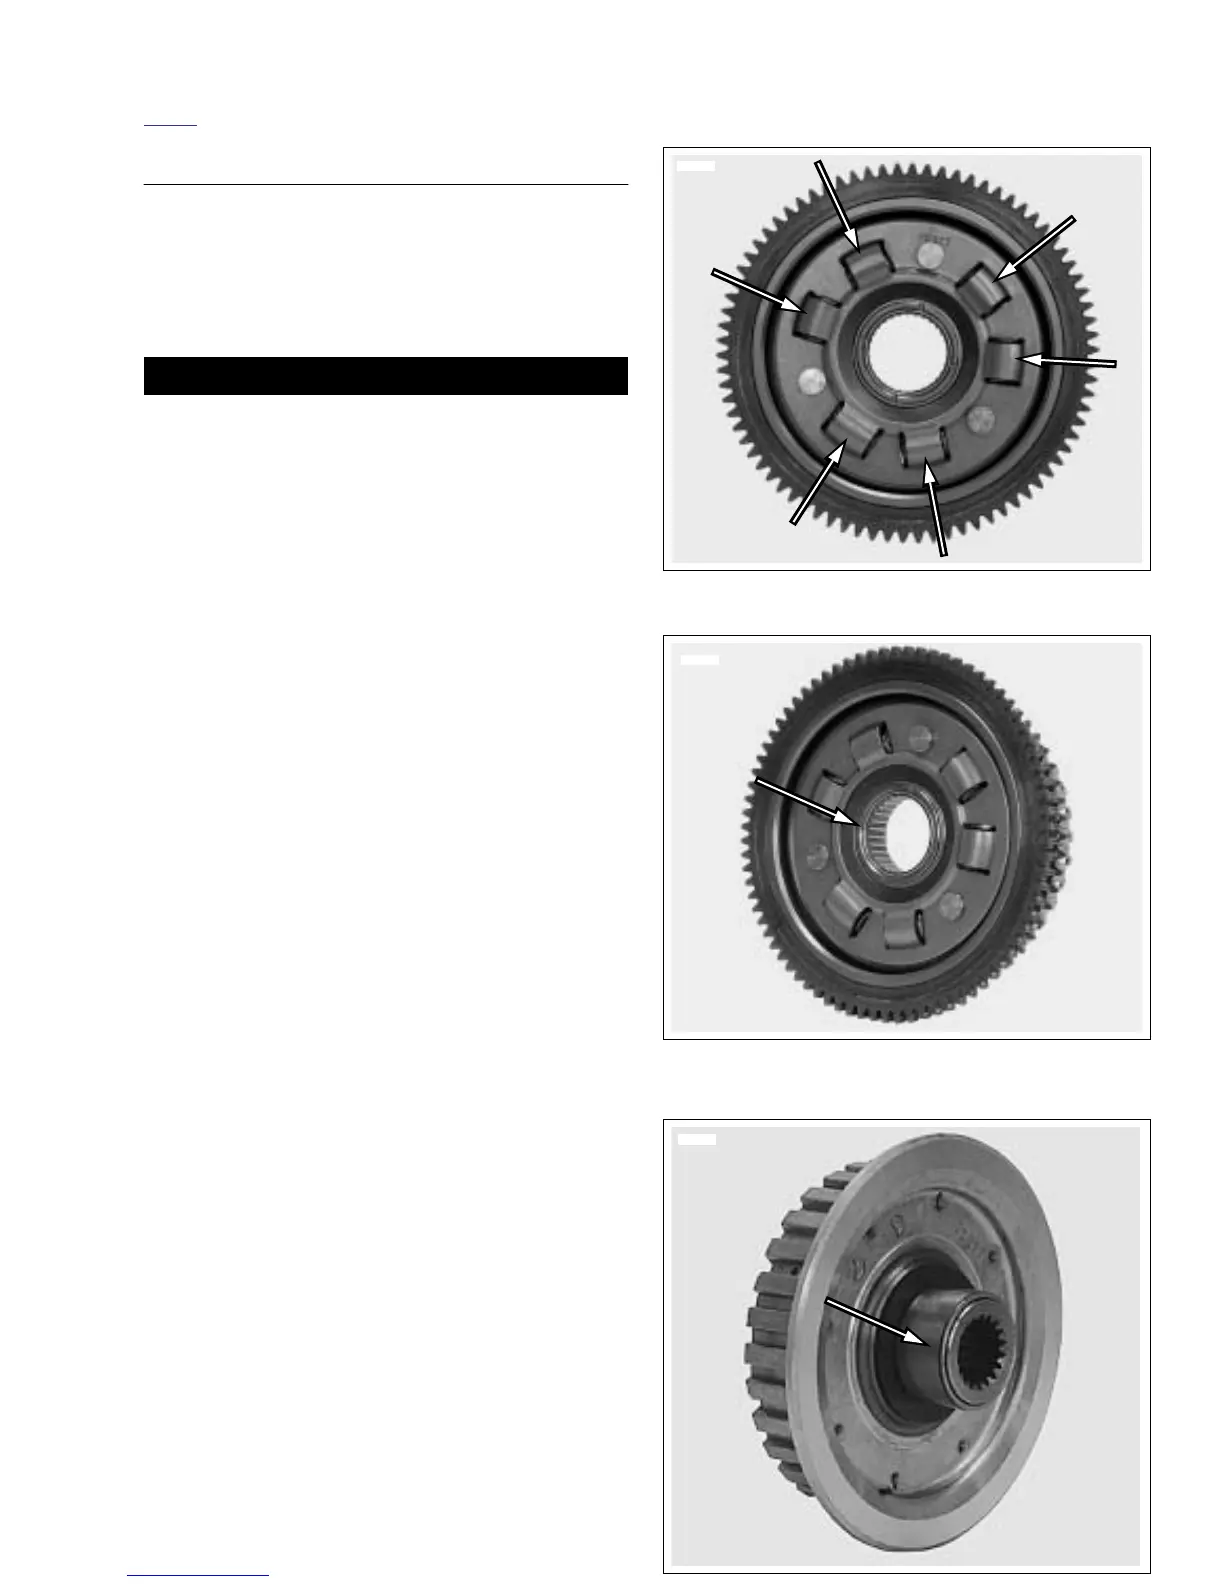
8. See Figure 6-26. Inspect the clutch shell compensating
spring set.
9. See Figure 6-27. Inspect clutch shell needle bearing for
smoothness. Rotate the clutch shell while holding the
clutch hub. If bearing is rough or binds, it must be
replaced. See CLUTCH SHELL BEARING REPLACE-
MENT.
10. See Figure 6-28. Inspect clutch shell bearing inner race
on the back side of the clutch hub for pitting and wear. If
the inner race shows any of these signs the complete
hub assembly must be replaced.
11. Replace damaged parts as necessary.
Figure 6-26. Compensating Spring Set
Figure 6-27. Needle Bearing in Clutch Shell
Figure 6-28. Clutch Hub Bearing Race
 Loading...


