datalogger may be returned. Ensure you select the correct datalogger by verifying the
datalogger serial number or station name (if assigned).
4. A virtual IP address can be used to connect to the datalogger using Device Configuration
Utility or other computer software, or to view the datalogger internal web page in a
browser. To view the web page, open a browser and enter www.linktodevice.com or the IP
address you retrieved in the previous step (for example, 192.168.66.1) into the address bar.
To secure your datalogger from others who have access to your network, we recommend that you
set security and establish access permissions using .csipasswd. For more information, see
Creating a .csipasswd file (p. 103).
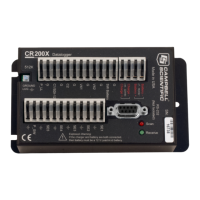
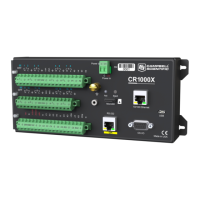
3.1.4 Ethernet communications option
The CR1000X offers a 10/100 Ethernet connection. Use Device Configuration Utility to enter the
data logger IPAddress, Subnet Mask, and IPGateway address. After this, use the EZSetup Wizard
to set up communications with the data logger. If you already have the data logger
IPinformation, you can skip these steps and go directly to Setting up Ethernet communications
between the data logger and computer (p. 20).
3.1.4.1 Configuring data logger Ethernet settings
1. Supply power to the datalogger. If connecting via USB for the first time, you must first
install USB drivers by using Device Configuration Utility (select your datalogger, then on
the main page, click Install USBDriver). Alternately, you can install the USBdrivers using EZ
Setup. A USB connection supplies 5 V power (as well as a communication link), which is
adequate for setup, but a 12 V battery will be needed for field deployment.
2. Connect an Ethernet cable to the 10/100 Ethernet port on the data logger. The yellow and
green Ethernet port LEDs display activity approximately one minute after connecting. If you
do not see activity, contact your network administrator. For more information, see Ethernet
LEDs (p. 20).
3. Using data logger support software (LoggerNet, PC400, or PC200W), open Device
Configuration Utility ( ).
4. Select the CR1000X Series datalogger from the list
5. Select the port assigned to the data logger from the Communication Port list. If connecting
via Ethernet, select Use IPConnection.
6. By default, this data logger does not use a PakBus encryption key; so, the PakBus
Encryption Key box can be left blank. If this setting has been changed, enter the new code
or key. See Datalogger security (p. 100) for more information.
7. Click Connect.
8. On the Deployment tab, click the Ethernet subtab.
3. Setting up the data logger 19
 Loading...