CT-MCL01 l User’s Manual
17
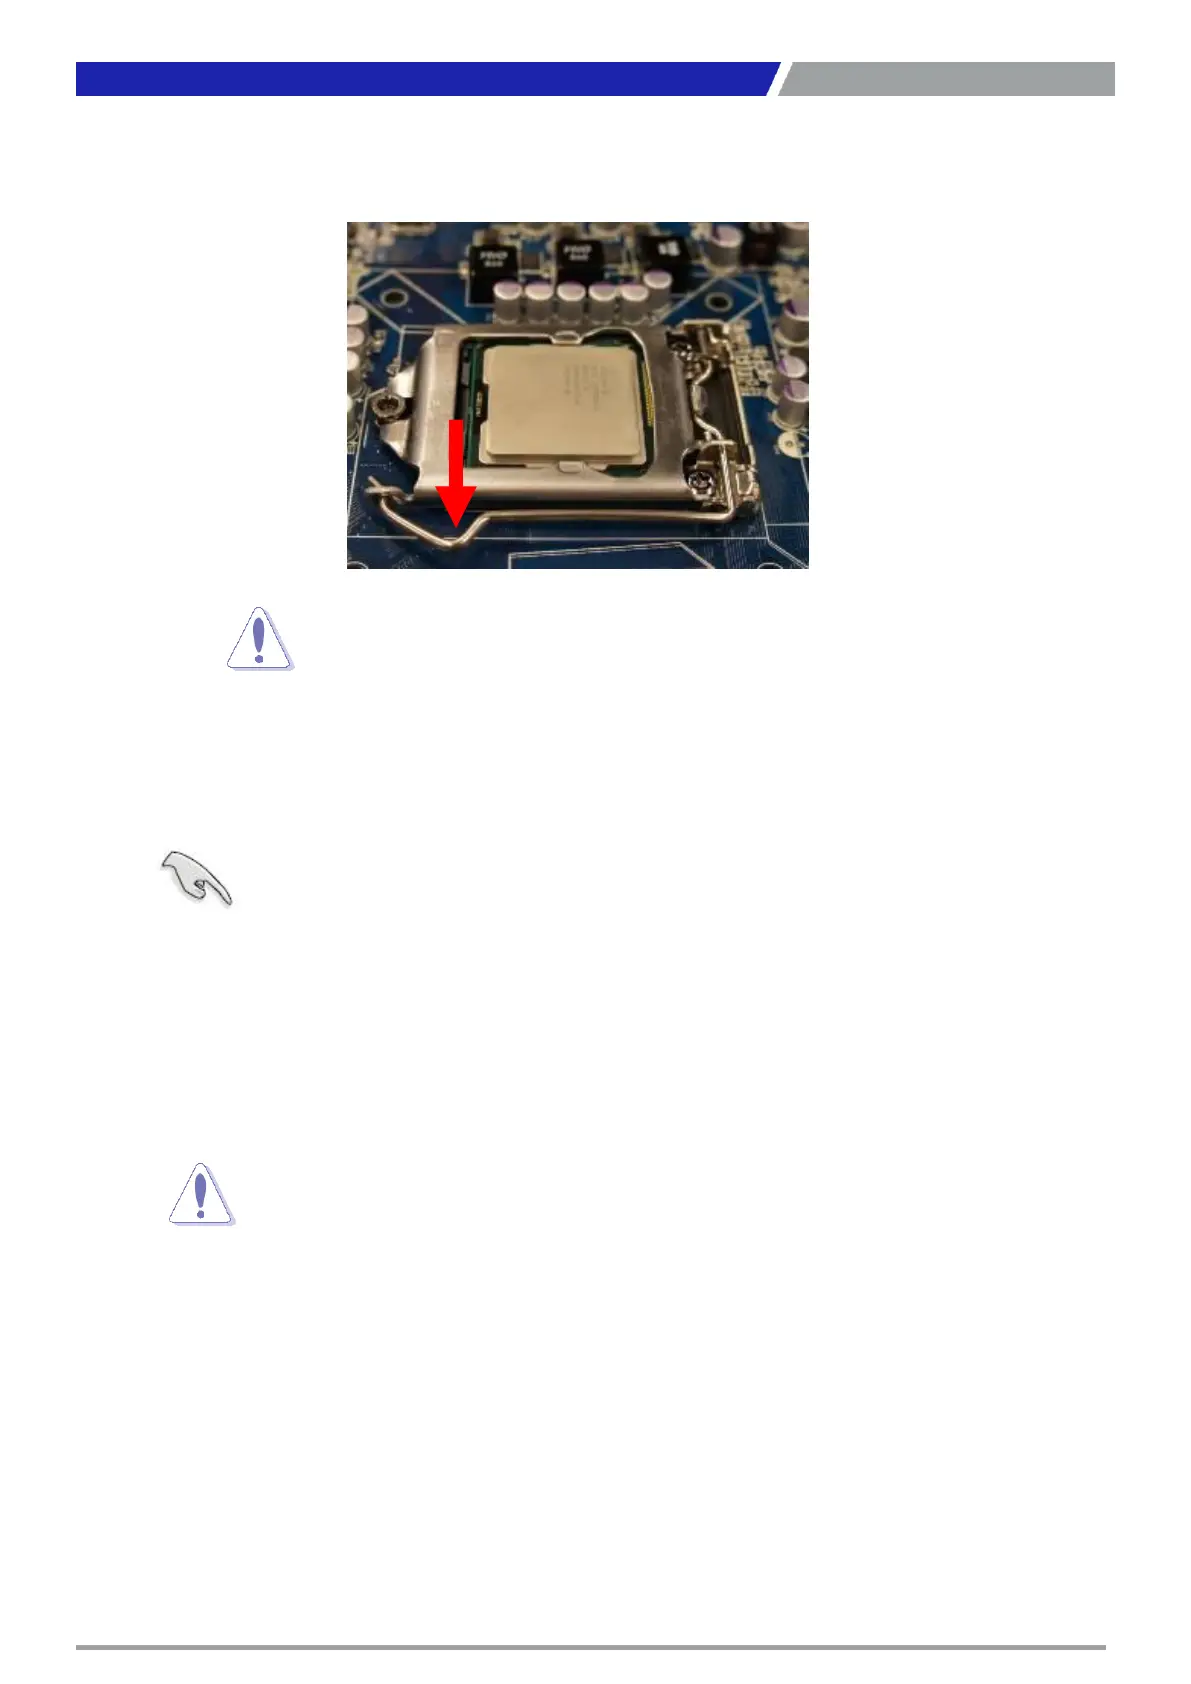
5. Pull back the load lever, then push the load lever (A) until it snaps into the retention tab.
1.3.2 Installing the CPU Heatsink and Fan
Intel® Core™ i7/ i5/ i3 LGA1151 processor requires a specially designed heatsink and fan assembly to
ensure optimum thermal condition and performance.
Chapter 1: Product Introductions
CPU fits in only one correct orientation. DO NOT force the CPU
socket to prevent bending the connectors on the socket and
Install the motherboard to the chassis before you install the CPU fan
When you buy a boxed Intel® Core™ i7/ i5/ i3 LGA1151 processor,
package includes the CPU fan and heatsink assembly. If you buy a
separately, make sure that you use only Intel® certified multi-
Your Intel® Core™ i7/ i5/ i3 LGA1151 processor LGA1151 heatsink and
assembly comes in a push-pin design and requires no tool to install.
you purchased a separate CPU heatsink and fan assembly, make sure that
properly applied Thermal Interface Material to the CPU heatsink or
you install the heatsink and fan assembly.
 Loading...