User / Install Manual
1
2
Remove the flare nut from the indoor unit.
Align the center of the flare surface and tighten
the indoor pipe union and flare nut with a
torque wrench.
4
When you are finished, fasten the adjustment cap and the valve core cap.
Connecting pipe to the outdoor unit
1
2
3
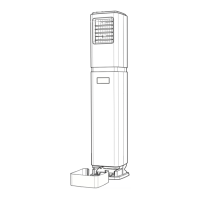
Install the outdoor unit follows.
① on the ground ② on the wall by using a bracket.
Repeat the procedure for flaring the pipe to
connect to the outdoor unit.
Tighten the flare nut of the pipe at the
outdoor unit valve. Tighten to the torque as
shown in the table. The tightening method is
the same as that of the indoor unit.
Connecting pipe to the indoor unit
● While aligning the center of the flare surface, tighten
the nut by hand, then hold the union side with a
wrench and tighten the nut to the specified tightening
torque with a torque wrench.
Gas pipe
Flare nut
Liquid pipe
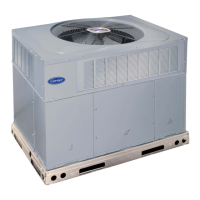
Outdoor unit
Adjustment
cap
Valve core
cap
37
Union
Flare nut
CONNECTING THE PIPES