28
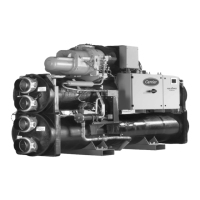
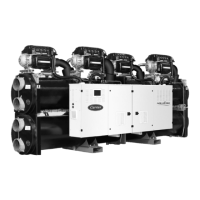
7.15 - Master/Slave assembly
The master unit can be controlled locally, remotely or by
stop, setpoint selection, heating/cooling operation, load
as the master. The commands are transmitted automatically
units, each unit will return to an autonomous operating mode
until the fault is cleared. If the master unit is stopped due to
NOTE: Master/slave assembly can be congured only by
Carrier service technicians.
7.16 - Energy Management Module (EMM)
such as current unit status, compressors operating status, etc.
This option requires the installation of an additional SIOB
board.
Description Connector * Remarks
Occupancy
override control
DI-01, 77-78 If the contact is closed in Remote
mode, the unit goes into the occupied
mode
Demand limit
switch 2
DI-02,
73A-74A
If the contact is closed, the second
capacity limit switch is active
Customer
interlock
DI-03,
34A35A
Permits immediate unit shutdown
(Remote mode only)
Ice storage DI-04, 75-76 If the contact is closed, the unit starts
the ice storage mode
Space
temperature
AI-01,
71A-72A
Active setpoint reset via space
temperature control
Capacity limit
control
AI-10, 67-68 Active setpoint reset via unit capacity
control (4-20 mA)
Compressor A DO-01,
37A1-38A1
Output active if compressor A is
operating
Compressor B DO-02,
37B1-38B1
Output active if compressor B is
operating
Chiller ready DO-04,
30A-31A
Relay output active when the unit is
ready to operate
Chiller in alert DO-05,
30B-31B
Relay output active when the alert is
tripped
Chiller
shutdown
DO-06, 30-31 Relay output active when the unit is
stopped due to an alarm
Unit capacity A0-01,
79+-79-
Capacity running output (0 to10 VDC)
* Connector type:
DI = Digital Input
AI = Analogue Input
DO = Digital Output
AU = Analogue Output
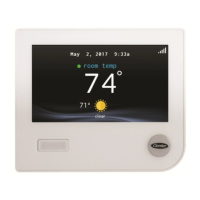
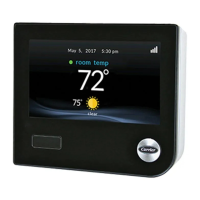
7.17 - Schedule setting
one (OCCPC01S) is used for controlling the unit start/stop,
whereas the second one (OCCPC02S) is used for controlling
the dual setpoint.
The rst timer program
automatically switch the unit from an occupied mode to an
unoccupied mode: the unit is started during occupied periods.
The second timer program
automatically switch the active setpoint from an occupied
setpoint to an unoccupied setpoint: cooling or heating setpoint 1
is used during occupied periods, cooling or heating setpoint 2
during unoccupied periods.
The control offers the user the possibility of setting eight
occupancy periods where each occupancy period includes the
• Day of the week: Select the days when the period is
occupied.
• Occupancy time (“occupied from” to “occupied to”):
Set occupancy hours for the selected days.
• Timed Override Extension: Extend the schedule if
necessary. This parameter can be used in the case of
Example: If the unit is normally
scheduled to run between 8:00 to 18:00, but one day you
want the air-conditioning system to operate longer, then set
this timed override extension. If you set the parameter to
“2”, then the occupancy will end at 20:00.
To set the unit start/stop schedule
1. Go to the Main menu.
2.
and select Schedule Menu (SCHEDULE).
3. Go to OCCPC01S.
4. Select appropriate check boxes to set the unit occupancy on
5.
6. When the time schedule is set, the selected period will be
presented in the form of the green band on the timeline.
7. Press the SaveCancel
1 Selection of days for the time schedule
2 Start/end of the schedule
3 Save
4 Cancel
5 Previous time period
6 Next time period
1
2
3
4
5 6