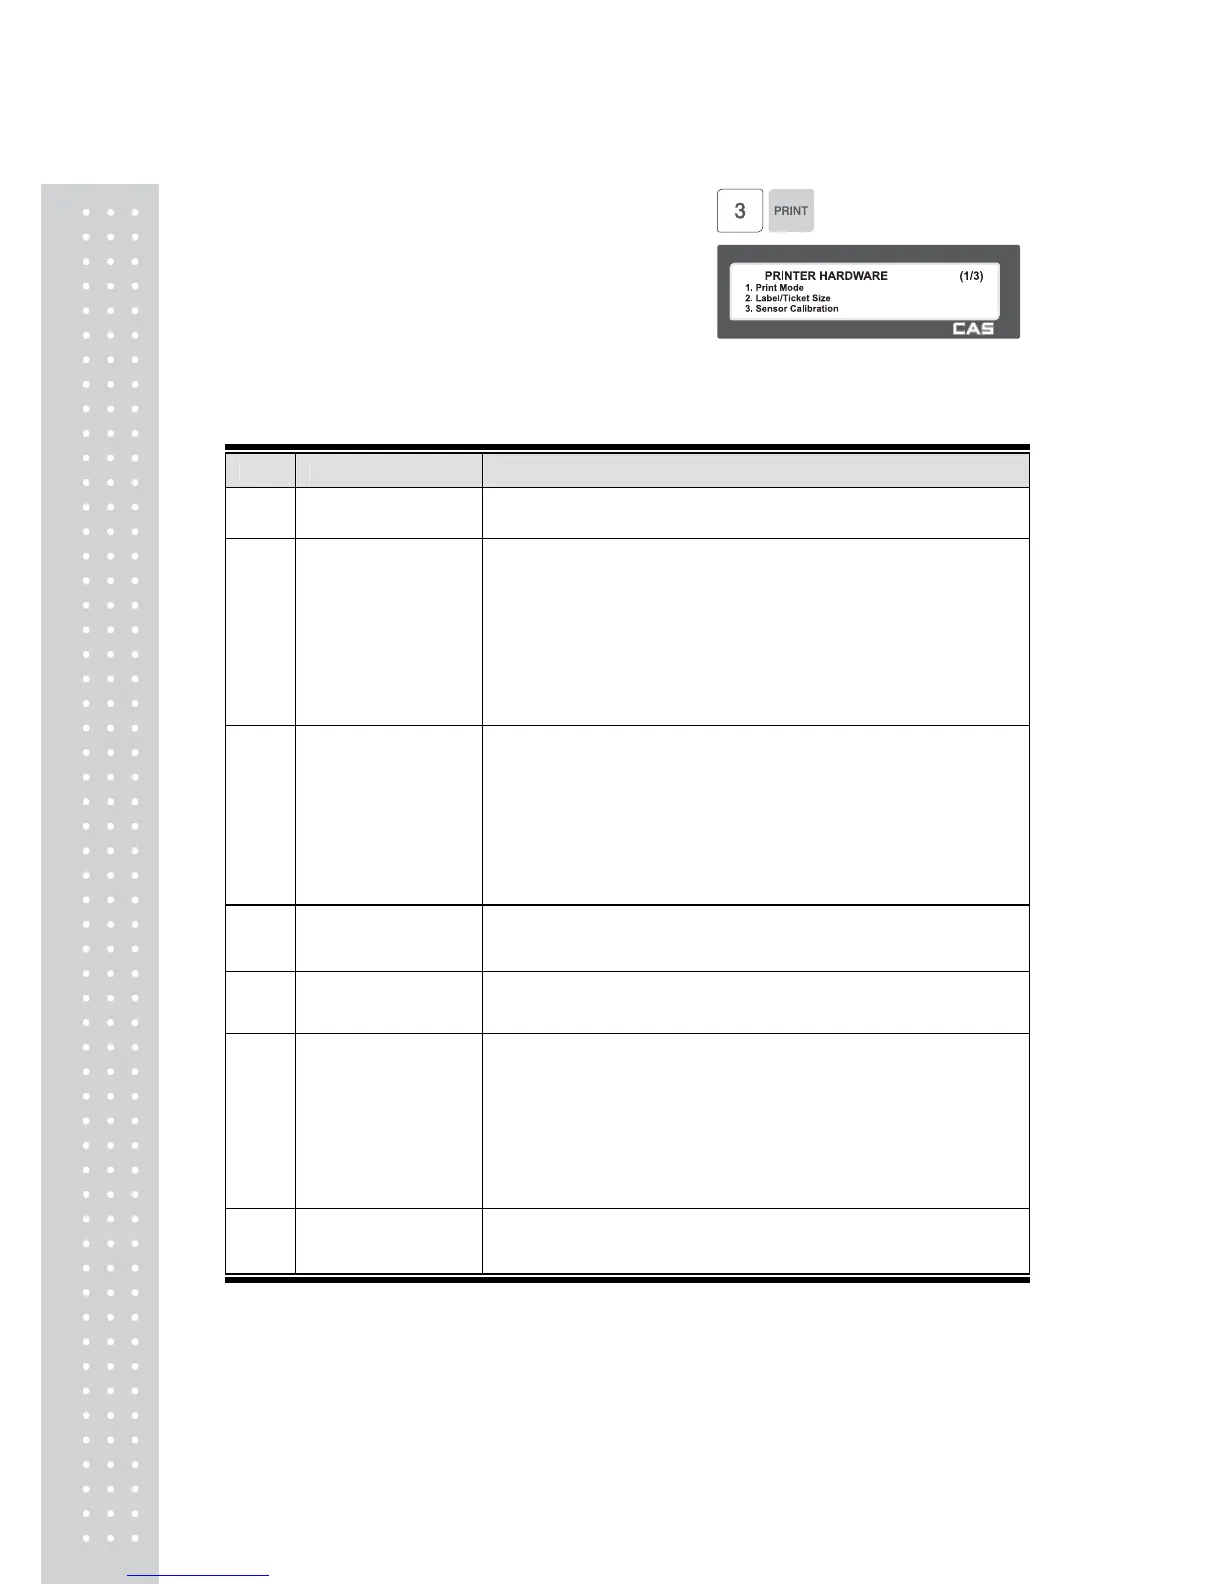
1. Press “3” to get into H/W setting
mode on Print Menu.
▶ Printer Hardware Sub-Menu
No. Sub-menu
1 Print Mode Select label, ticket or continuous label mode.
2
Label / Ticket
Size
If it is Label mode, “Width(60)”, “Height(40)” and “Gap
length(2)” size is set, If it is Ticket mode, “Width(60)”,
“Feed(20)” and “End Margin(5)” size is set. If you use
Continuous Label Paper in Label mode, “Gap length” value
is applied to “End Margin”.
* The values in ( ) are default.
3
Sensor
Calibration
Enter the “Gap(128)” and “Peel(128)” values for printing
sensor calibration.
* The values in ( ) are default.
* If you press “TEST” key, Gap and Peel values are
adjusted automatically.
* In case of Ticket mode, Gap value is not saved.
4 Sensor & Motor Set Peel-off sensor, Rewind Motor and Label Paper type
5 Print Intensity Set the darkness of the label/ticket printed.
6
Adjust Feed
Length
Set adjusting values of feed length.
This value can be from -200 to +200. You can change
sign(+, -) by pressing ZERO key.
+ value will cause print to higher
- value will cause the print to lower than TPH.
* Pressing “TEST” key automatically feeds to adjust the
feed length.
7 Label Preprint You can set preprint length.
 Loading...