4.
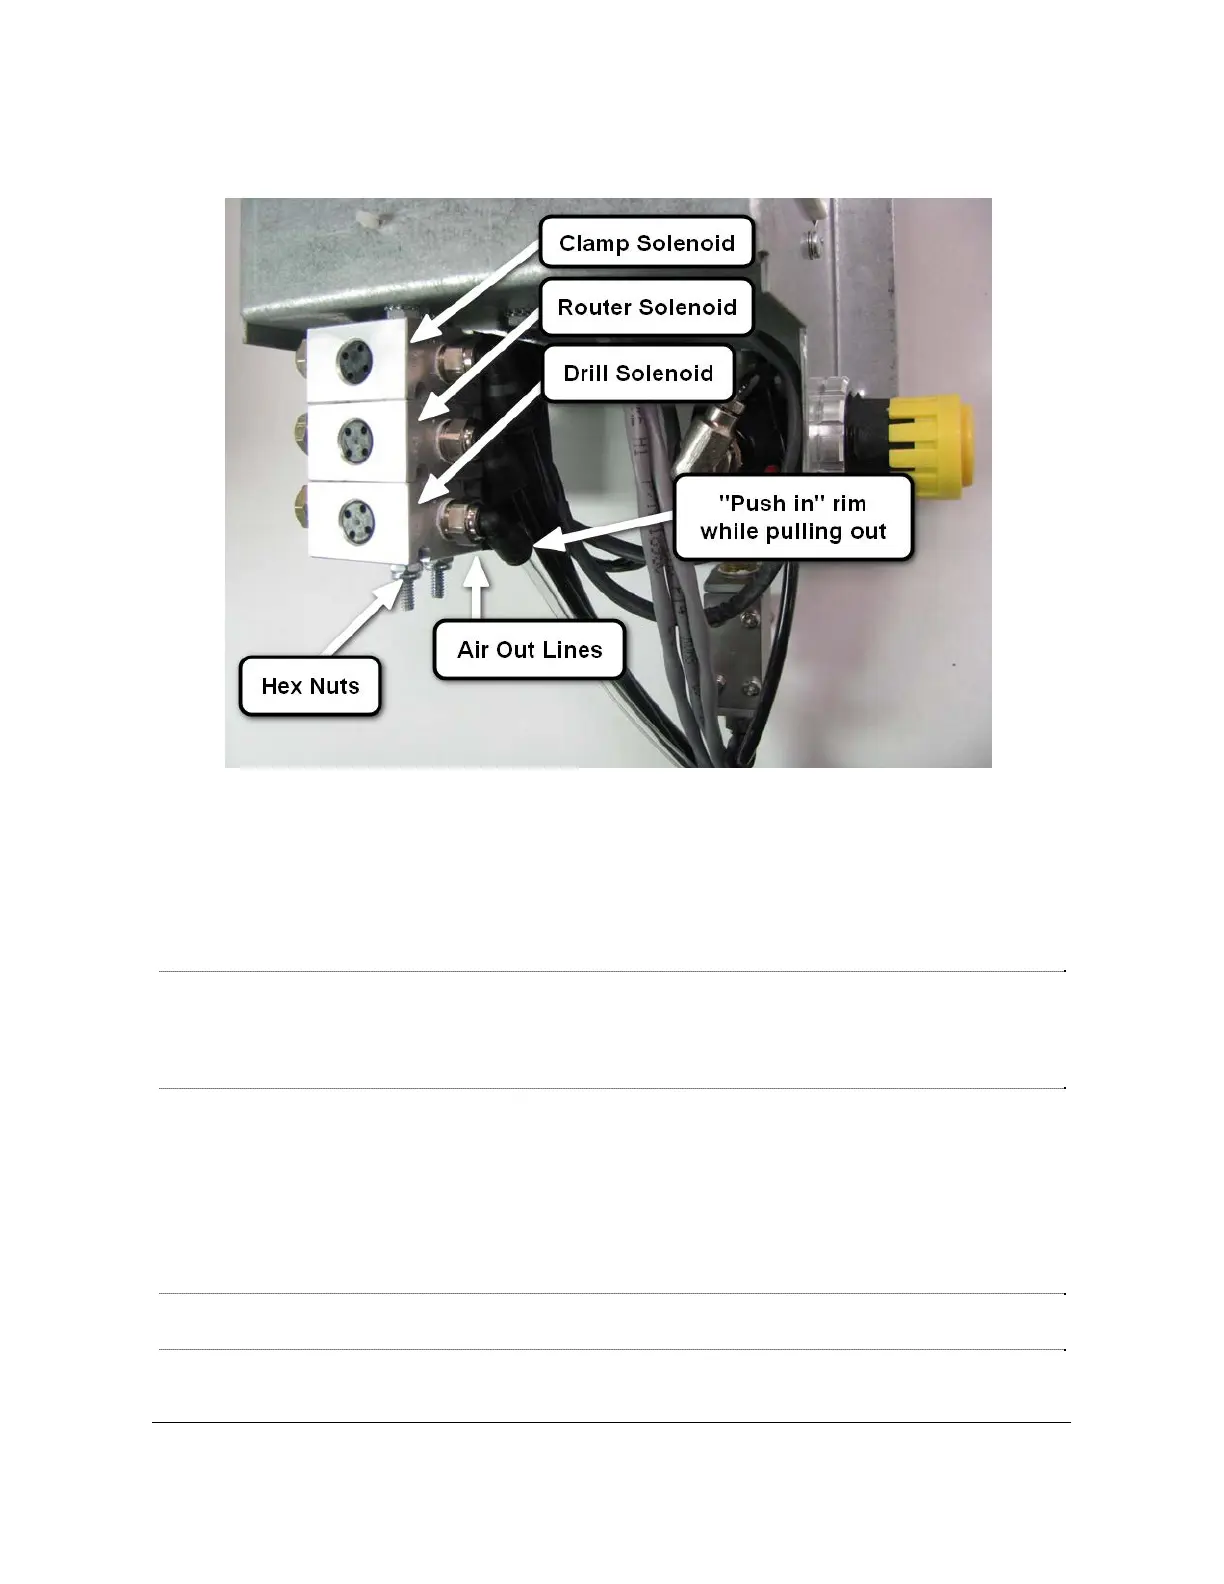
Label the three solenoids and remove the two hex nuts and lock washers that hold the
solenoids together. See Fig 29.
5. Label then disconnect the "Air In" and "Air Out" lines of the solenoid to be replaced.
Note: Label then disconnect the air lines then remove the
pneumatic fittings from the old solenoid with a 7/16” wrench
Note: Only disconnect the air lines of the solenoid you are replacing.
6. Cut the electrical wires to the solenoid being replaced leaving an inch on the old solenoid.
7. Splice in and insulate the wires of the new solenoid, NOTE: polarity is not important.
8. Reconnect the “Air In” and “Air Out” lines and install exhaust mufflers, See Fig 29 and Fig
30.
Note: Install the pneumatic fittings with a 7/16” wrench: Port #1 = Air IN, Port #2 = Air
OUT, Port #3 = Exhaust muffler, then reconnect the air lines.
Fig 29
TSM-21 Diagnostic Manual Parker/Humphrey Solenoids