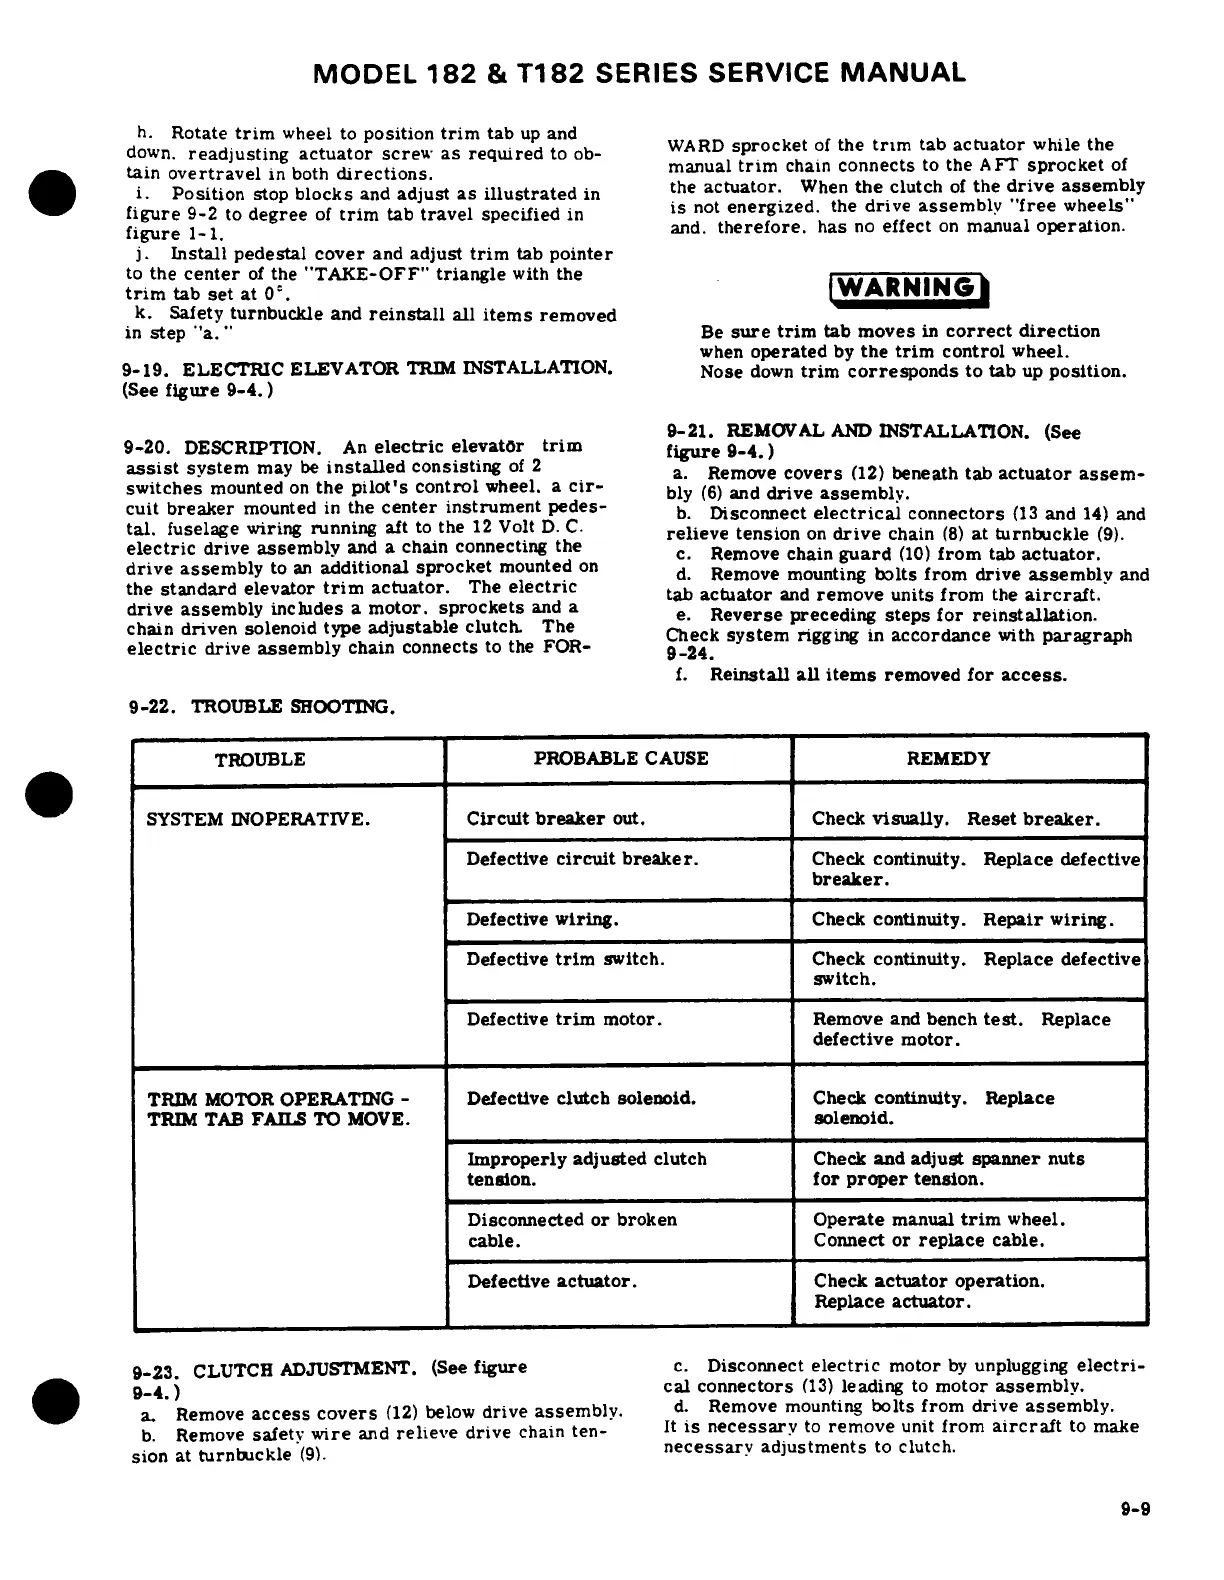
EasyManuals Logo

Cessna T182 Series User Manual

Cessna T182 Series
680 pages
To Next Page IconTo Next Page
To Previous Page IconTo Previous Page
Page #222 background imageLoading...
Page #222 background image
MODEL
182
&
T182
SERIES
SERVICE
MANUAL
h.
Rotate
trim
wheel
to
position
trim
tab
up
and
down.
readjusting
actuator
screw
as
required
to
ob-
WARD
sprocket
of
the
trim
tab
actuator
while
the
tain
overtravel
in both
directions.
manual
trim
chain
connects
to
the
AFT
sprocket
of
i.
Position
stop
blocks
and
adjust
as
illustrated
in
the
actuator.
When
the
clutch
of
the
drive
assembly
figure
9-2
to
degree
of
trim
tab
travel
specified
in
is
not
energized.
the
drive
assembly
free
wheels"
figure
1-1.
and.
therefore.
has
no
effect
on
manual
operation.
j.
Install
pedestal
cover
and
adjust
trim
tab
pointer
to
the
center
of
the
"TAKE-OFF"
triangle
with
the
trim
tab
set
at
0°.
k.
Safety
turnbuckle
and
reinstall
all
items
removed
in
step
"a."
Be
sure
trim
tab moves
in
correct
direction
when
operated
by
the
trim
control
wheel.
9-19.
ELECTRIC
ELEVATOR
TRIM
INSTALLATION.
Nose
down
trim
corresponds
to tab
up
position.
(See
figure
9-4.)
9-21.
REMOVAL
AND
INSTALLATION.
(See
9-20.
DESCRIPTION.
An
electric
elevator
trim
figure
9-4.)
assist
system
may
be
installed
consisting
of
2
a.
Remove
covers
(12)
beneath
tab
actuator
assem-
switches
mounted
on
the
pilot's
control
wheel.
a
cir-
bly
(6)
and
drive
assembly.
cuit
breaker
mounted
in
the
center
instrument
pedes-
b.
Disconnect
electrical
connectors
(13
and
14)
and
tal.
fuselage
wiring
running
aft
to
the
12
Volt
D. C.
relieve
tension
on
drive
chain
(8)
at turnbuckle
(9).
electric
drive
assembly
and
a
chain
connecting
the
c.
Remove
chain
guard
(10)
from
tab
actuator.
drive
assembly
to
an
additional sprocket
mounted
on
d.
Remove
mounting
bolts
from
drive
assembly
and
the
standard
elevator
trim
actuator.
The
electric
actuator
and
remove
units
from
the
aircraft.
drive assembly
includes
a
motor.
sprockets
and
a
e.
Reverse
preceding
steps for
reinstallation.
chain
driven
solenoid
type
adjustable
clutch.
The
Check
system
rigging
in
accordance
with
paragraph
electric
drive
assembly
chain
connects
to
the
FOR-
9-24.
f.
Reinstall
all
items
removed
for
access.
9-22.
TROUBLE
SHOOTING.
TROUBLE
PROBABLE
CAUSE
REMEDY
SYSTEM
INOPERATIVE.
Circuit
breaker
out.
Check
visually.
Reset
breaker.
Defective
circuit
breaker.
Check
continuity. Replace
defective
breaker.
Defective
wiring.
Check
continuity.
Repair
wiring.
Defective
trim
switch.
Check
continuity.
Replace defective
switch.
Defective
trim
motor.
Remove
and
bench
test.
Replace
defective motor.
TRIM
MOTOR
OPERATING
-
Defective
clutch solenoid.
Check
continuity.
Replace
TRIM
TAB
FAILS TO
MOVE.
solenoid.
Improperly
adjusted
clutch
Check
and
adjust
spanner
nuts
tension.
for
proper
tension.
Disconnected
or
broken
Operate
manual
trim
wheel.
cable.
Connect
or
replace
cable.
Defective
actuator.
Check
actuator
operation.
Replace
actuator.
9-23.
CLUTCH
ADJUSTMENT.
(See
figure
c.
Disconnect
electric
motor
by
unplugging
electri-
a.
Remove
access
covers
(12)
below
drive
assembly.
d.
Remove
mounting
bolts
from
drive
assembly.
b.
Remove
safety
wire
and
relieve
drive
chain
ten-
It
is
necessary
to
remove
unit
from
aircraft
to
make
sion
at
turnbuckle
(9).
necessary
adjustments
to
clutch.
9-9

Table of Contents

Questions and Answers:

Question and Answer IconNeed help?

Do you have a question about the Cessna T182 Series and is the answer not in the manual?
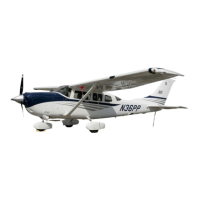
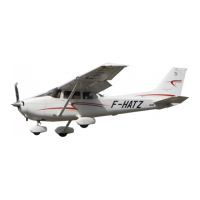
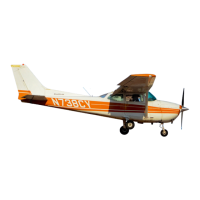
Cessna T182 Series Specifications

General IconGeneral
Engine TypeLycoming IO-540-AB1A5
Horsepower230 hp
Seating Capacity4
Service Ceiling18, 100 feet
Takeoff Distance1, 600 feet
Landing Distance1, 350 ft
TypeSingle-engine
Max Takeoff Weight3, 100 lb
Wingspan36 ft
Length29 ft
Height9 feet 3 inches
Fuel Capacity92 US gal (348 L)

Related product manuals