Operation
4-15
The 66203/66204 Digital Power Meter has 8 ranges for current measurement, which are
20Arms/5Arms/2Arms/0.5Arms/0.2Arms/ 0.05Arms/0.02Arms/0.005Arms and the crest factor
(CF) of each range is 4. Thus, the measureable range for current peak is ± (range×CF).
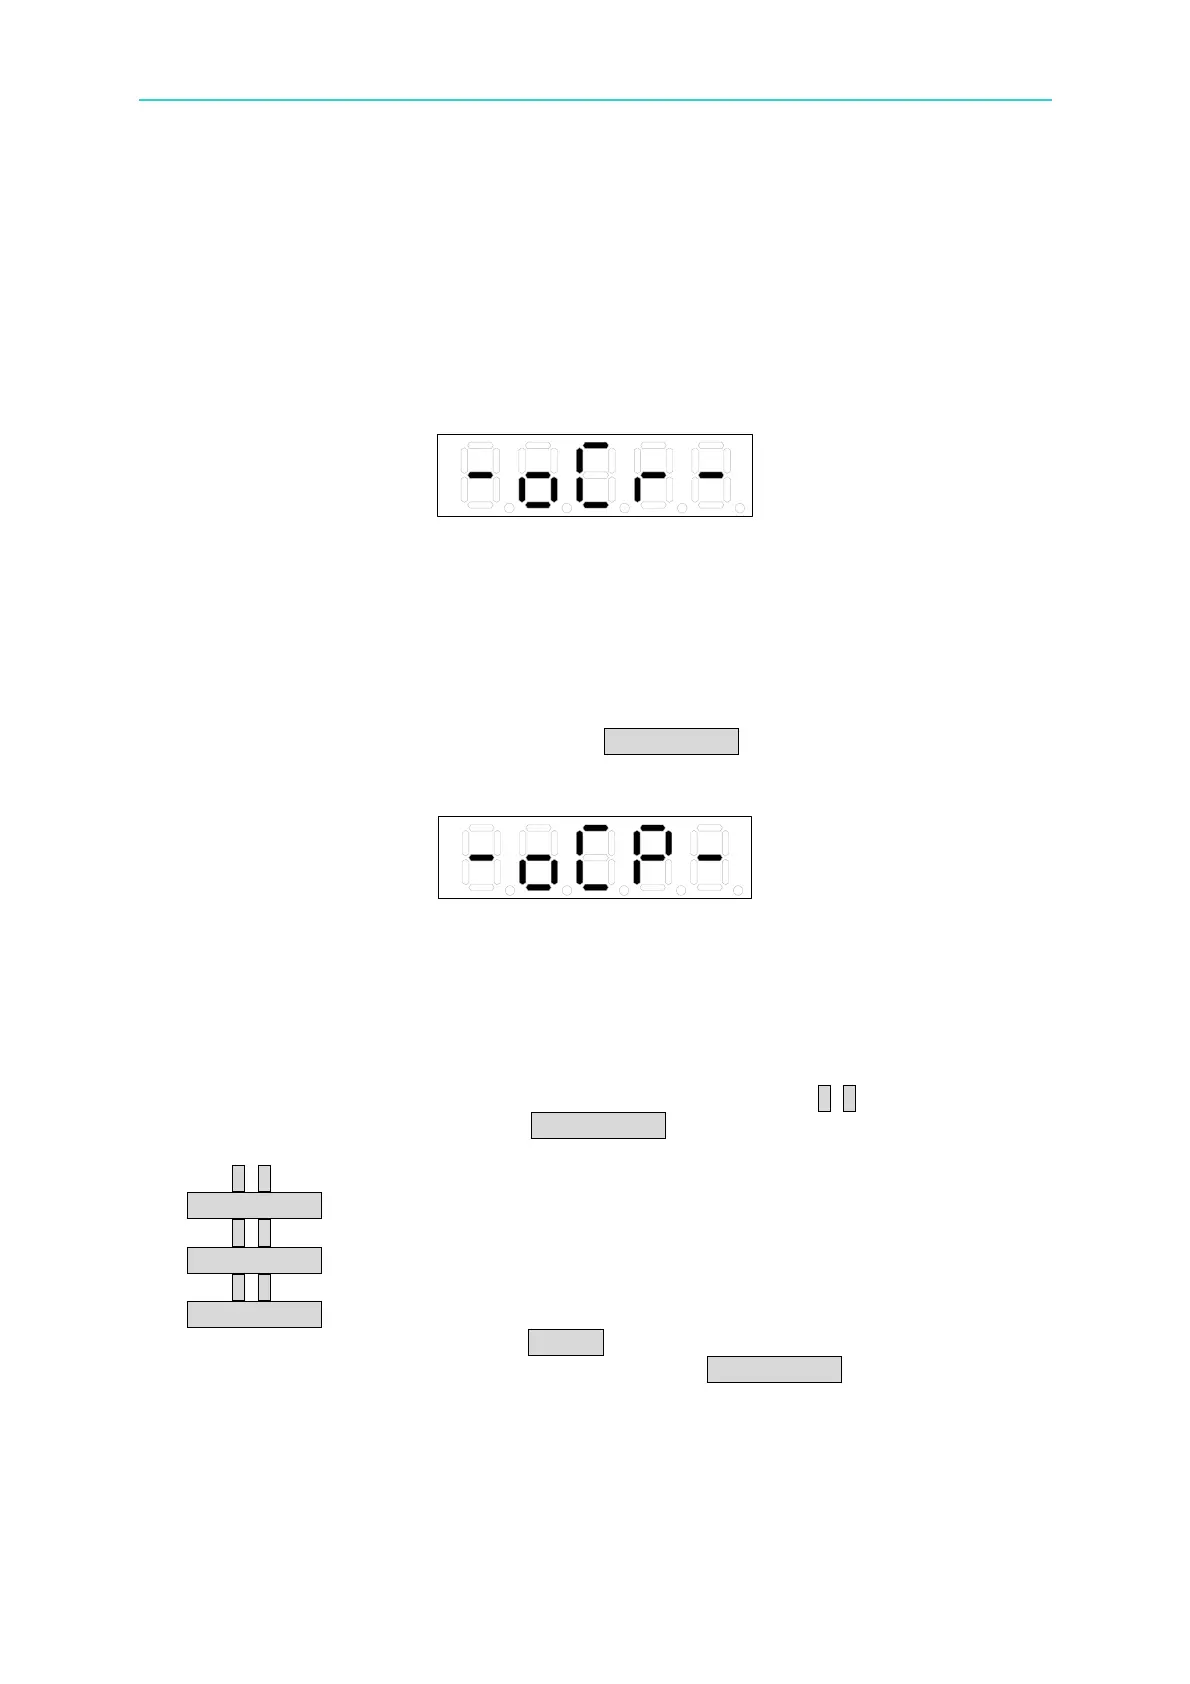
When using Manual range or Auto range in 20A (high shunt range) or 0.2A (Low shunt
range), if the input current peak is four times over the range, the display will show Over
Current Range (OCR) warning message and beep. When the signal peak is down to the
measureable range or proper range is selected, the over current range warning message will
disappear automatically.
Figure 4-22 Over Current Range Message
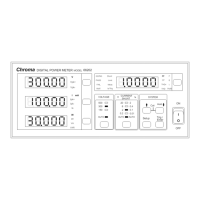
When the shunt range is in auto or high, the Over Current Protection (OCP) warning
message will appear and beep if the input current exceeds 23Arms no matter the current
range is set to Manual or AUTO. Similarly, when the shunt range is low and the input
current is over 0.92Arms, the display will show the over current protection warning message.
Over current protection is to short circuit the input terminal internally to protect the
measurement circuit. To restore to normal measurement function, it needs to troubleshoot
the cause for over current protection and press TRIG/ENTER to clear the error message.
Figure 4-23 Over Current Protection Message
Following is the procedure to select the current range:
1. Press I RANGE, the 1
st
to 4
th
display windows will show the current range status at
present respectively. The channel indicators will show channel 1~channel 4
respectively as well.
2. In the 1
st
display window, the range of channel 1 will blink. Use ↑, ↓ to select the
current range. When done, press TRIG/ENTER to confirm it. Then, the range of
channel 2 in the 2
nd
window will blink.
3. Use ↑, ↓ to select the current range in the 2
nd
display window. When done, press
TRIG/ENTER to confirm it. Then, the range of channel 3 in the 3
rd
window will blink.
4. Use ↑, ↓ to select the current range in the 3
rd
display window. When done, press
TRIG/ENTER to confirm it. Then, the range of channel 4 in the 4
th
window will blink.
5. Use ↑, ↓ to select the current range in the 4
th
display window. When done, press
TRIG/ENTER to confirm it. Then, it returns to the 1
st
display window.
6. When the settings are done, press SETUP to exit the menu.
7. To skip to the desired channel for range setup, press TRIG/ENTER continuously to skip
the channel setting or press the mapping FUNC key to select the display window for
range setting.