79
CALIBRATION IS ONLY REQUIRED FOR INSTRU-
MENTS IN WHICH CALIBRATION ERRORS HAVE
BEEN ENCOUNTERED. REFER TO CALIBRA-
TION CHECK BELOW.
Calibration must be performed by personnel
who are technically competent and authorized
to do so.
Calibration is carried out during manufacture and is not
normally required again during the lifetime of an instru-
ment.
Equipment Required For Checking or
Calibrating the Universal Input
A suitable calibration signal source is required for each
input type. To verify the accuracy of the instrument or
carry out recalibration, the listed input sources are re-
quired, with better than ±0.05% of the reading accu-
racy:
1. DC linear inputs: 0 to 50mV, 0 to 10VDC and 0 to
20mADC.
2. Thermocouple inputs - complete with 0ºC reference
facility, appropriate thermocouple functions and
compensating leads (or equivalent).
3. RTD inputs: decade resistance box with connec-
tions for three-wire input (or equivalent).
Calibration Check
1. Set the instrument to the required input type.
2. Power up the instrument and connect the correct
input leads. Leave powered up for at least five min-
utes for RTD and DC linear inputs, or at least 30
minutes for thermocouple inputs.
3. After the appropriate delay for stabilization has
elapsed, check the calibration by connecting the
appropriate input source and checking a number of
cardinal points.
4. Repeat the test for all required input types.
Recalibration Procedure
Recalibration is carried out in five phases as shown in
the table below, each phase corresponds to an input
range of the instrument.
The 50mV phase MUST be calibrated before the ther-
mocouple range.
Table 41. Input Calibration phases
iP
-
1 50 mV
iP
-
2 10 V
iP
-
3 20 mA
iP
-
4 RTD input (200 ohm)
iP
-
5 Thermocouple
(K type source at 0ºC required)
To start calibration, apply the required calibration input
from the source type list above, using the correct con-
nections,
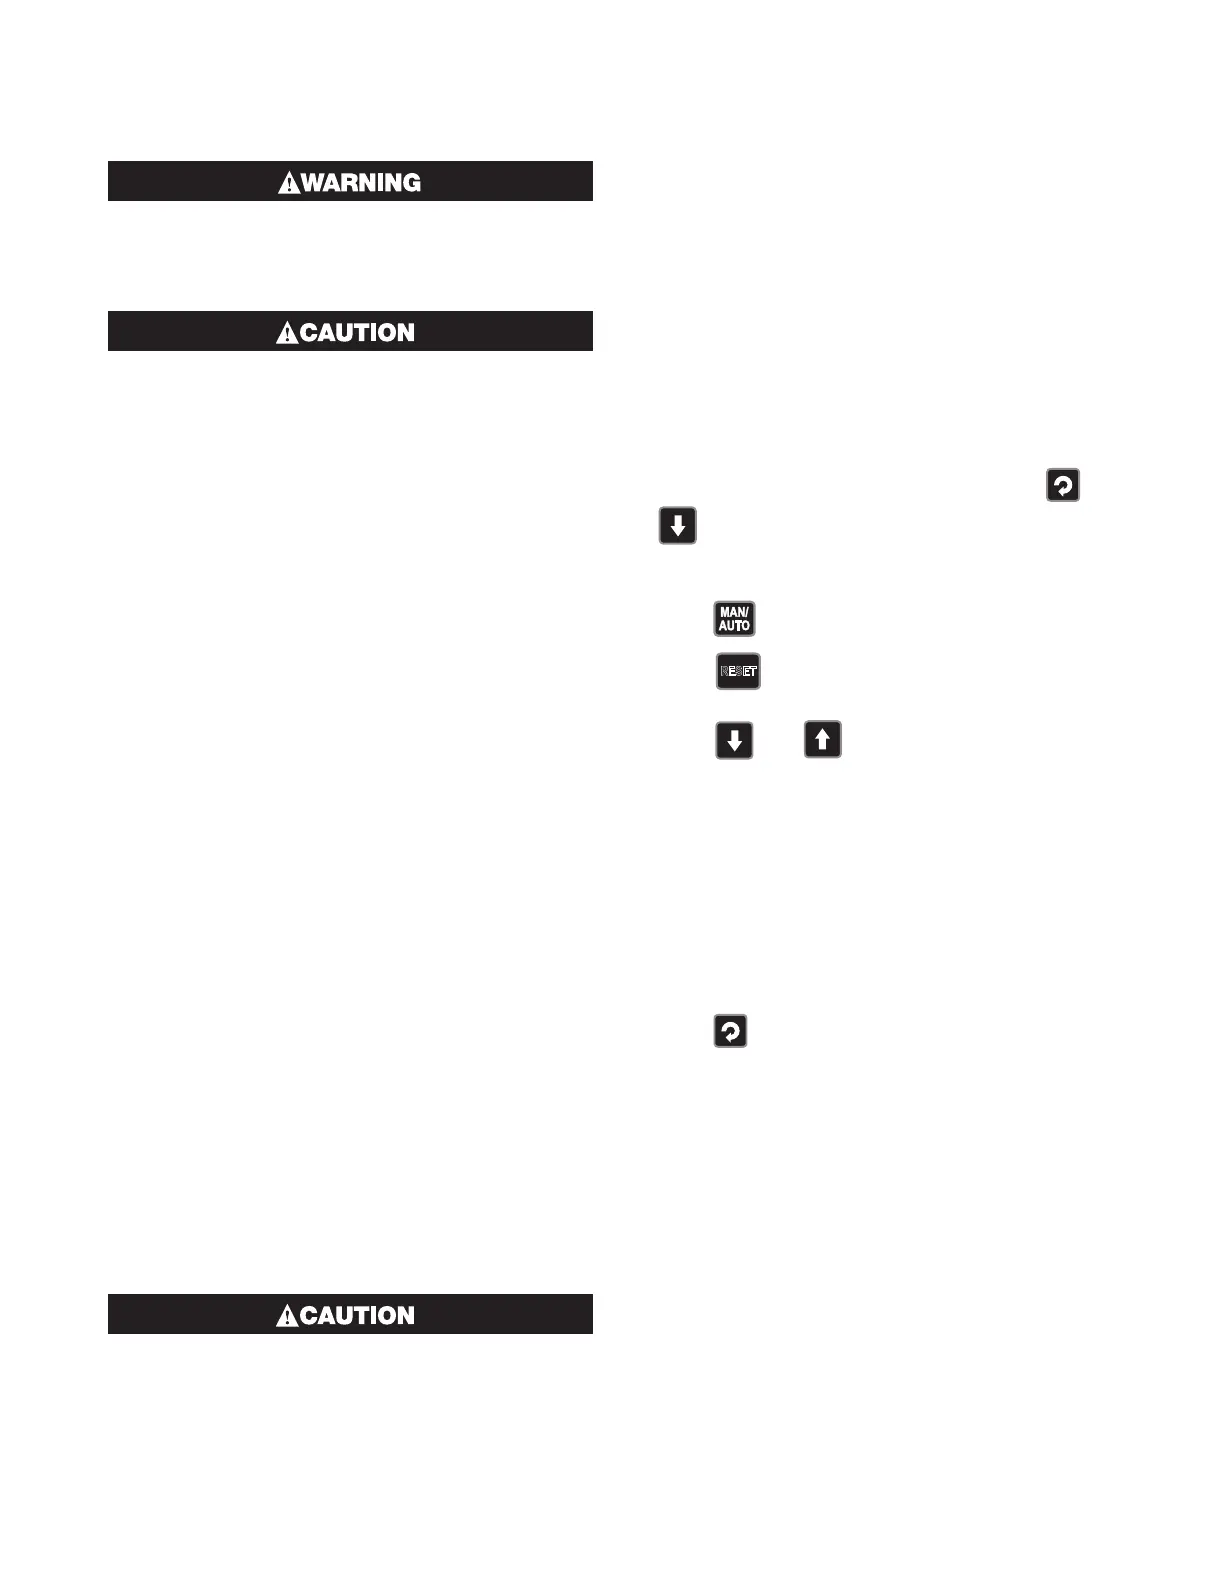
1. Whilst the instrument is powering up, press
and
together until iP
-
1 is displayed.
Note: If a phase has not been previously calibrated the
display will flash.
2. Press to initiate calibration on PID Controllers,
or
Press
RESET
to initiate calibration on Limit Control-
lers, or
Press
and together to initiate calibration
on Indicators.
3. During calibration the display changes to ---- for
a few seconds.
4. If the input is misconnected or an incorrect signal is
applied the calibration will be aborted and the dis-
play will show FAIL. The previous calibration value
will be retained.
5. If the calibration has succeeded, the pass display is
shown iP
-
1 (non-flashing).
6. Press to step onto the next phase.
7. Repeat this process for each input type until all the
phases are calibrated.
Note: Switch off the instrument to exit the Calibration
Mode.
Note: Calibration Mode automatically exits if there is
no button activity for five minutes
15 Calibration Mode
 Loading...