Step 1 Ensure you have the mounting bracket set up as described in Step 1 through Step 13 of Using the Mounting Bracket
AIR-ACCPMK3700-2=, on page 25. But for step 11, the 2 lower bolts need to be repositioned to the locations indicated
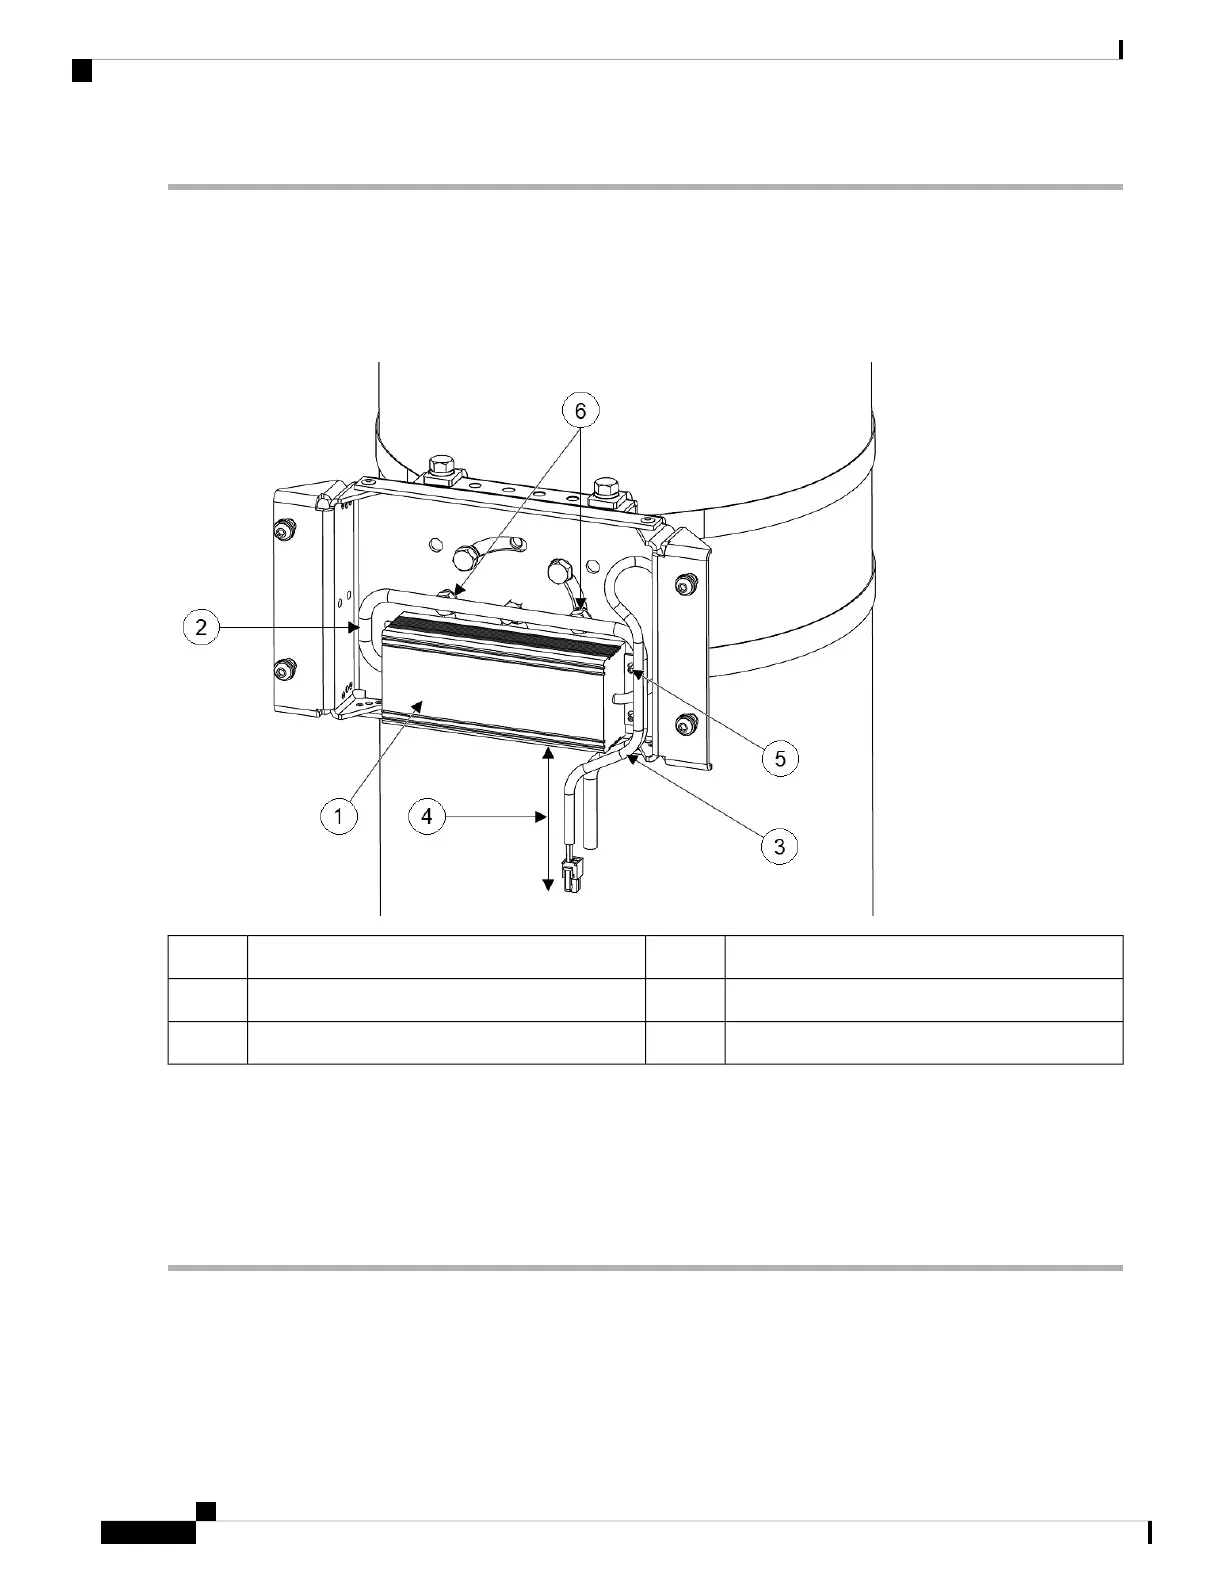
as No. 6 in the following figure.
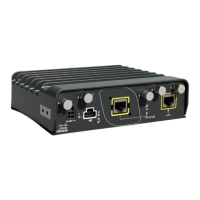
Step 2 Attach the power supply using 4x 6-32 screws and torque the screws to 8.3-11 in-lbs, as shown in the following figure.
Figure 14: Power Adapter Installed Using Mounting Bracket AIR-ACCPMK3700-2=
10 inches Minimum Length4Power Adapter1
4x 6-32 Screws5Tie Wraps2
Reposition the bolts6DC Output Cable3
Step 3 Ensure that the excess cable is bundled and tie wrapped to the mounting bracket. Route the cable as shown in the figure
in Step 2.
Step 4 Ensure that there is 10 inches minimum length from the bottom edge of the power supply to the end of the connector as
shown in the figure in Step 2.
Step 5 Attach the access point to the mounting plate as described in step 14 and step 15 of Using the Mounting Bracket
AIR-ACCPMK3700-2=, on page 25.
Cisco Catalyst IW9167E Heavy Duty Access Point Hardware Installation Guide
32
Installation Overview
Attaching a Power Adapter Using the Mounting Bracket AIR-ACCPMK3700-2=