®
www.climacoolcorp.com
12
Unit Installation
Figure 12
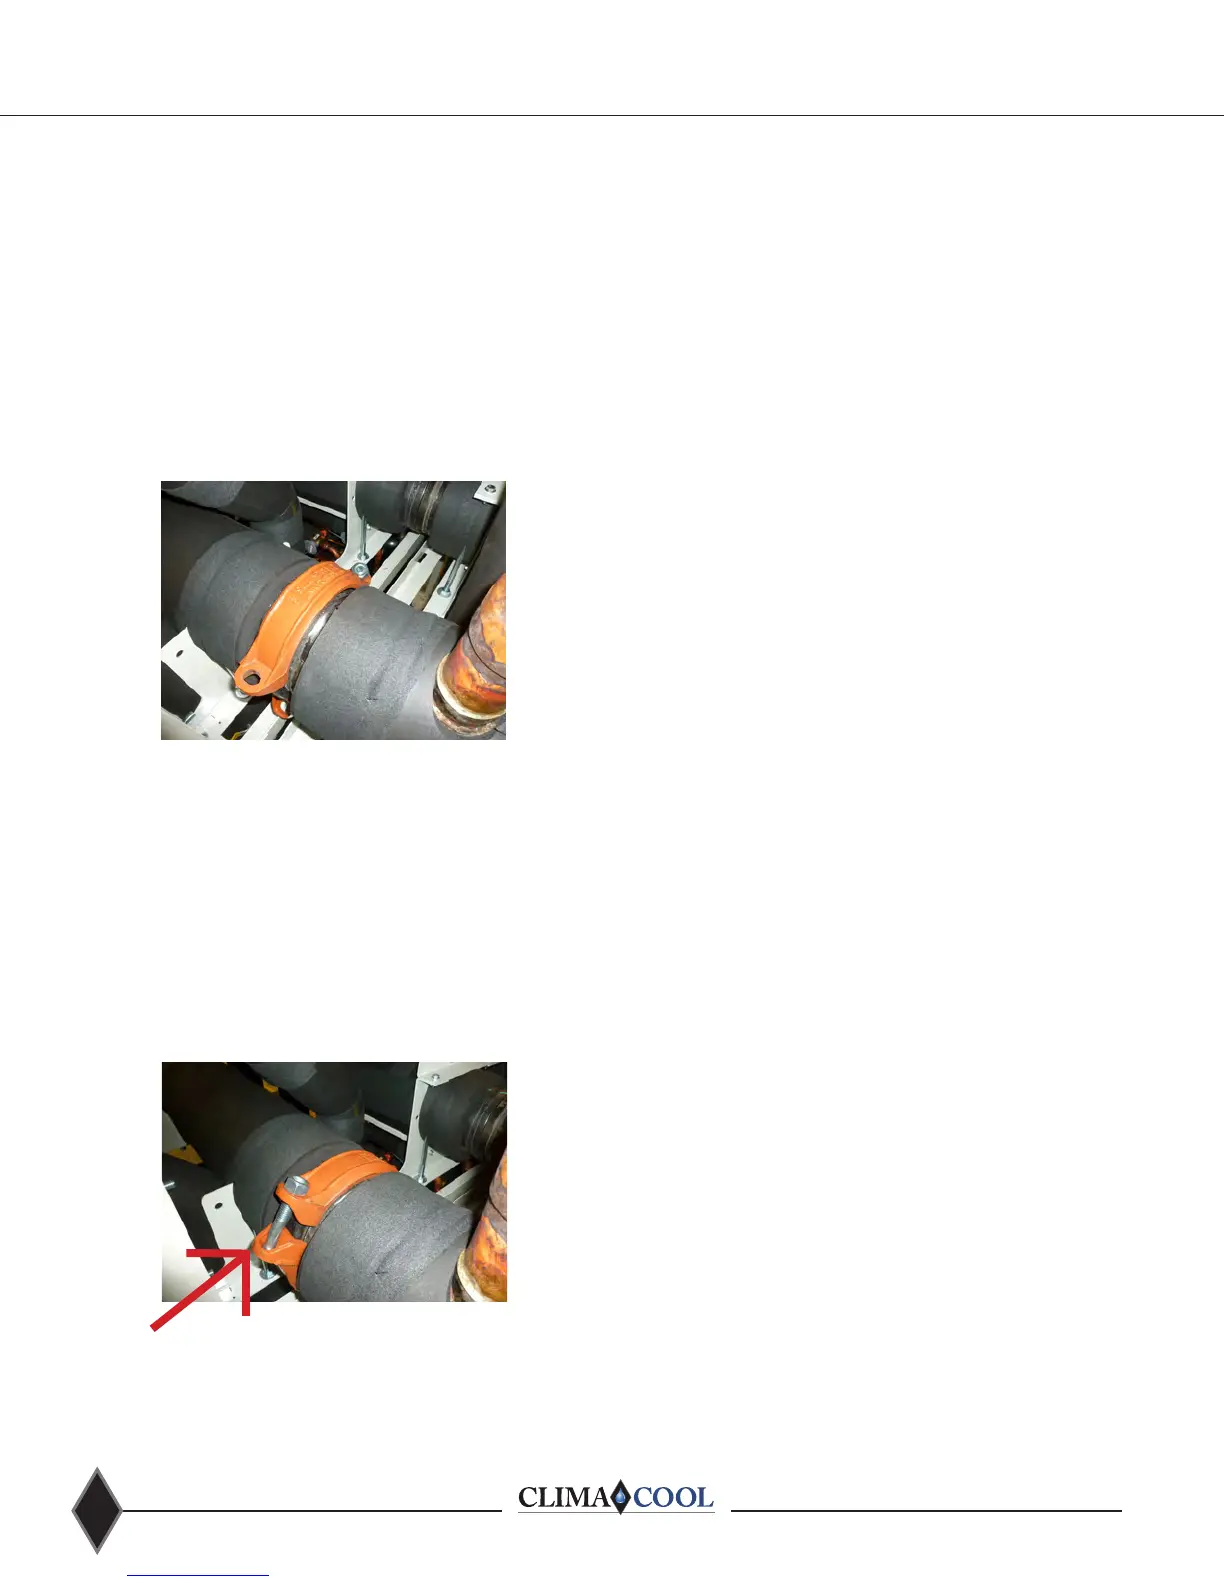
Figure 13
• Open the coupling by completely removing one bolt
• -
ing the coupling intact.
• Install with the nuts facing up for fastening.
• When the pipes ends are aligned, slide the gasket over
the ends and center it between the grooves.
• No part of the gasket should protrude into the groove
of either pipe end.
• Place coupling halves over the gasket and make sure
groove), are engaged into the grooves.
• Insert the previously removed bolt from the bottom to
• Tighten nuts alternately and equally until the bolt pads
meet and make metal-to-metal contact.
• Tighten nuts by another ¼ to ½ turn to make sure the
nuts and bolts are snug and secure, the use of a torque
wrench is usually not required.
• Uneven tightening of bolts may cause the gasket to be
pinched resulting in immediate or delayed leaks.
• Replace all sheet metal panels.