OPERATING MANUAL
800.749.2761 www.coachcomm.com
15
8. Power on and walk test Radio Packs.
Note: The procedures in this step should be performed with at least two people.
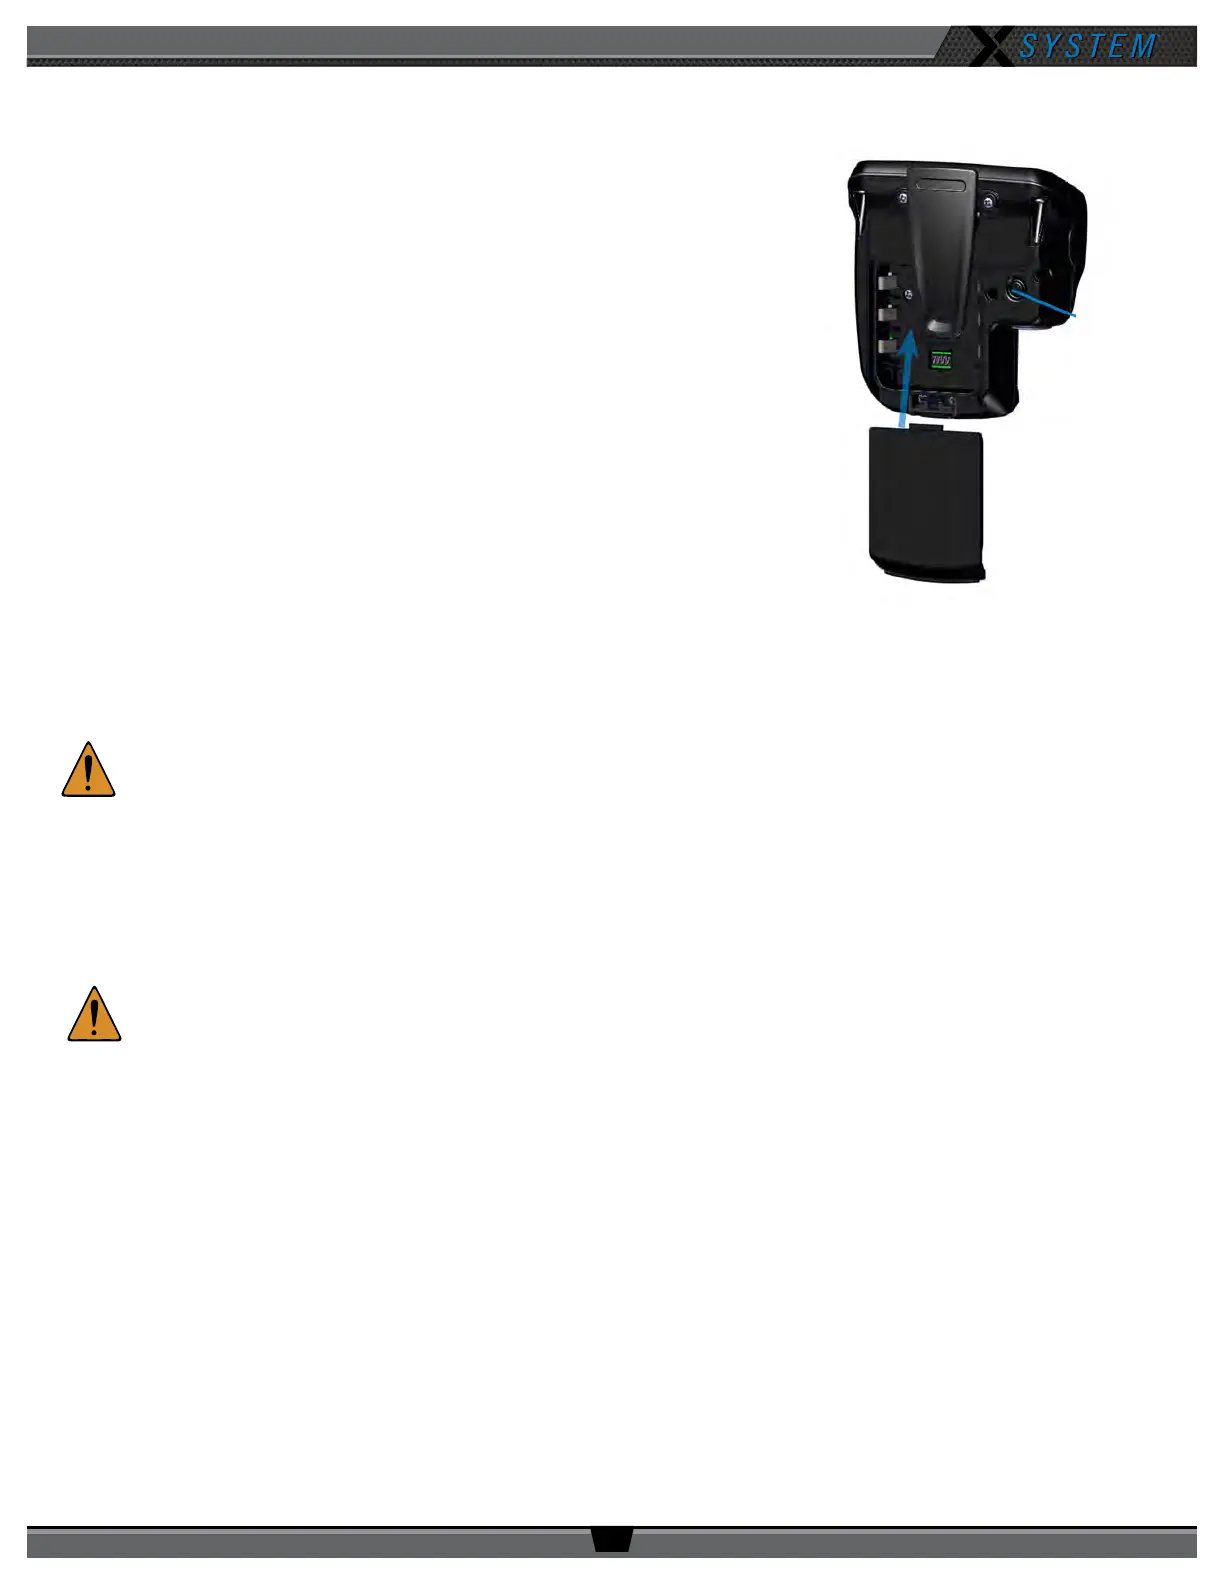
8a. Install a fully charged Lithium-Polymer rechargeable battery or three AA
alkaline batteries in each Radio Pack (RP).
8b. Power on the rst two RPs by pressing and holding the Power button on
the back of the RP for 3 seconds.
8c. Conduct a walk test to conrm each RP’s operation.
8d. Turn off the RPs after a successful walk test. Repeat steps 8b–8c for each
of the remaining RPs.
8e. After walk testing is complete, spread the RPs on a table or bench 10–15
yards away from antenna and power back on. Conrm all RPs log in.
Important: Do not store, assemble, or bunch powered RPs when walk testing
or during in-game use. This could impact wireless performance.
Turn off each RP that is not being actively tested or in use.
9. Power off and stow away X-System.
Once your event has ended, power off and properly stow away all
X-System sideline cart components:
9a. Power off all RPs and stow them in their storage drawers.
CAUTION:
Thoroughly dry off any moisture prior to storage.
9b. CoachComm recommends saving a backup copy of your system conguration le to the PC desktop or a USB
drive. Then, close X-Ware and shut down the PC.
9c. Power off the CU(s) then the cart’s Master On/Off switch on the rear panel. Unplug and remove your extension
cord.
9d. Carefully lower, disassemble, and stow the RT mast and RT mounting bracket(s), stowing them in their
assigned sections of the Cart.
CAUTION:
Maintain safe control of the mast and receiving tube throughout disassembly.
9e. Reinstall pins 2 and 3 once the mast is removed and the receiving tube is returned to its cradle.
9f. Remove the four Cart stabilizers, then stow them in their assigned sections of the Cart.
Figure 15: Radio Pack Setup
(8b.) Turn on by
holding Power
button for
3 seconds.
(8a.) Install battery.