Maintenance I 5-3
5
Maintenance
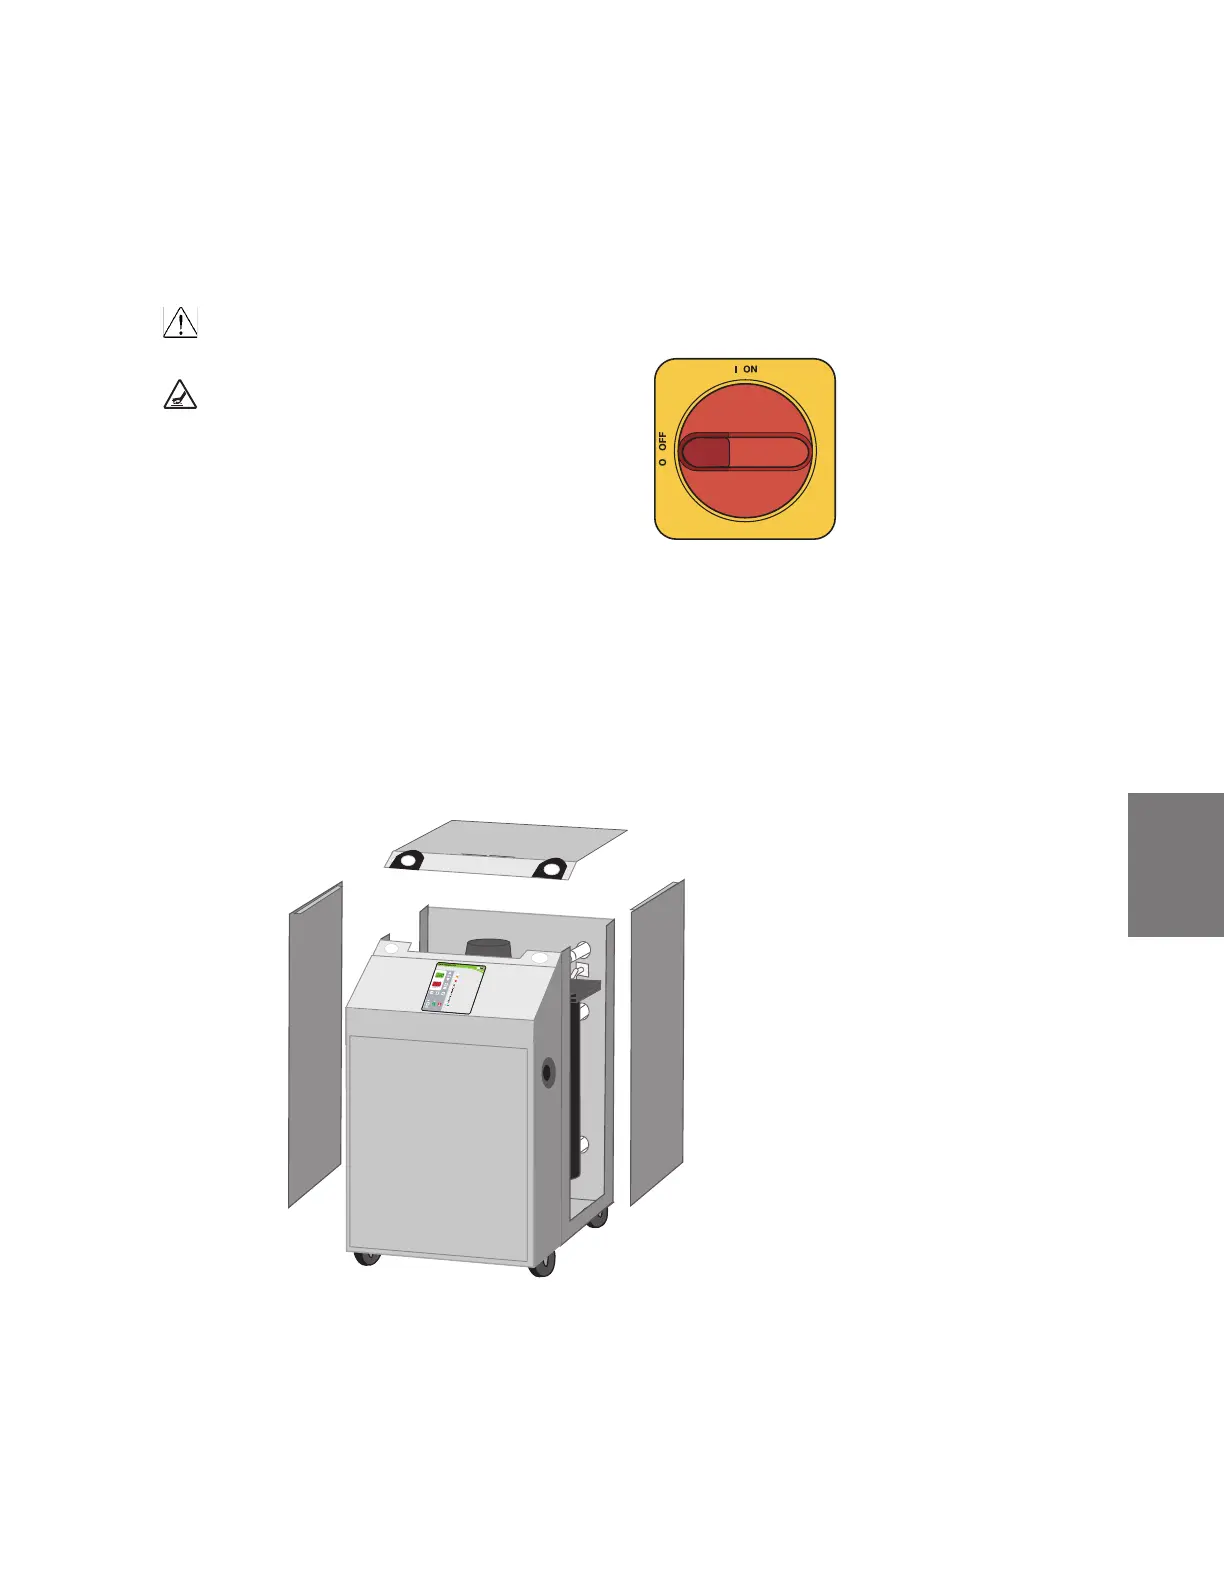
Accessing the Thermolator Enclosure
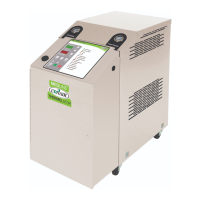
Depending on which features, options, and additions you ordered with your Thermolator,
your Thermolator may appear different and operate differently from the illustrations and
photos shown in this user guide.
WARNING: Electrical shock and hot surface hazards.
Before attempting maintenance of any kind on the
Thermolator, you must stop the unit, disconnect and
lockout the main power supply, and allow the unit to
cool to less than 100° F {38° C}.
To access the Thermolator enclosure:
1 Remove the top panel.
2 Remove each side panel by lifting straight up.
NOTE: The side panels fit into slots at the bottom. Note how they fit so that reassembly will be easy.
3 Set the top panel and side panels out of the way for maintenance procedures.
Note that the right side and left side panels are unique and will only fit on the unit in
their appropriate position.
Mold
Purge
Rapid
Co
ol
Process
Co
ol Down
Cont
rol Power
Auto
sta
rt Sign
al
Pump
Heat
Cool
Coolant Pressur
e
Temperature Limit
Elect
rical Phase Err
or
Heat Erro
r
Proc
ess Cool Down
Rapid C
ool
Commu
nic
ations
Remo
te Heat/Cool
Prog
ram Mode
Mo
ld
Purge
F
l
o
w GPM (
flash)
 Loading...