Repairs
Cornelius Deutschland GmbH
Document no. TD0003100
Version 18/03/2019, Index 0
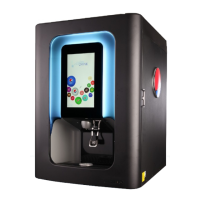
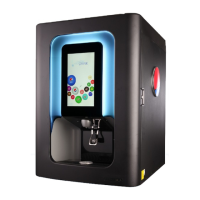
Installation and service manual Tower
Nueva
18
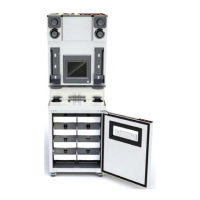
11. Attach the taxi cab hood (Fig. 23/1) using the fastening bolts (Fig. 23/1).
12. Position the hood (Fig. 22/2) with taxi cab hood (Fig. 22/2) on the unit.
13. Attach the hood (Fig. 22/2) using the fastening bolts (Fig. 22/3).
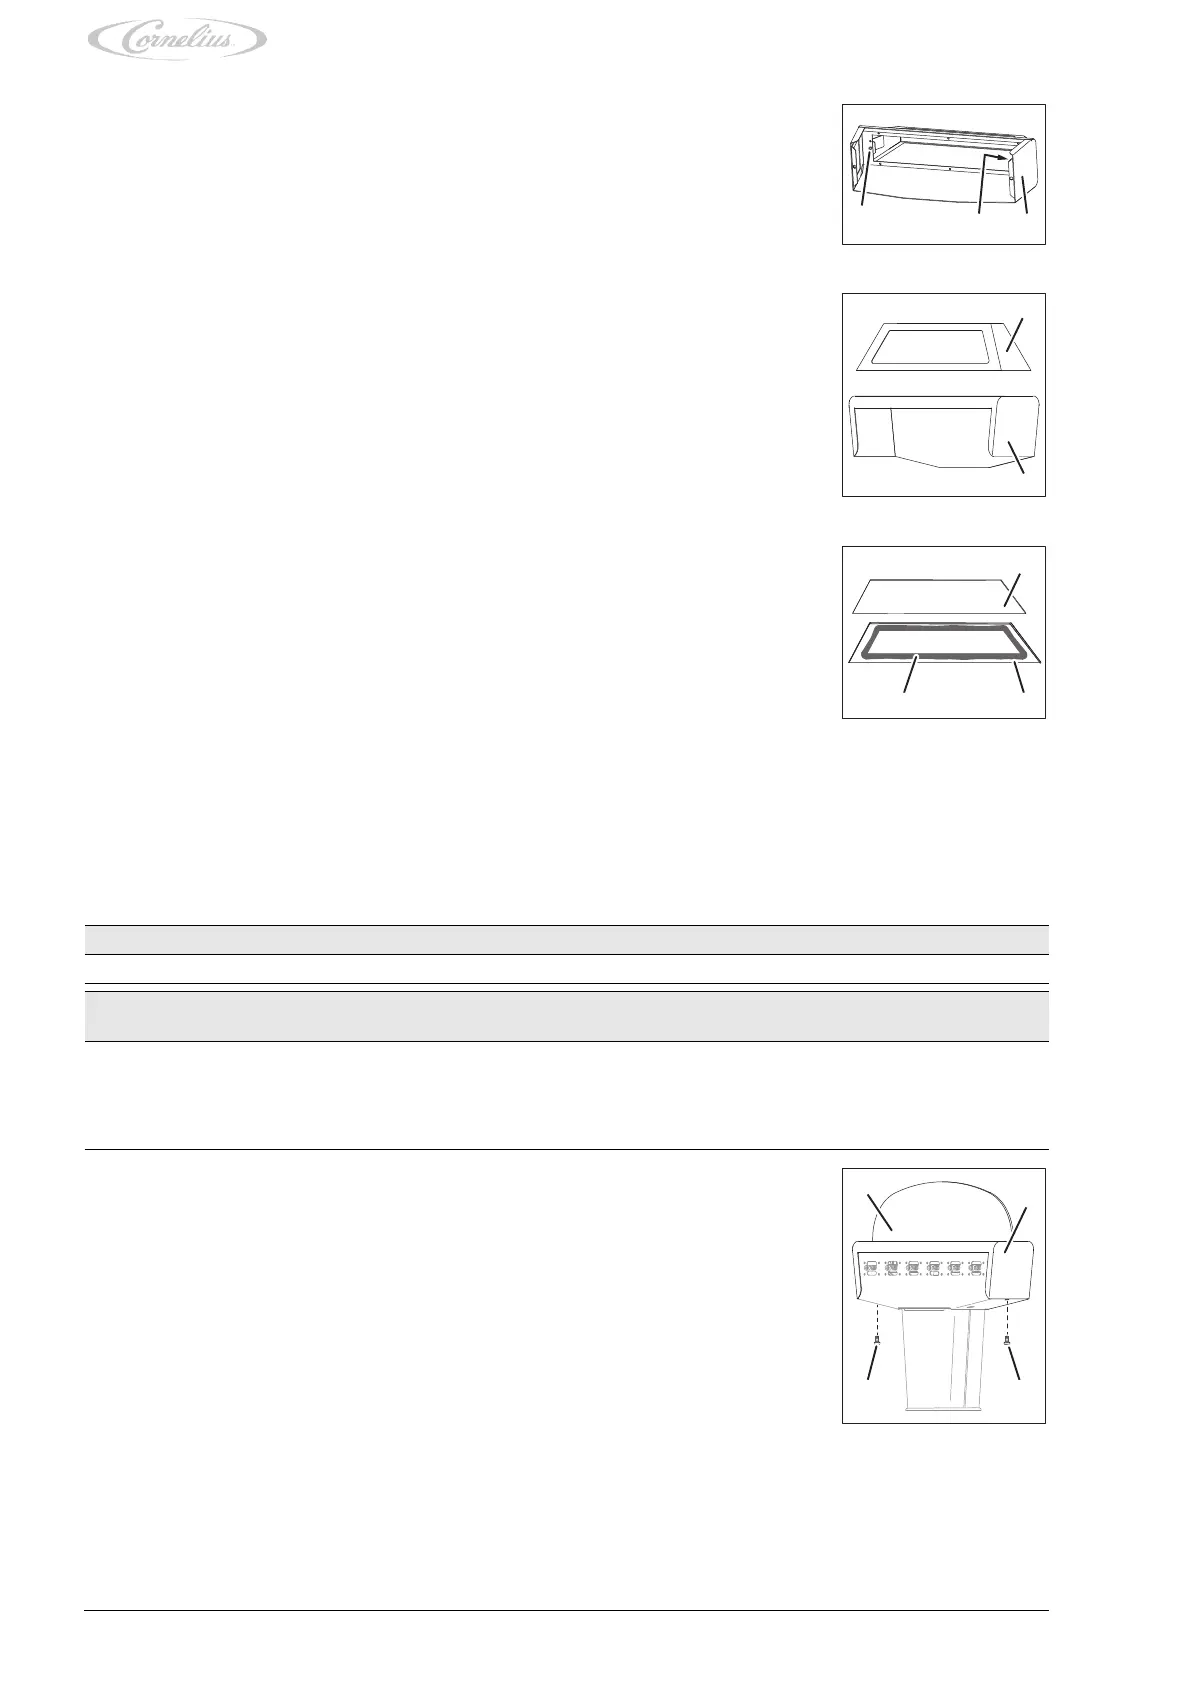
7.4 Replacing the moonlight disc
3. Remove the fastening bolts (Fig. 23/1) from the taxi cab hood (Fig. 23/2).
Fig. 23
4. Lift and remove the taxi cab hood (Fig. 24/1) from the hood (Fig. 24/2).
Fig. 24
5. Remove the promotional sign (Fig. 25/1) from the taxi cab hood (Fig. 25/2).
6. Remove any adhesive residue from the taxi cab hood (Fig. 25/2).
7. Apply fresh double-sided tape along the adhesive area (Fig. 25/3) inside the taxi cab hood
(Fig. 25/2).
8. Position the promotional sign (Fig. 25/1) within the taxi cab hood (Fig. 25/2).
9. Press the promotional sign (Fig. 25/1) into the taxi cab hood (Fig. 25/2).
10. Position the new taxi cab hood (Fig. 24/1) on the hood (Fig. 24/2).
Fig. 25
Prerequisites References
The unit has been disconnected from the power supply. see chapter 4.1
Spare parts ID/reference Qty/
amount
Comment
Moonlight disc Various 1 Please contact your service partner for the part number
of the moonlight disc installed on your unit
Mounting bracket 220097377 2
Double-sided tape Various
1. Remove the fastening bolts (Fig. 26/3) from the hood (Fig. 26/2).
2. Lift and remove the hood (Fig. 26/2) with moonlight disc (Fig. 26/1) from the unit.
Fig. 26