SANDING BELT. USE ONLY SEARS RECOM-
MENDED SANDING BELTS. SEE SEARS
CATALOG.
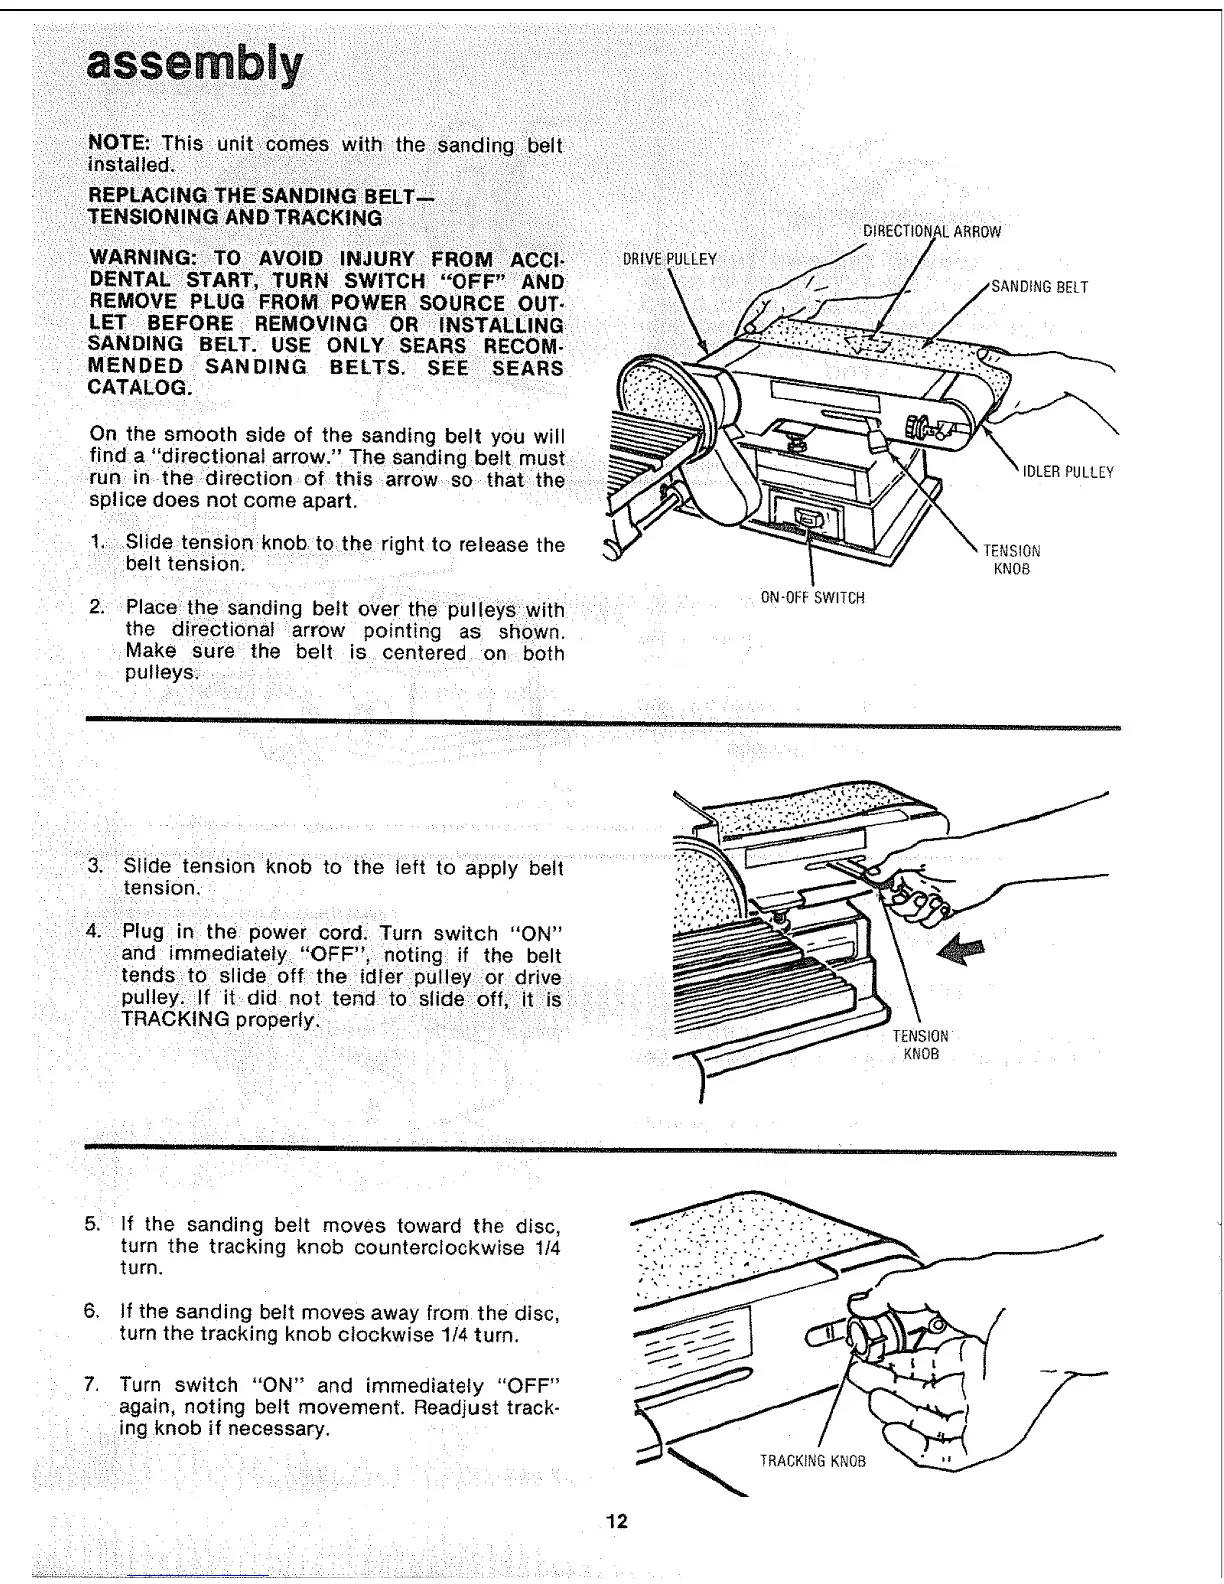
On the smooth side of the sanding belt you will
find a "directional arrow." The sanding belt must
run in_thedireotion of this arrow so that the
splice does not come apart.
1, Slide tension knob, to the right to release the
belt tension:
,
Place t_hesanding belt over the pulleys with
the directional arrow pointing as shown.
Make sure the belt is centered on both
pulleys_
. H
DRIVE,PULLEY
ON-OFFSWITCH
BELT
IDLERPULLEY
TENSION
KNOB
3_: Slide tension knob to the left to apply belt
tension.
4_
Plug in the power cord. Turn switch "ON"
and immediately "OFF", noting if the belt
tends to slide off the idler:pulley or drive
pulley. If it did not tend_to slide off, i:t is:_
TRACKING properly:
TENSION
KNOB
5. If the sanding belt moves toward the disc,
turn the tracking knob counterclockwise 1/4
turn.
6. if the sanding belt moves away from the disc,
turn the tracking knob clockwise 1/4 turn.
7. Turn switch "ON" and immediately "OFF"
again, noting belt movement. Readjust track-
ing knob if necessary.
i_
TRACKINGKNOB
12.