13
CraftBot 3
Calibration process:
1. Heat up the heads and remove the laments. It’s easier without lament.
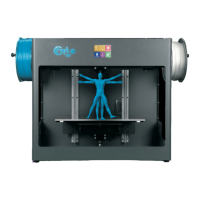
2. Select the Settings menu
on the LCD screen go to. page 1 select the Leveling icon (three crossed
circles which represent the three knobs and screw)
.
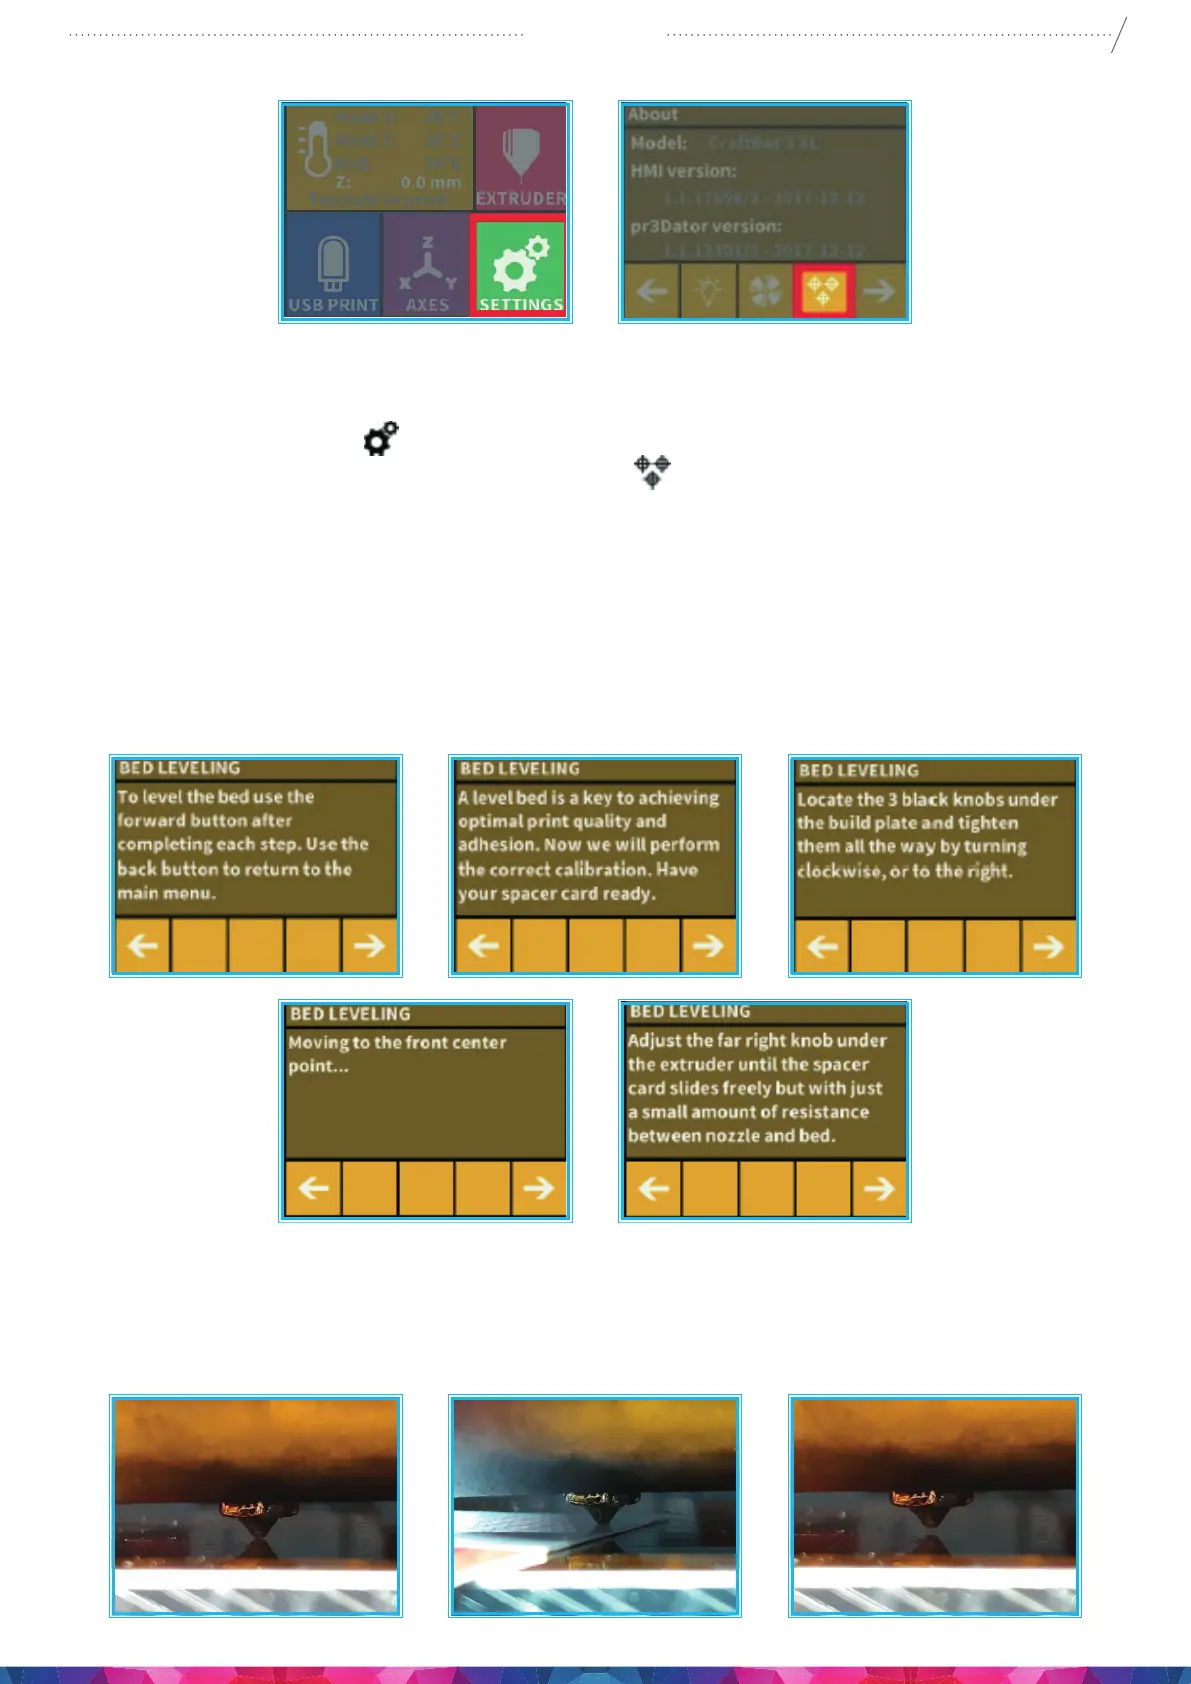
3. Follow the step-by-step instructions on the LCD screen:
• It is recommended to turn all three black knobs holding the build plate, all the way to the right until
the springs in between have been compressed fully and the knobs begin to feel tight. (Under the
heater plate There is one knob at the front in the middle and two in the back left and right corners
of the build plate). Do not force them!
• Locate the 0.35mm spacer card that are located in the Nozzle kit boxes among the other accessories
that came with the printer. This card will ensure the optimal distance between the build plate and
the extruder nozzle. Please keep this card for future use.
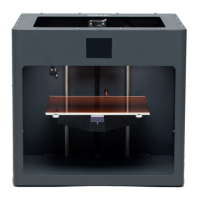
• The preprogrammed leveling process will rst set the front center point. Press the right arrow to
continue. wait for the nozzle to get to the correct point on the build plate. Place the spacer card
above the front center black knob on the build plate, Adjust the front center knob if needed, based
on the instruction on the screen.