19
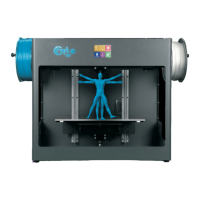
CraftBot 3
Automatic error correction process: :
• The printer enters paused status, the head goes to the pause position.
• It then retracts the lament, following which it attempts to extrude.
• Point two will be attempted three times.
• It will attempt to extrude 6cm of lament to determine whether extrusion will cause clogging. again
• If not, then printing will resume automatically. If it does, an error message will be sent.
• If the user has resolved the error, you can press resume printing to continue printing immediately.
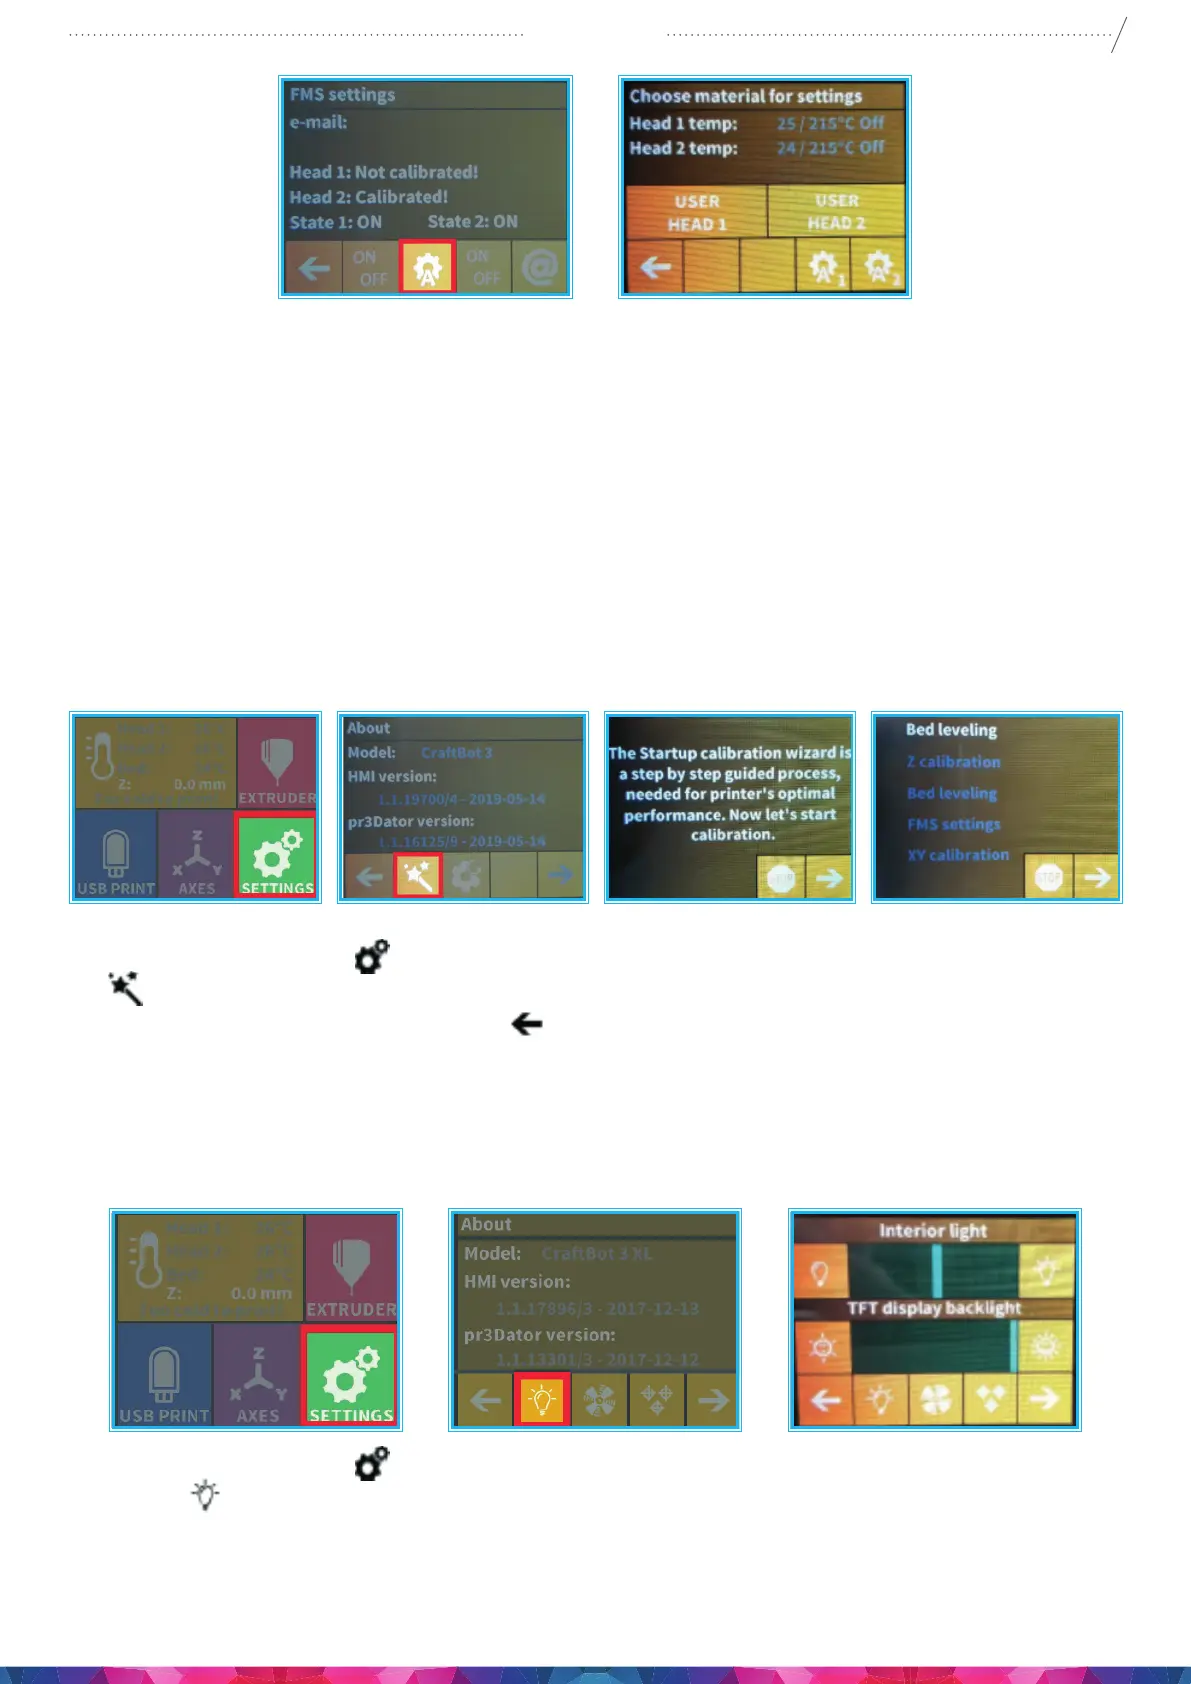
5.4.5. WIZARD SETTINGS
All calibrations are available in this menu. If you start the wizard, then it all calibration starts by itself.
1. Select the Settings menu
on the LCD screen and go to the 6th page. Select the wizard settings icon
(magic wand).
2. Select the right arrow in the right corner.
3. Do all calibration.
5.4.6. OTHER MENU SETTINGS - ADJUSTING THE LIGHTING
1. Select the Settings menu
on the LCD screen and on the 1st page select the Lighting
settings
icon.
2. You will see a variance pop up on the screen: two dierent touch screen sliders.
3. Adjusting the lighting: Move the line from the left to the right to vary the brightness of either the
interior LED lighting of the CraftBot or the LCD display backlighting.