Chapter 6 - Hydraulic Brakes
182
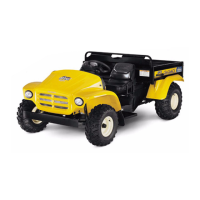
5. Remove both bleeder screws with a 1/4” wrench.
See Figure 6.22.
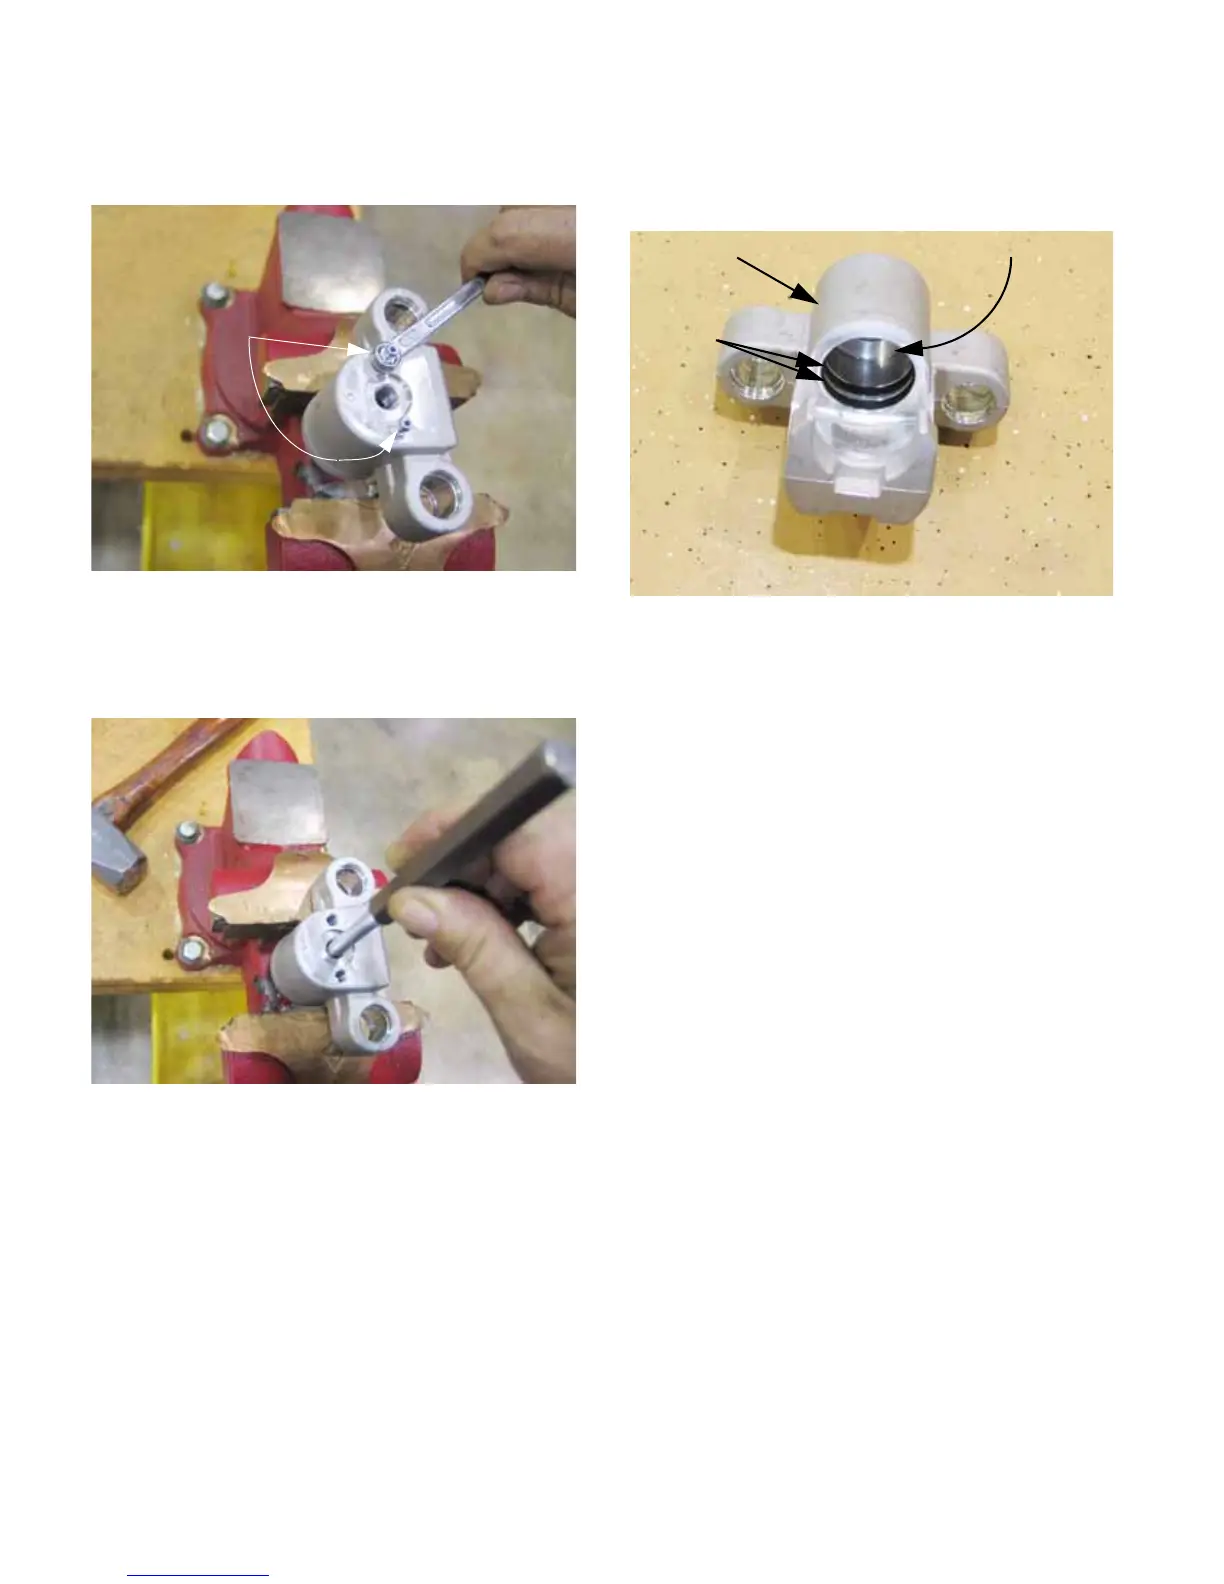
6. Drive the piston out of the bore using hydraulic
pressure, a screw, or a drift through the hydrau-
lic port. See Figure 6.23.
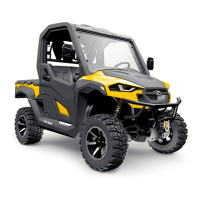
7. With the piston removed from the bore, the
square section O-rings can be removed from
their grooves in the bore. See Figure 6.24.
NOTE: The piston is symmetric, and closed at
both ends.
8. Inspect the bore of the brake caliper.
• If the bore is undamaged, clean it thoroughly
and continue with assembly.
• If the bore is slightly worn or scored, it may be
lightly dressed with emery cloth.
• If the bore is substantially worn or heavily dam-
aged, replace the caliper.
NOTE: Because the sealing surface is on the
piston, not the bore, piston wall finish is more
critical than bore wall finish.
9. Clean all parts that are to be assembled.
9a. Initial cleaning may be done with Stoddard
solvent.
9b. Final cleaning should be done using hot
soapy water (dish washing detergent is
suitable), a nylon brush and a nylon bore-
bush.
9c. Rinse and dry all parts thoroughly.
Figure 6.22
Bleeder screws
Figure 6.23
Figure 6.24
Caliper housing Piston bore
O-rings
in bore
 Loading...